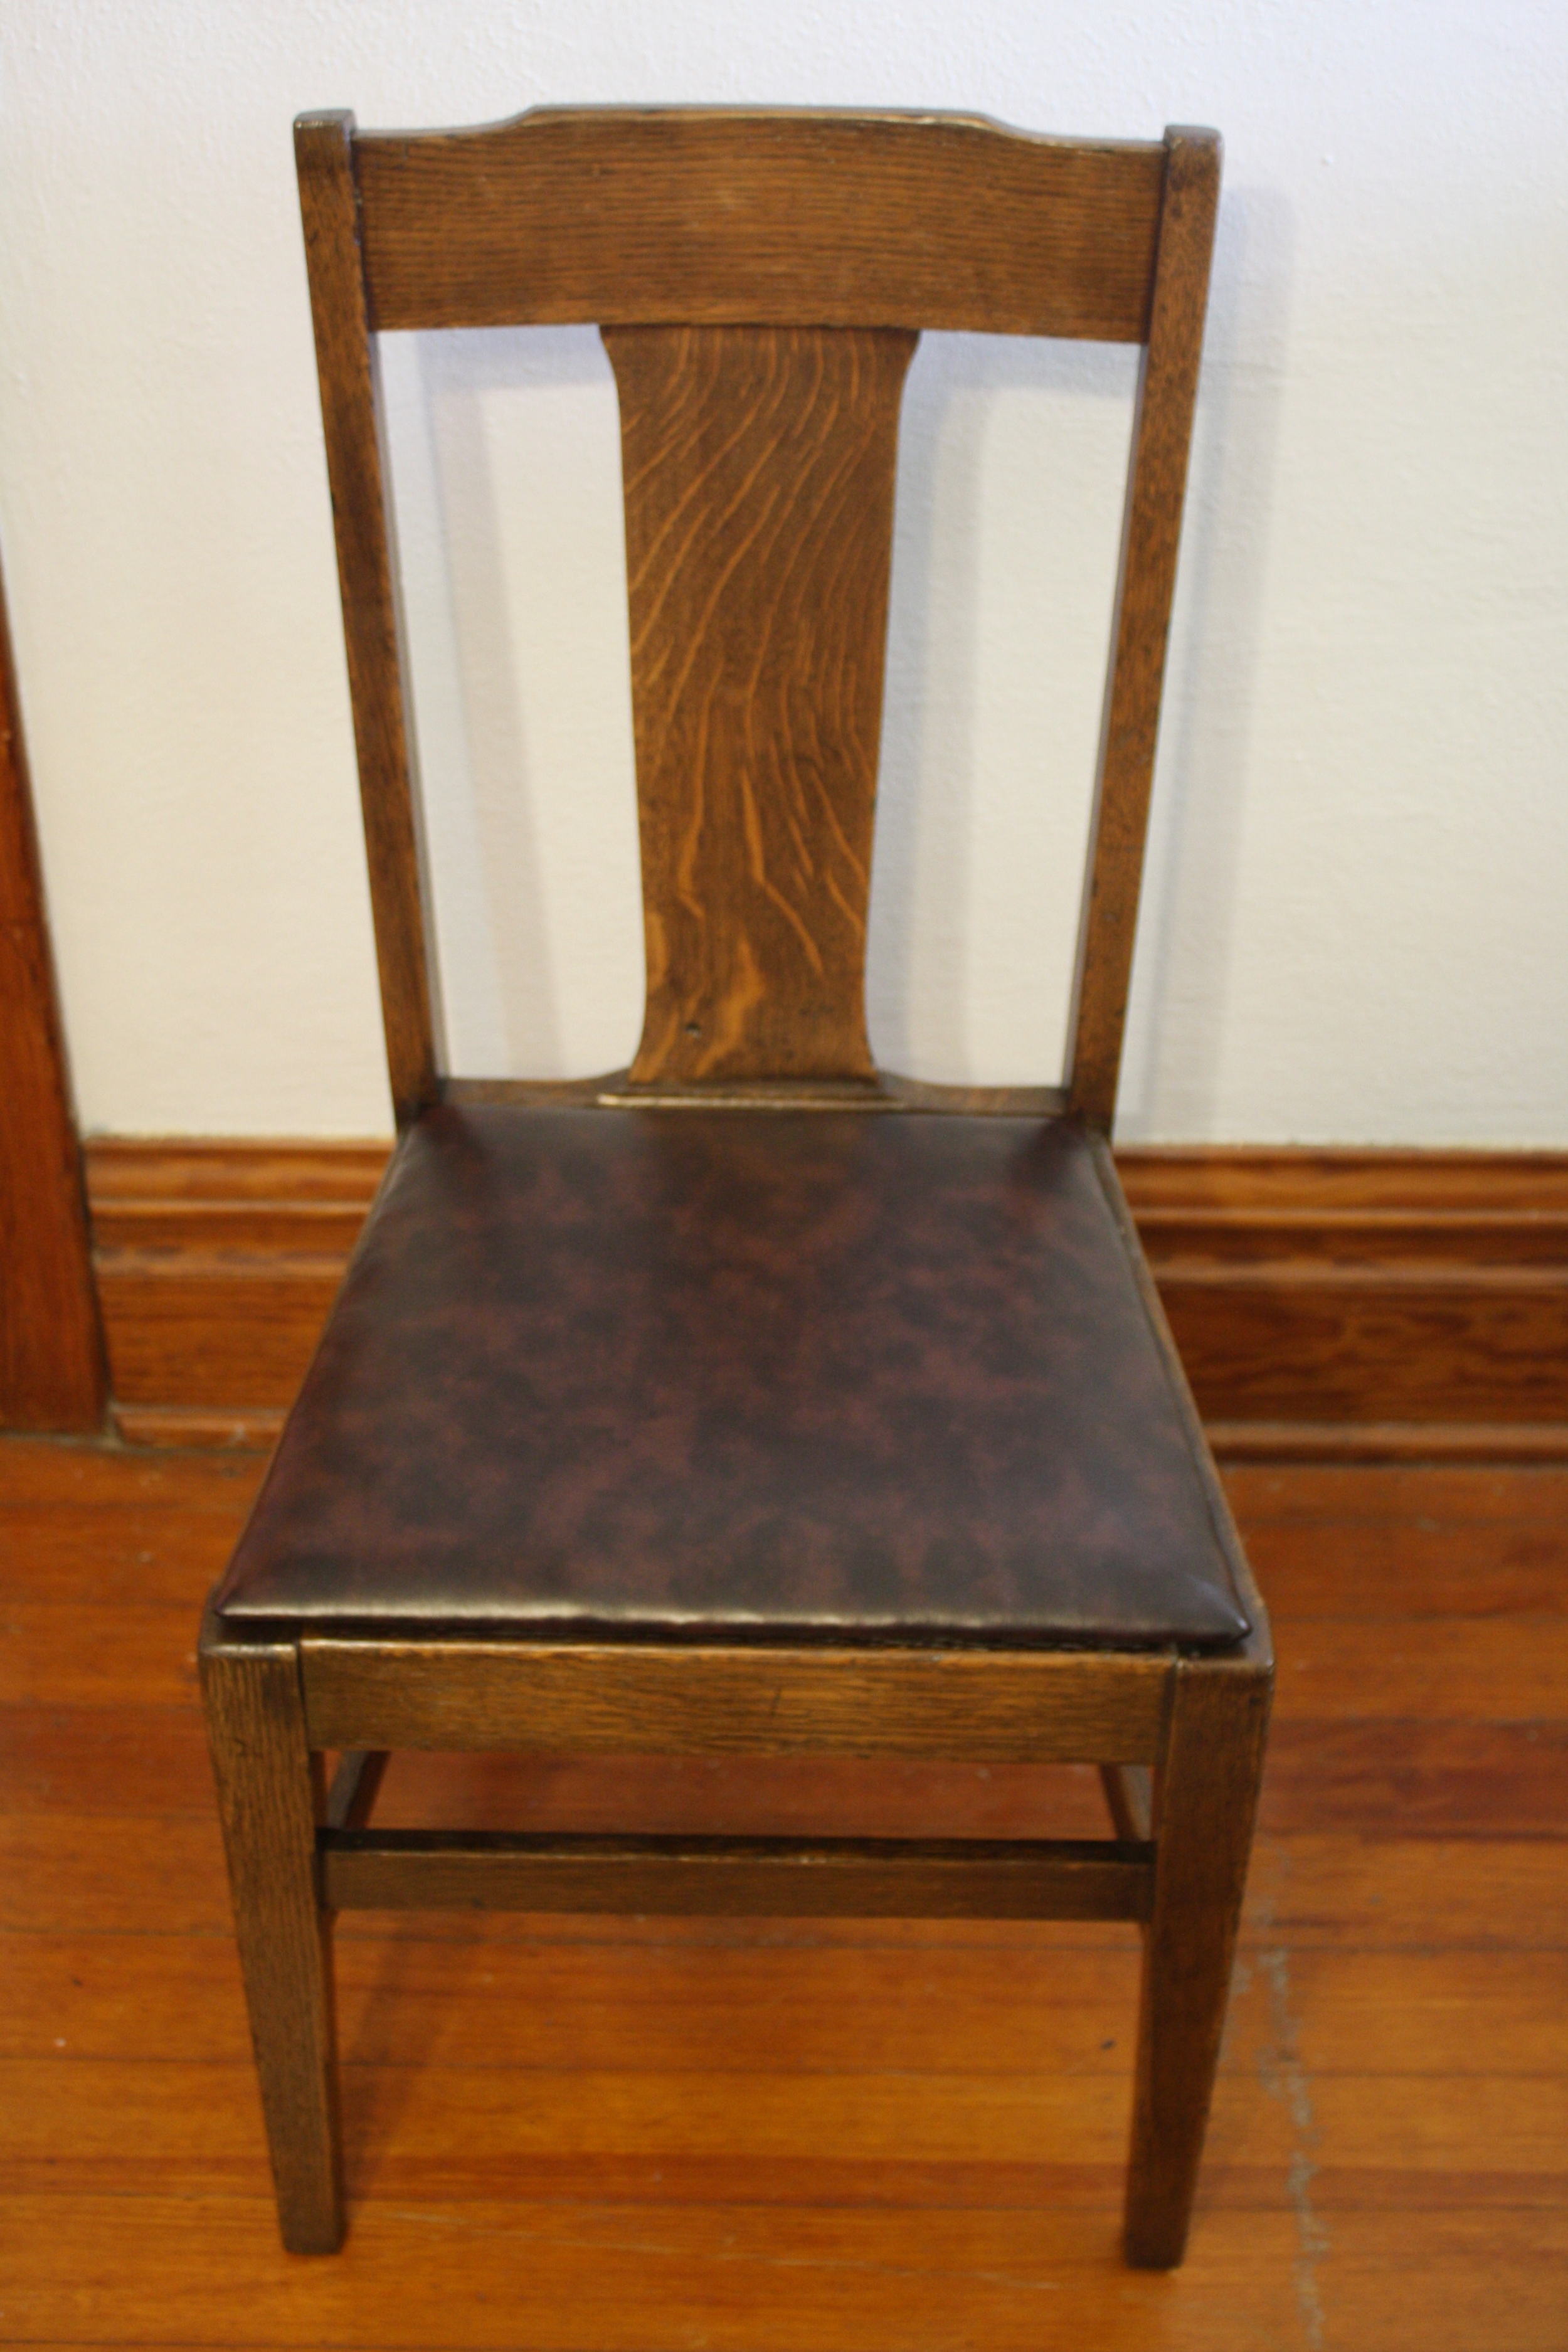

When given the choice between spending time or spending money, I'm the type who will usually opt for spending the time. When it comes to upholstering furniture, there are a few projects that a person who is unskilled in the trade can do relatively easily if they have the time to spend. Recovering a dining room chair seat is one such project. For the do-it-yourselfers out there, an illustrated how-to:
How To Recover a Dining Chair Seat
Tool and Supply List
- good scissors
- carpenter's square and soft measuring tape
- fabric
- staple gun and staples (or if you don't have these, you can pretend you're an old-timey upholsterer and use small nails and a hammer)
- staple remover (I have specific tools for this, but you just need something that can pry up staples; a flat head screwdriver would likely do the trick)
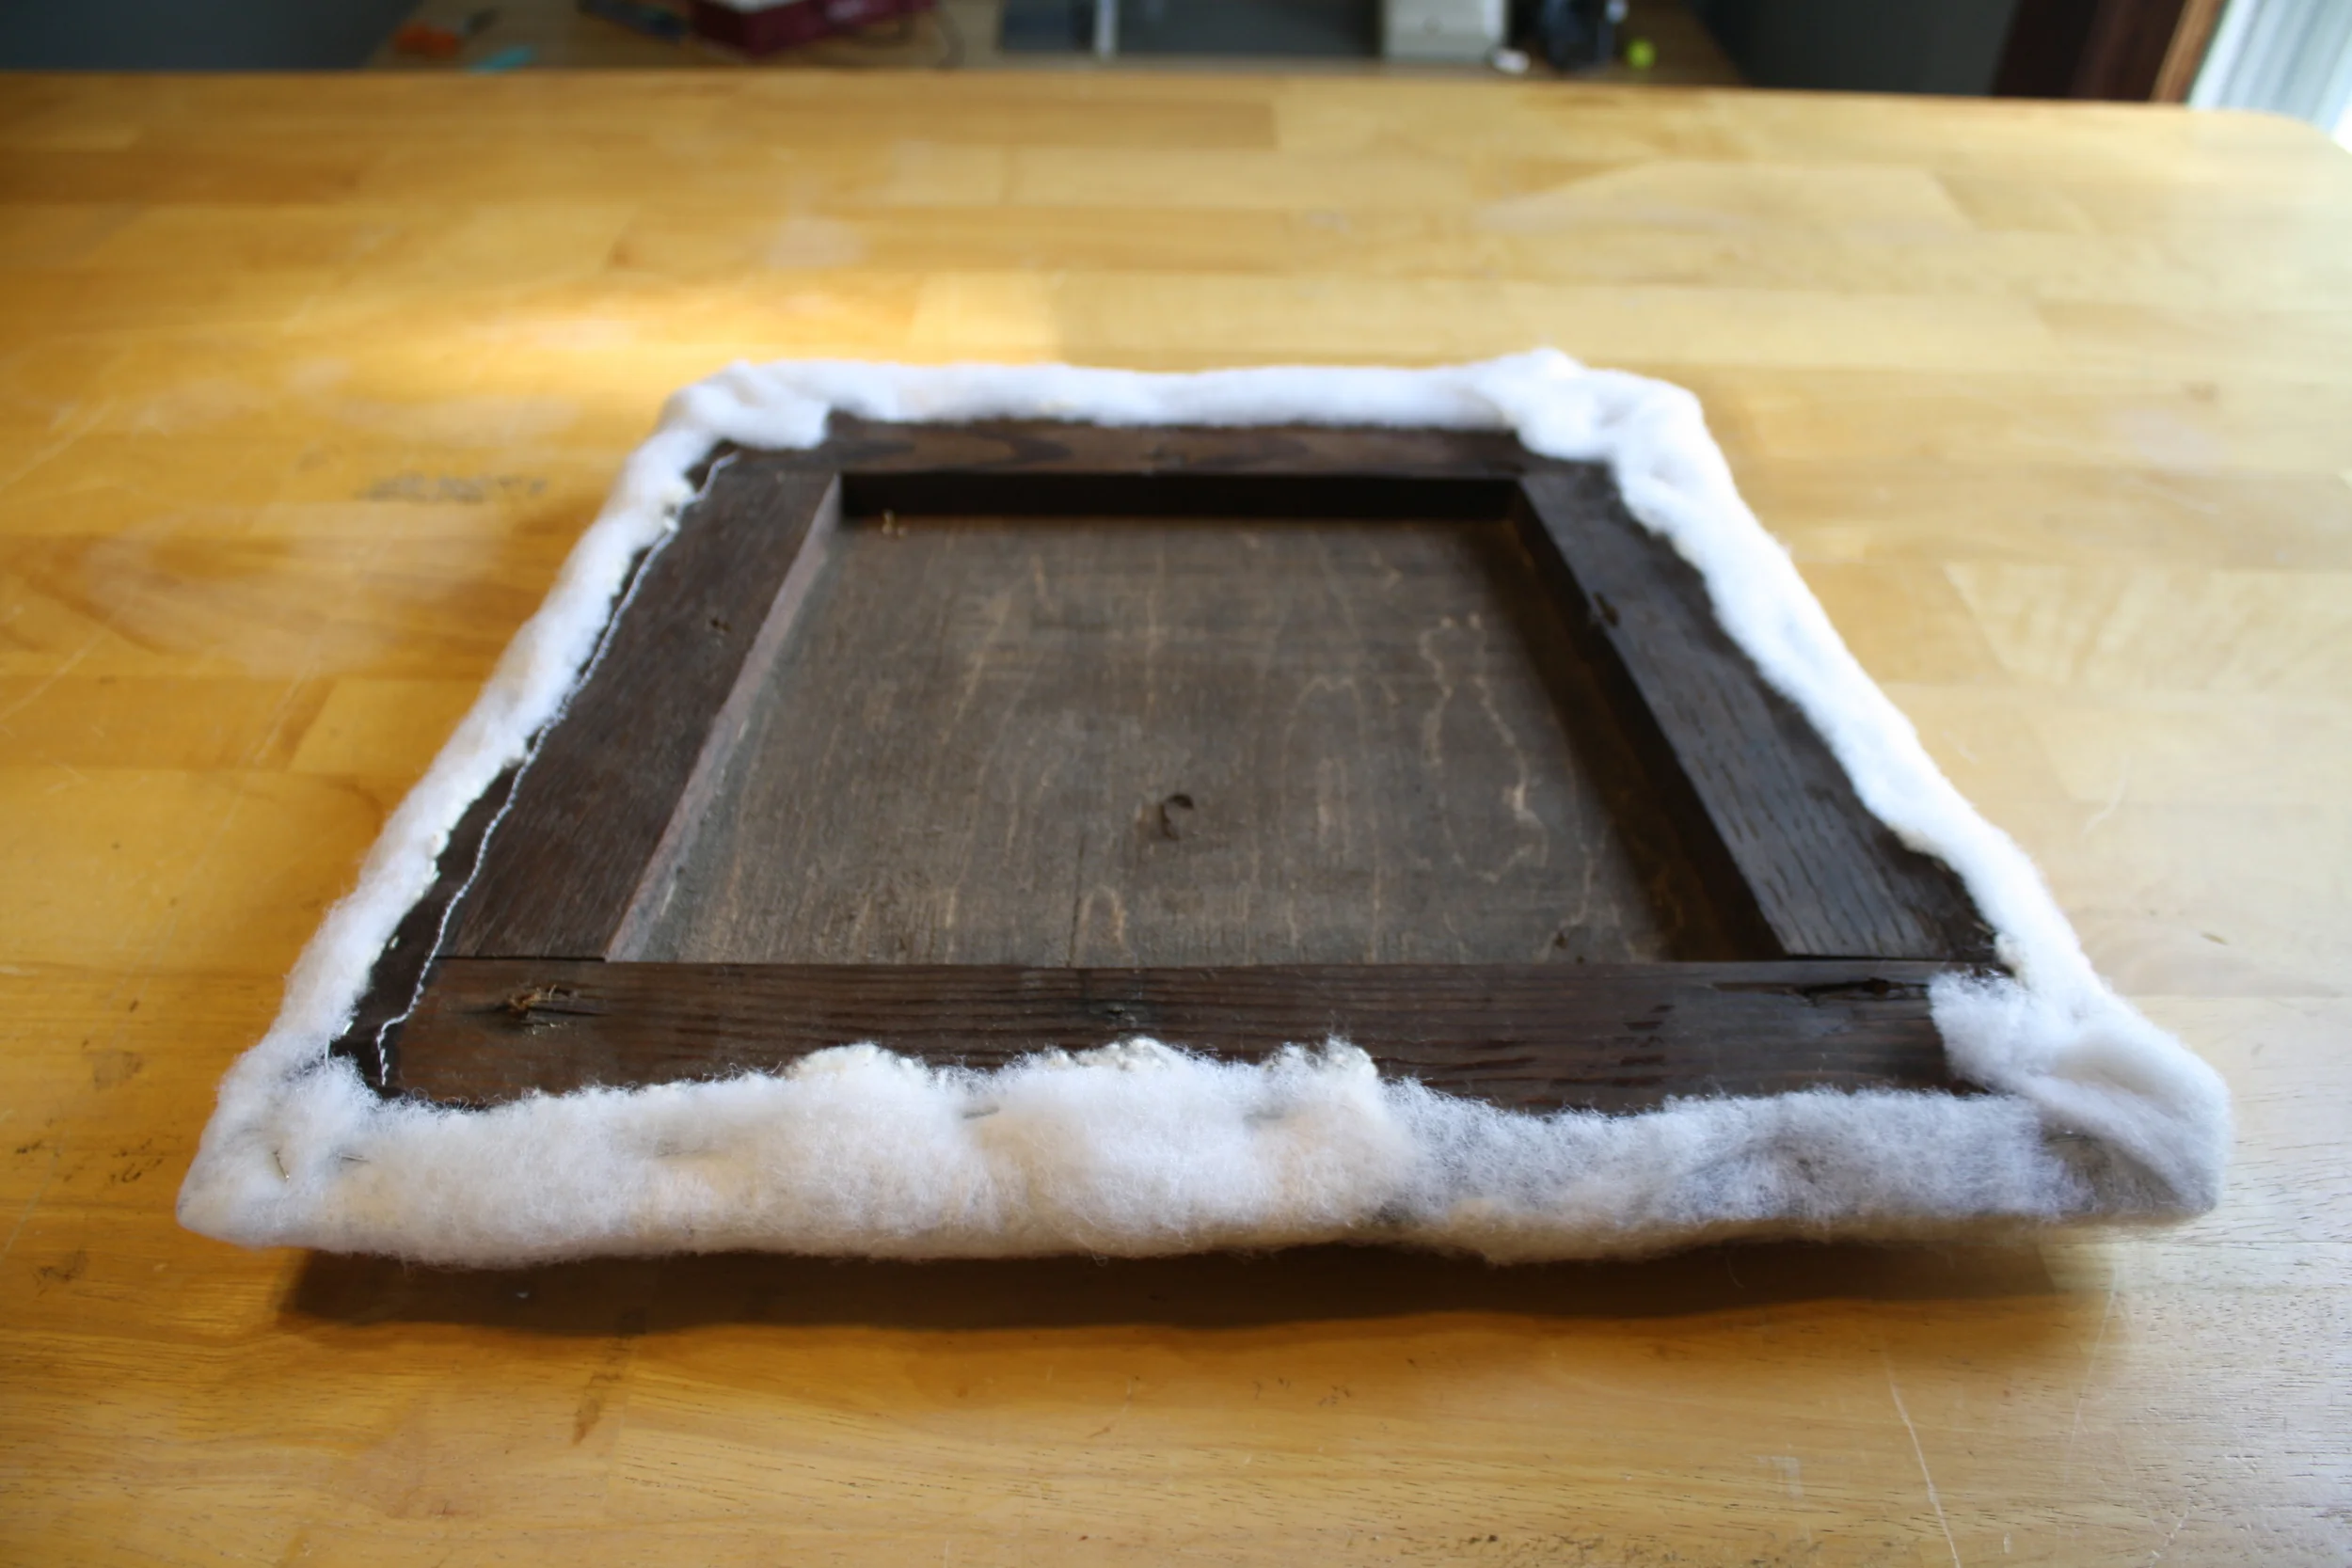
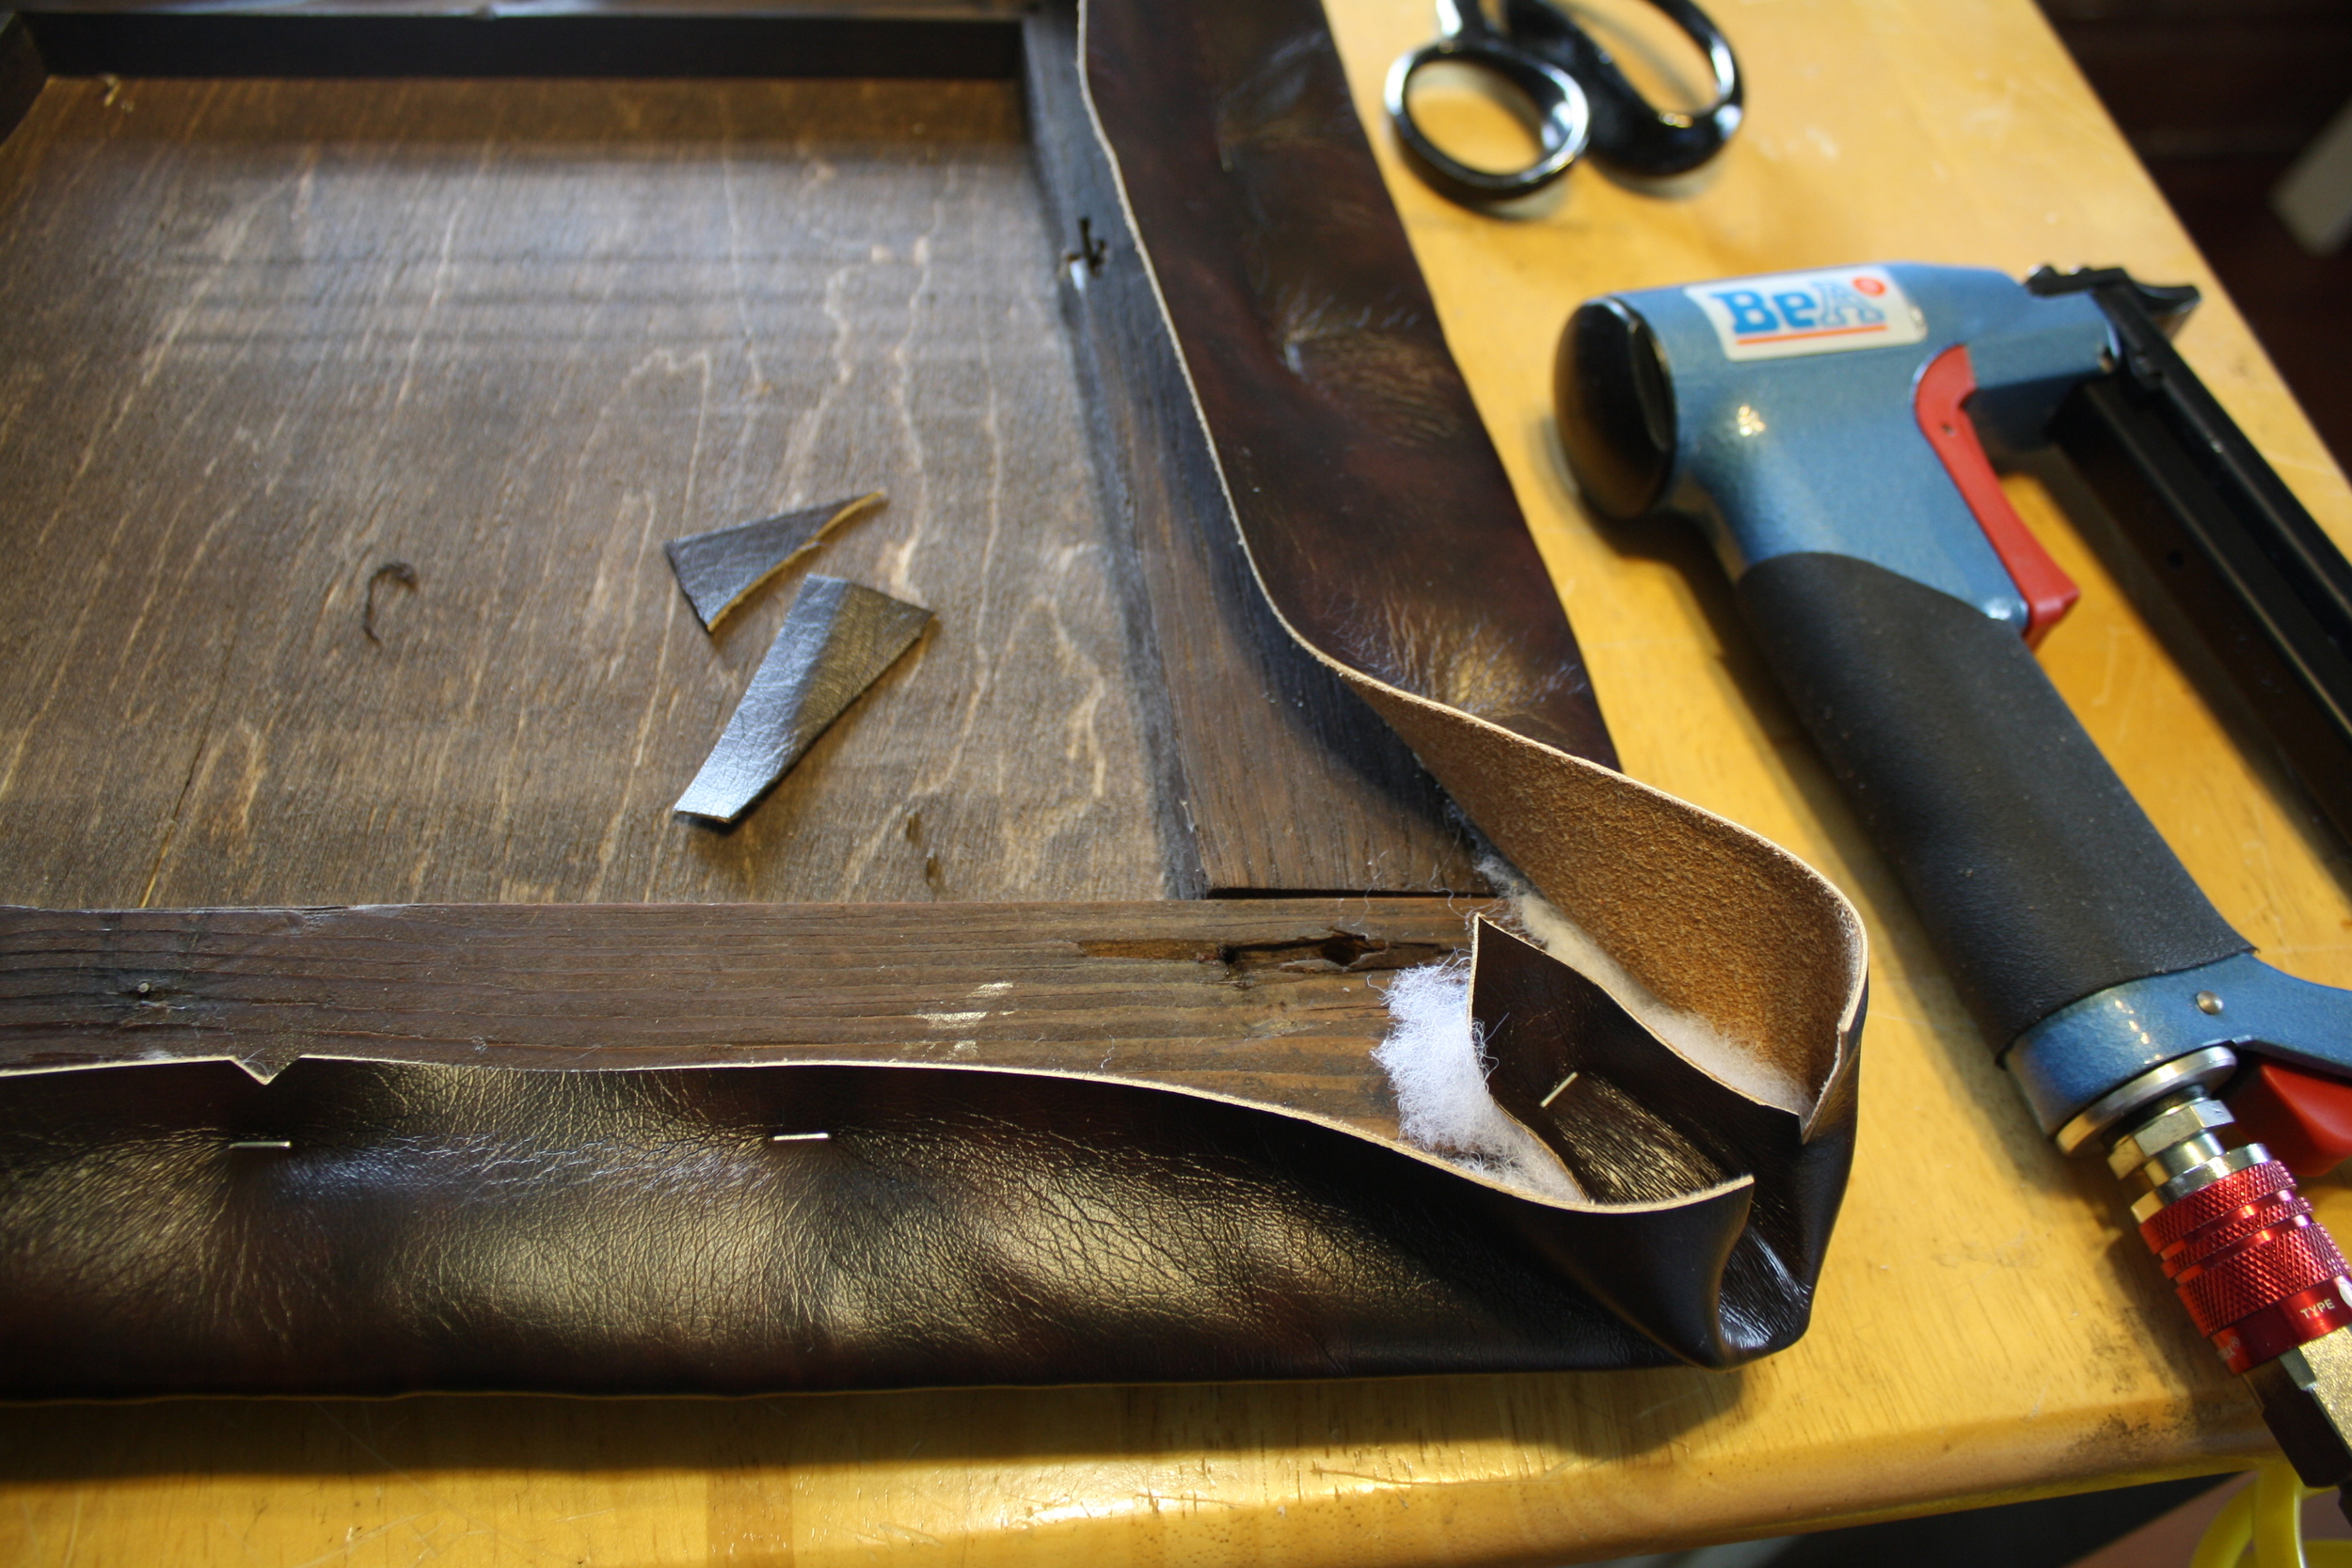
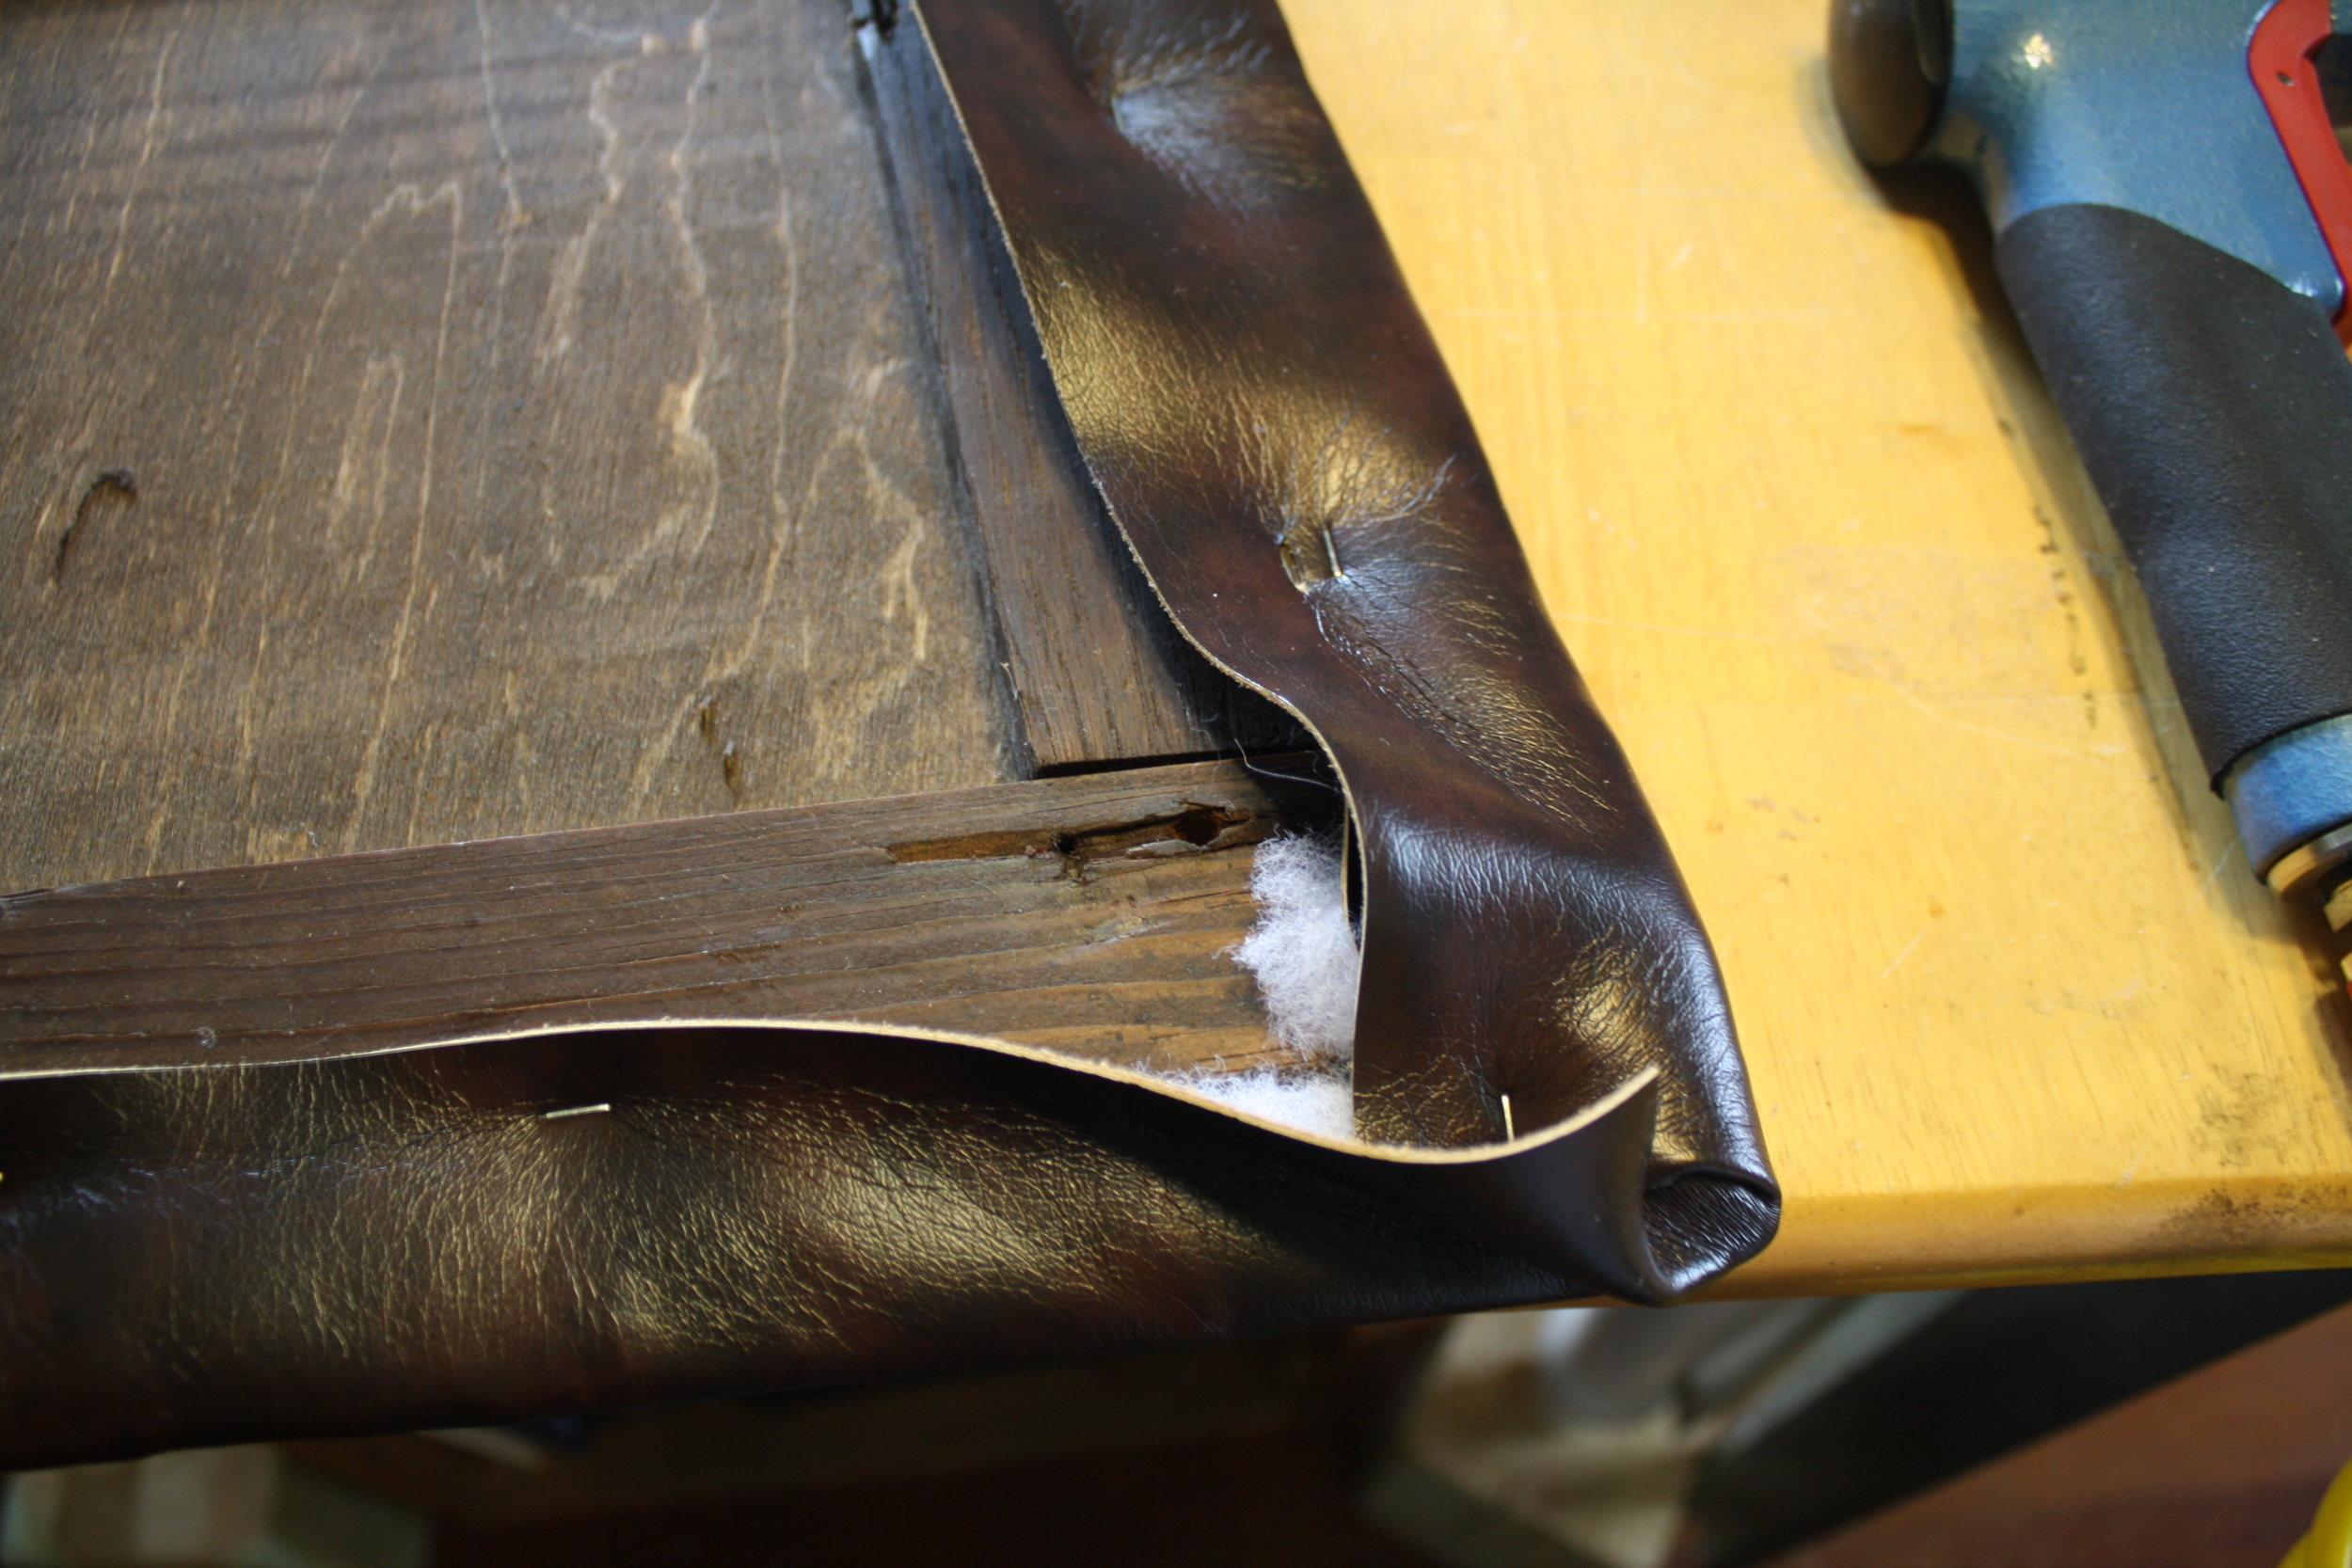
Step 1: Remove the old fabric
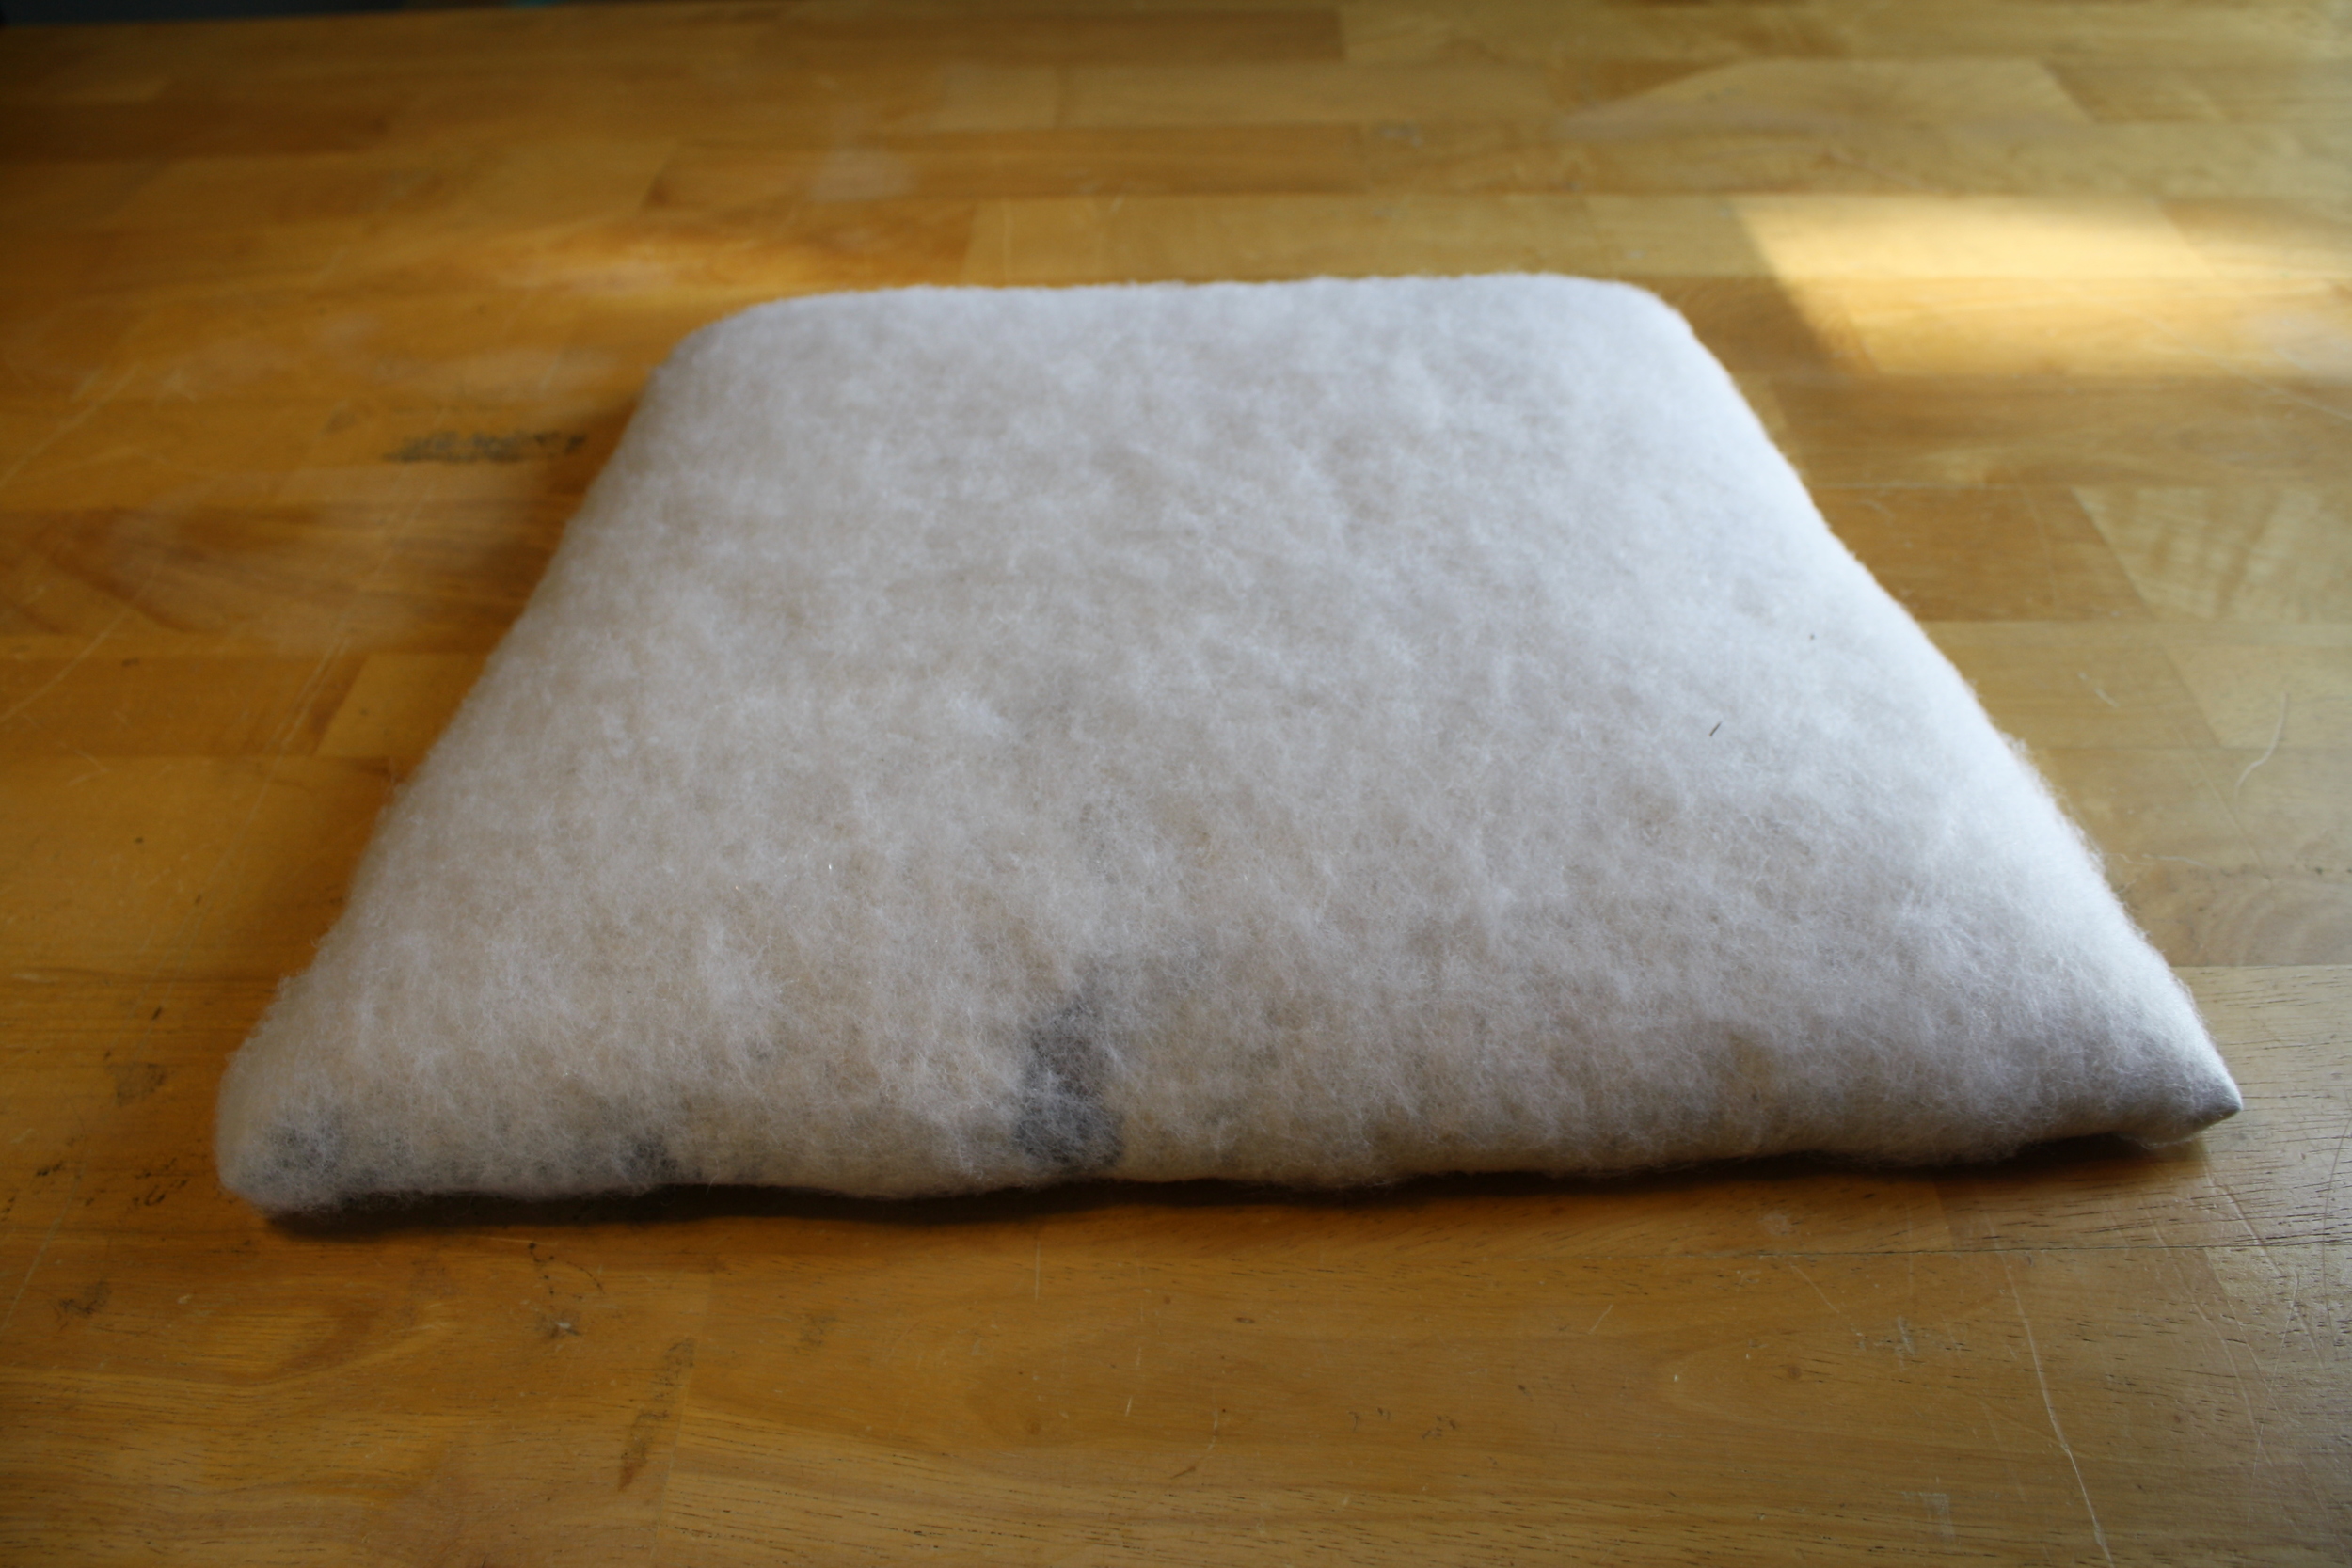
First, you'll need to detach the seat from the chair frame. Turn the chair upside down and you'll likely find that there is a screw at each corner holding the seat to the frame. Unscrew these to remove the seat and be sure to save the screws. Once you have the seat out, turn it upside down and pull out the staples or tacks holding on the old fabric. Your seat may be padded with foam that is glued to the frame of the seat, or with cotton or fiber padding that is stapled down. In either case, leave the padding attached.
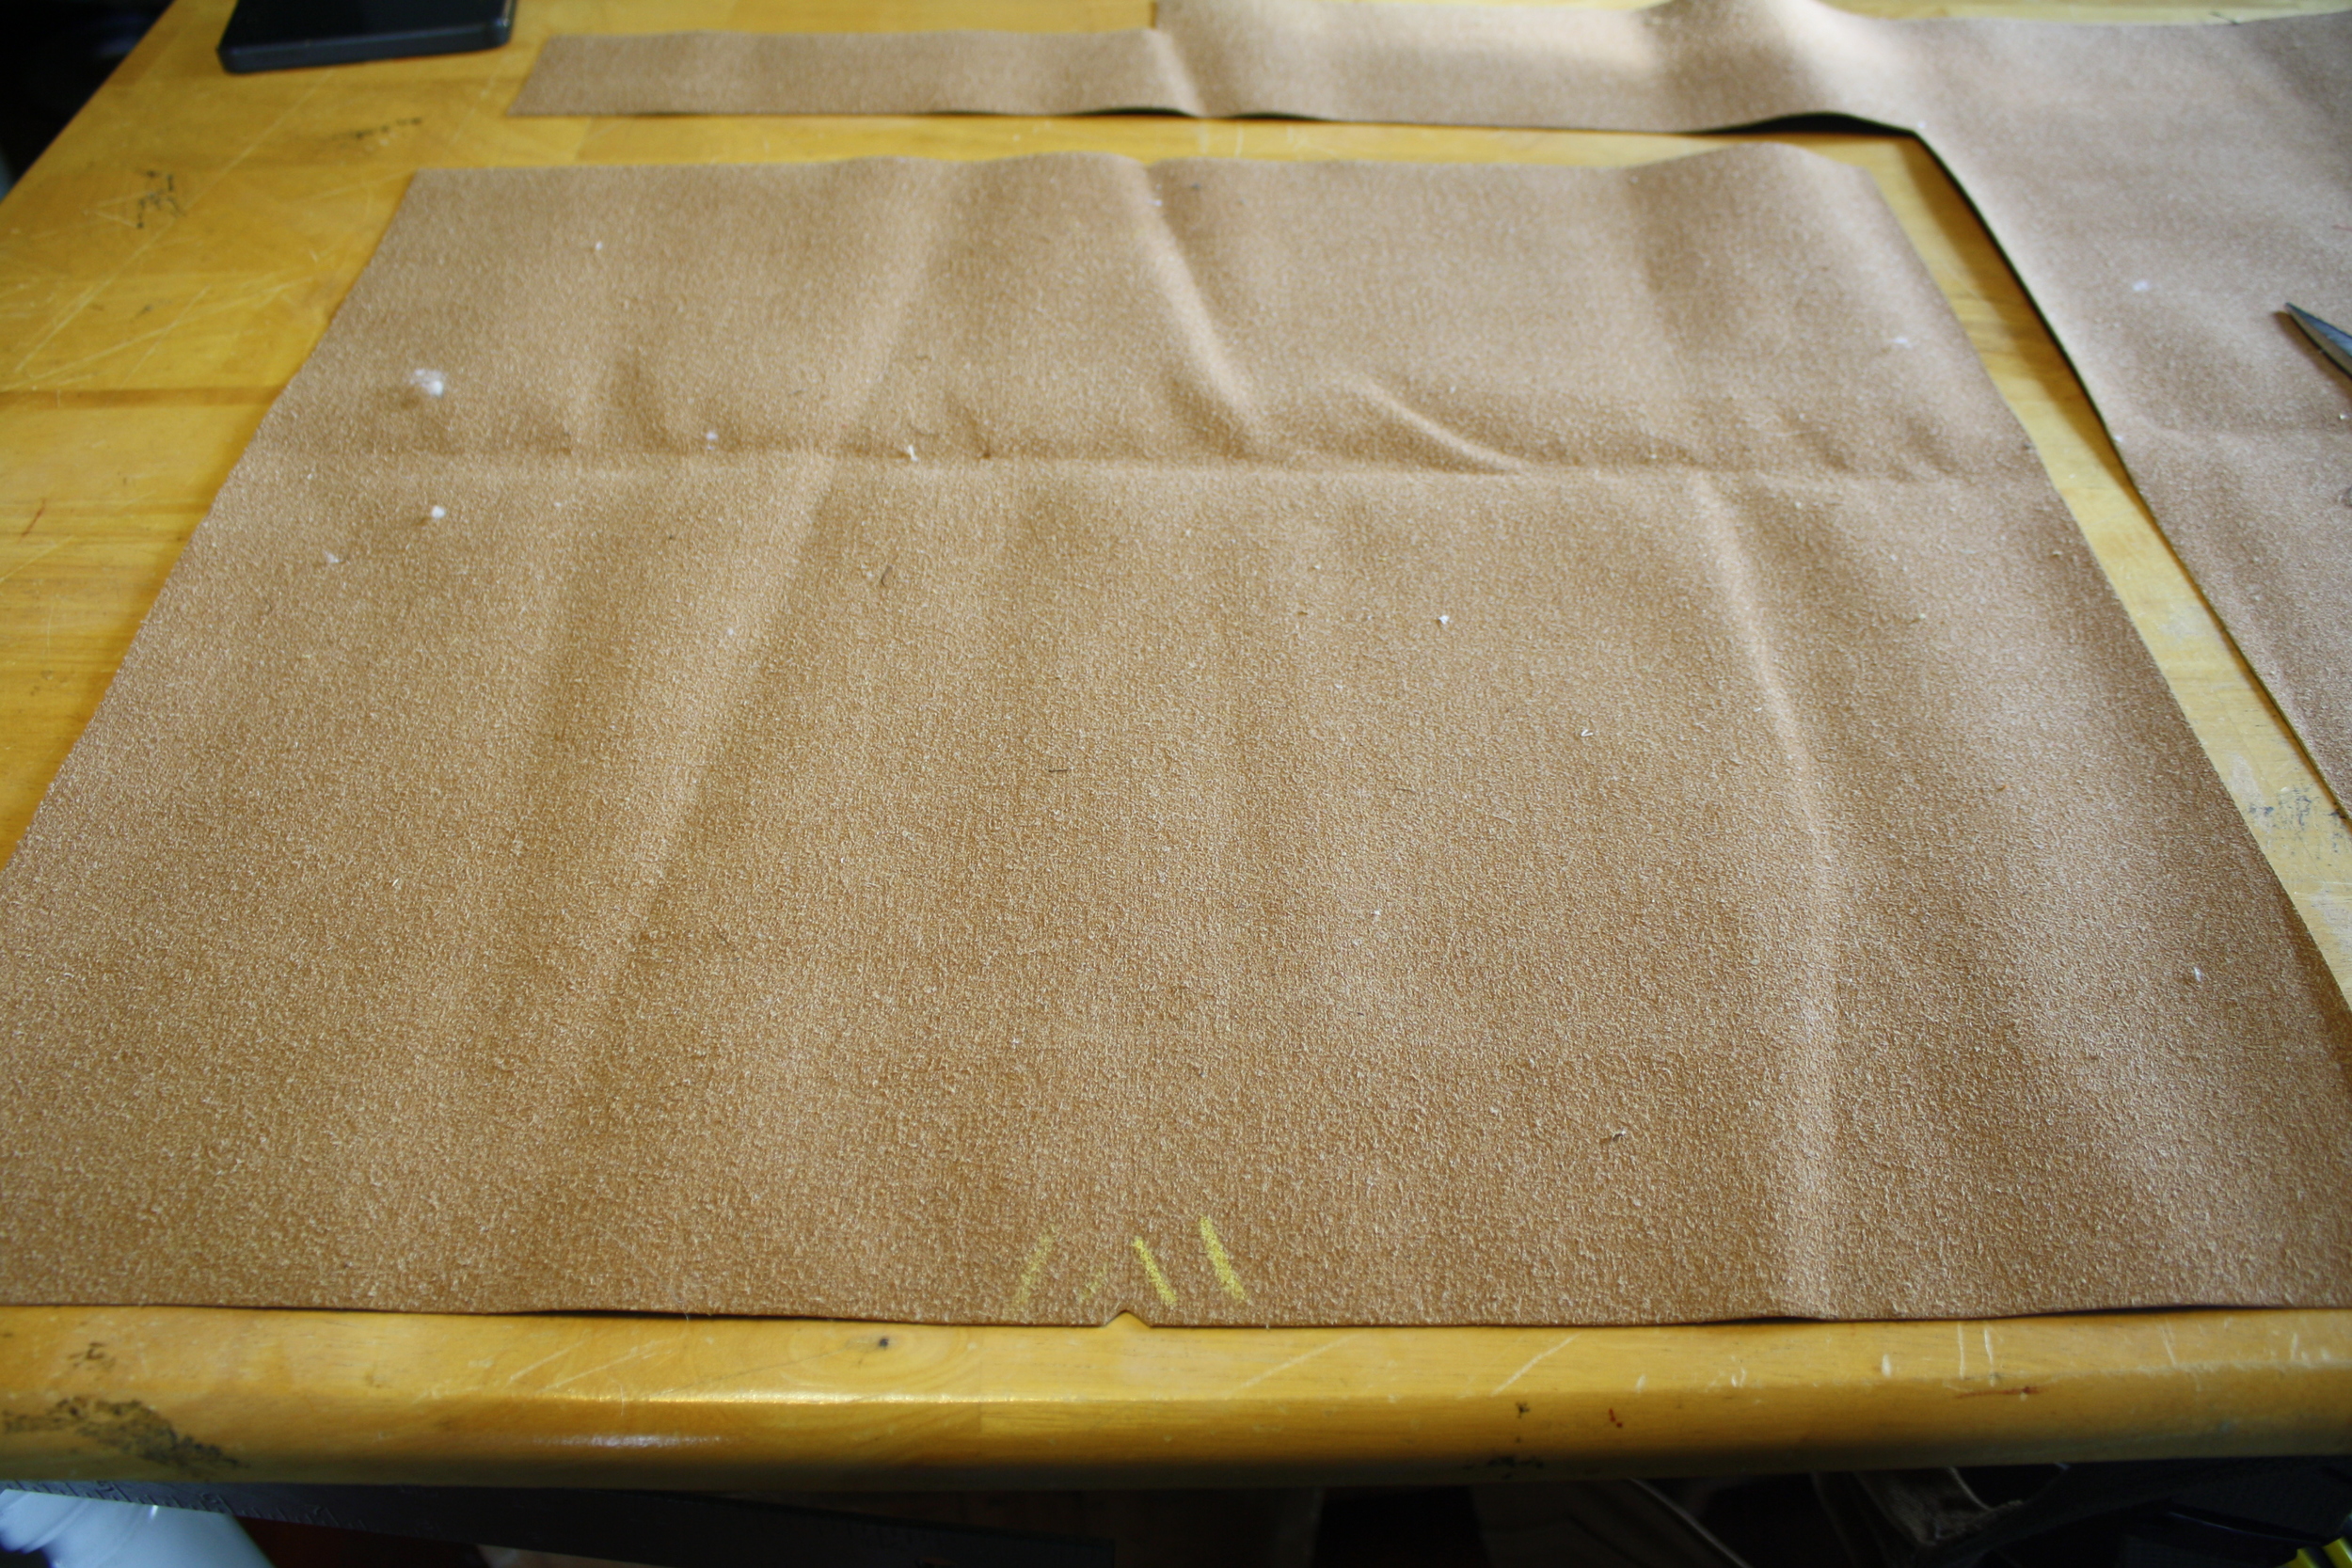
Step 2: Measure and cut the new fabric
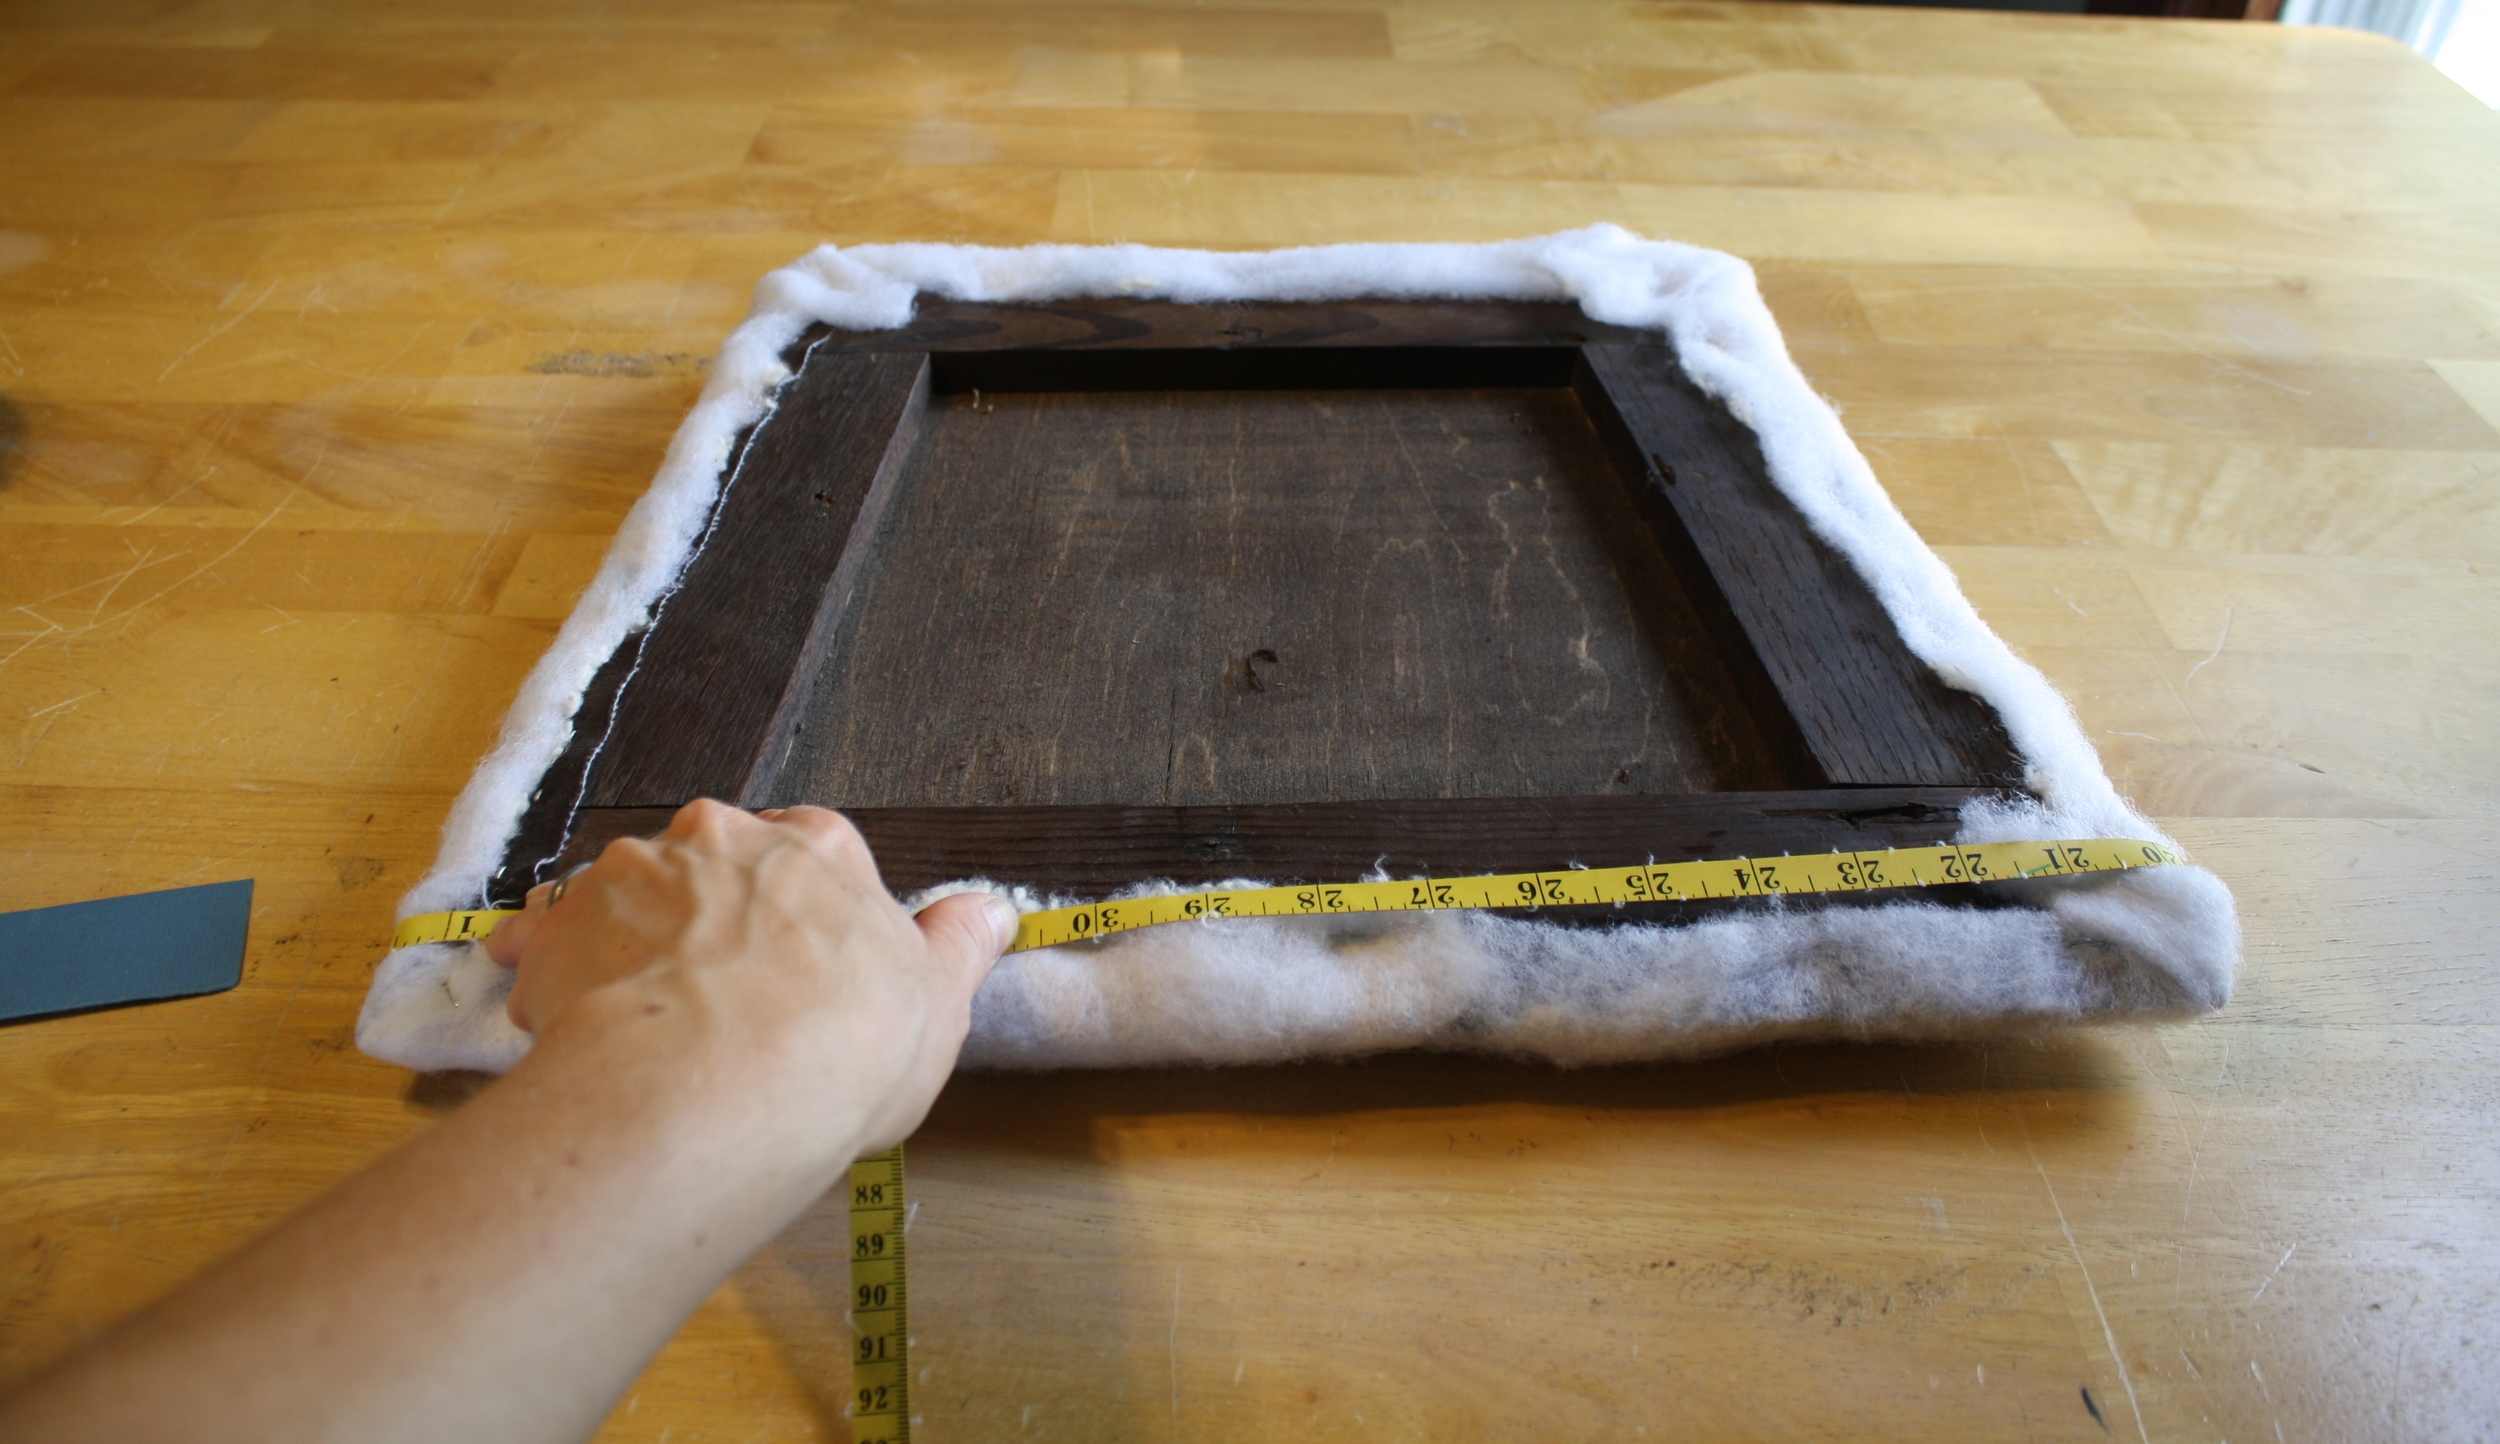
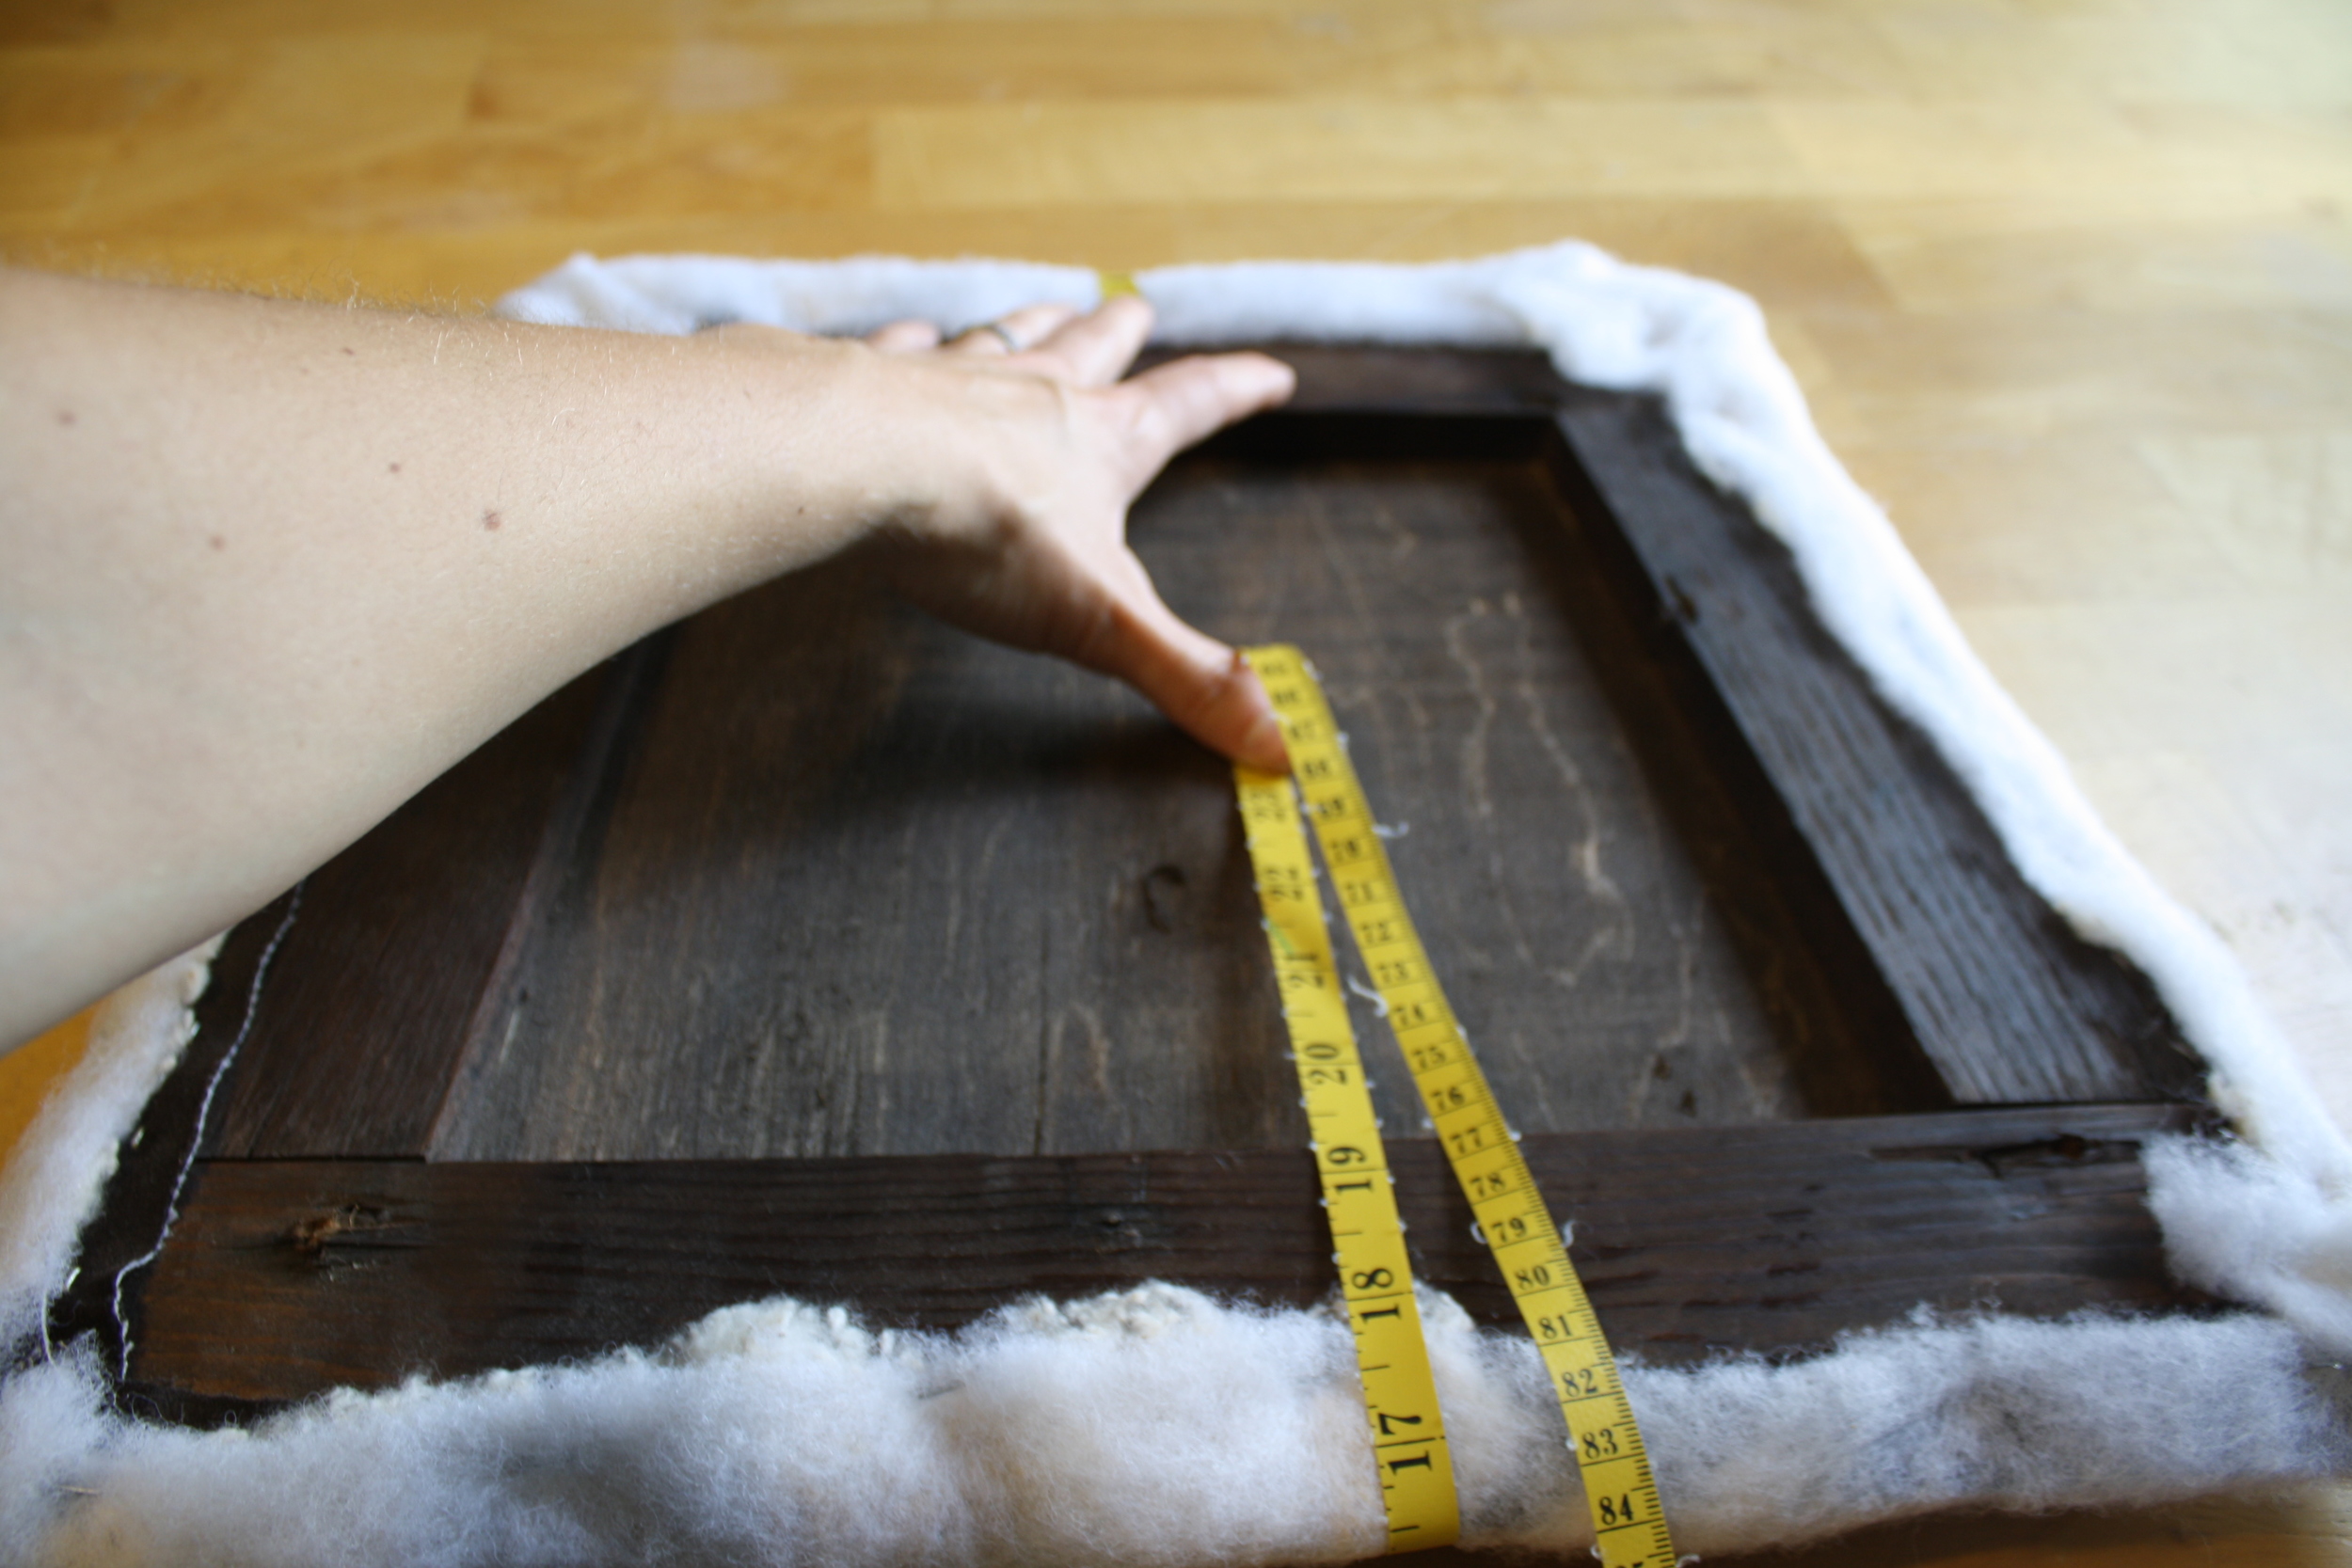
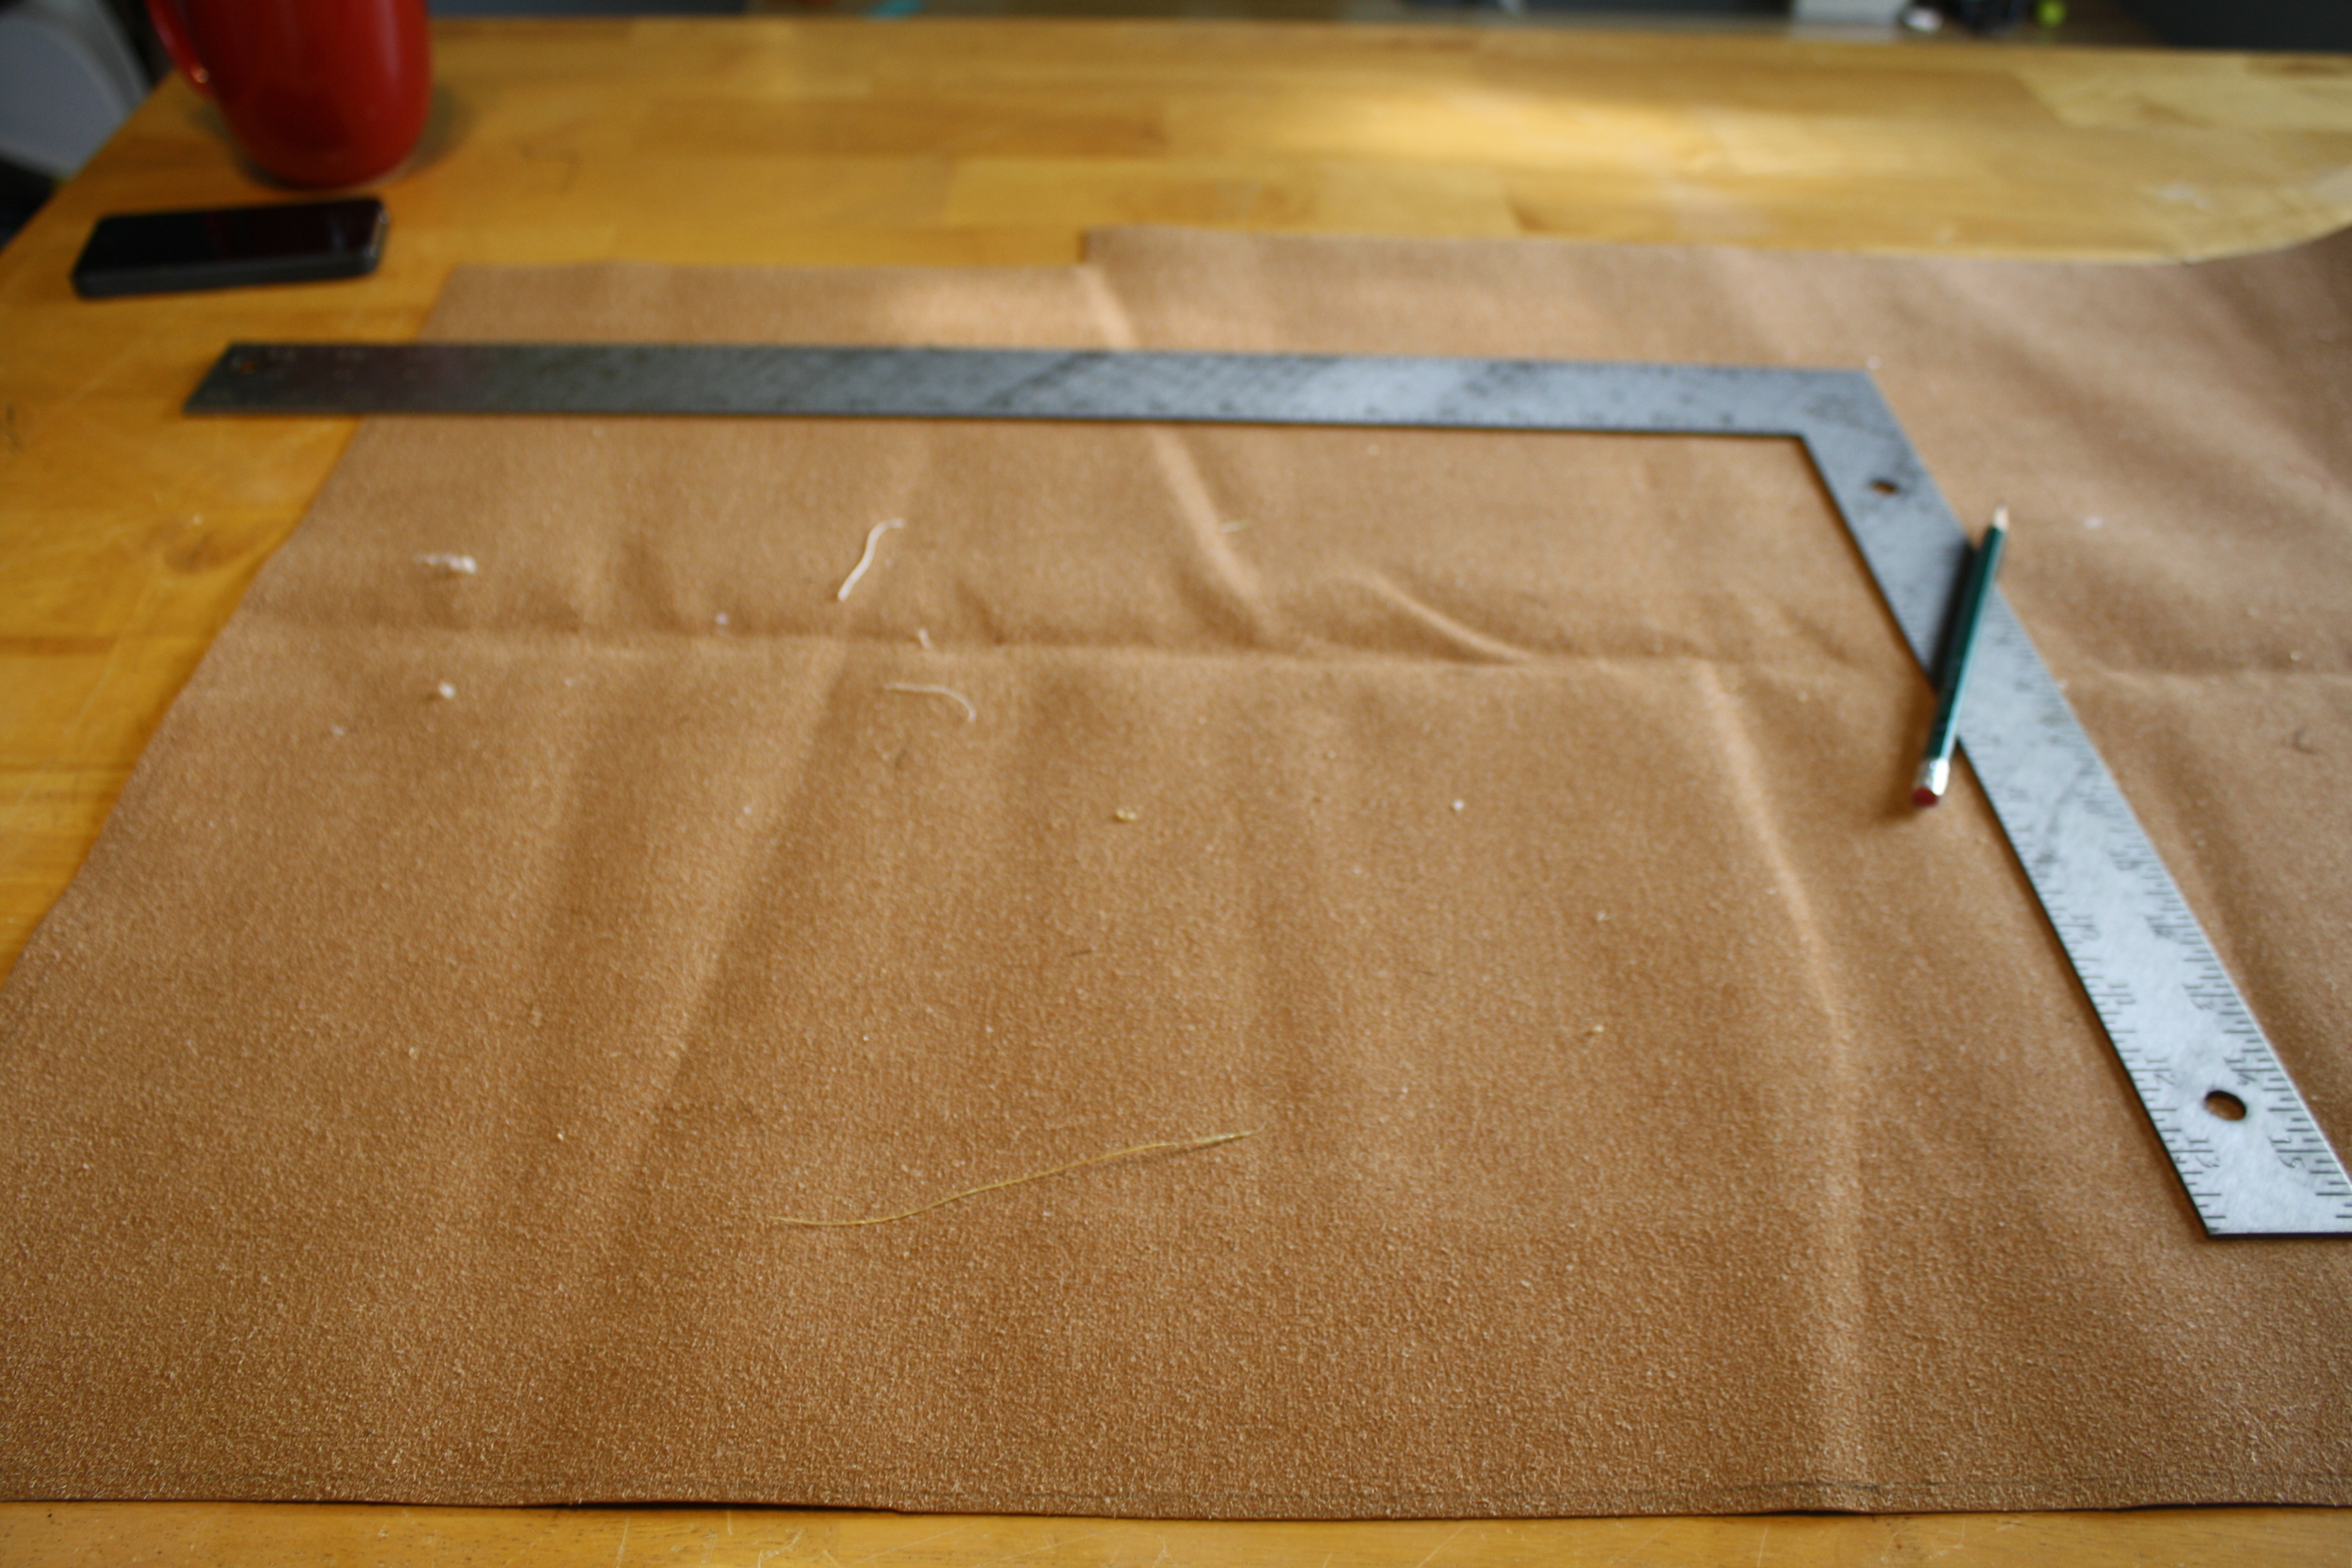
At the widest part of the chair seat, use your soft tape measure to measure from the bottom of the seat, around the top, and to the other side leaving a one inch allowance on each side so that you have some excess fabric to pull and staple. Do the same to measure the height. Now that you have your dimensions, lay out your fabric and use a carpenters square to cut a rectangle of fabric in the appropriate size. Though most seats are trapezoids rather than rectangles, it saves time to cut the fabric in a rectangle, and then trim off the excess once its attached. Mark the center points of each side of your fabric so that you can line it up on the seat correctly. If your fabric is directional, i.e. it has a design with a top and a bottom or has a nap, be sure to mark which end of your fabric piece will be at the front of the seat.
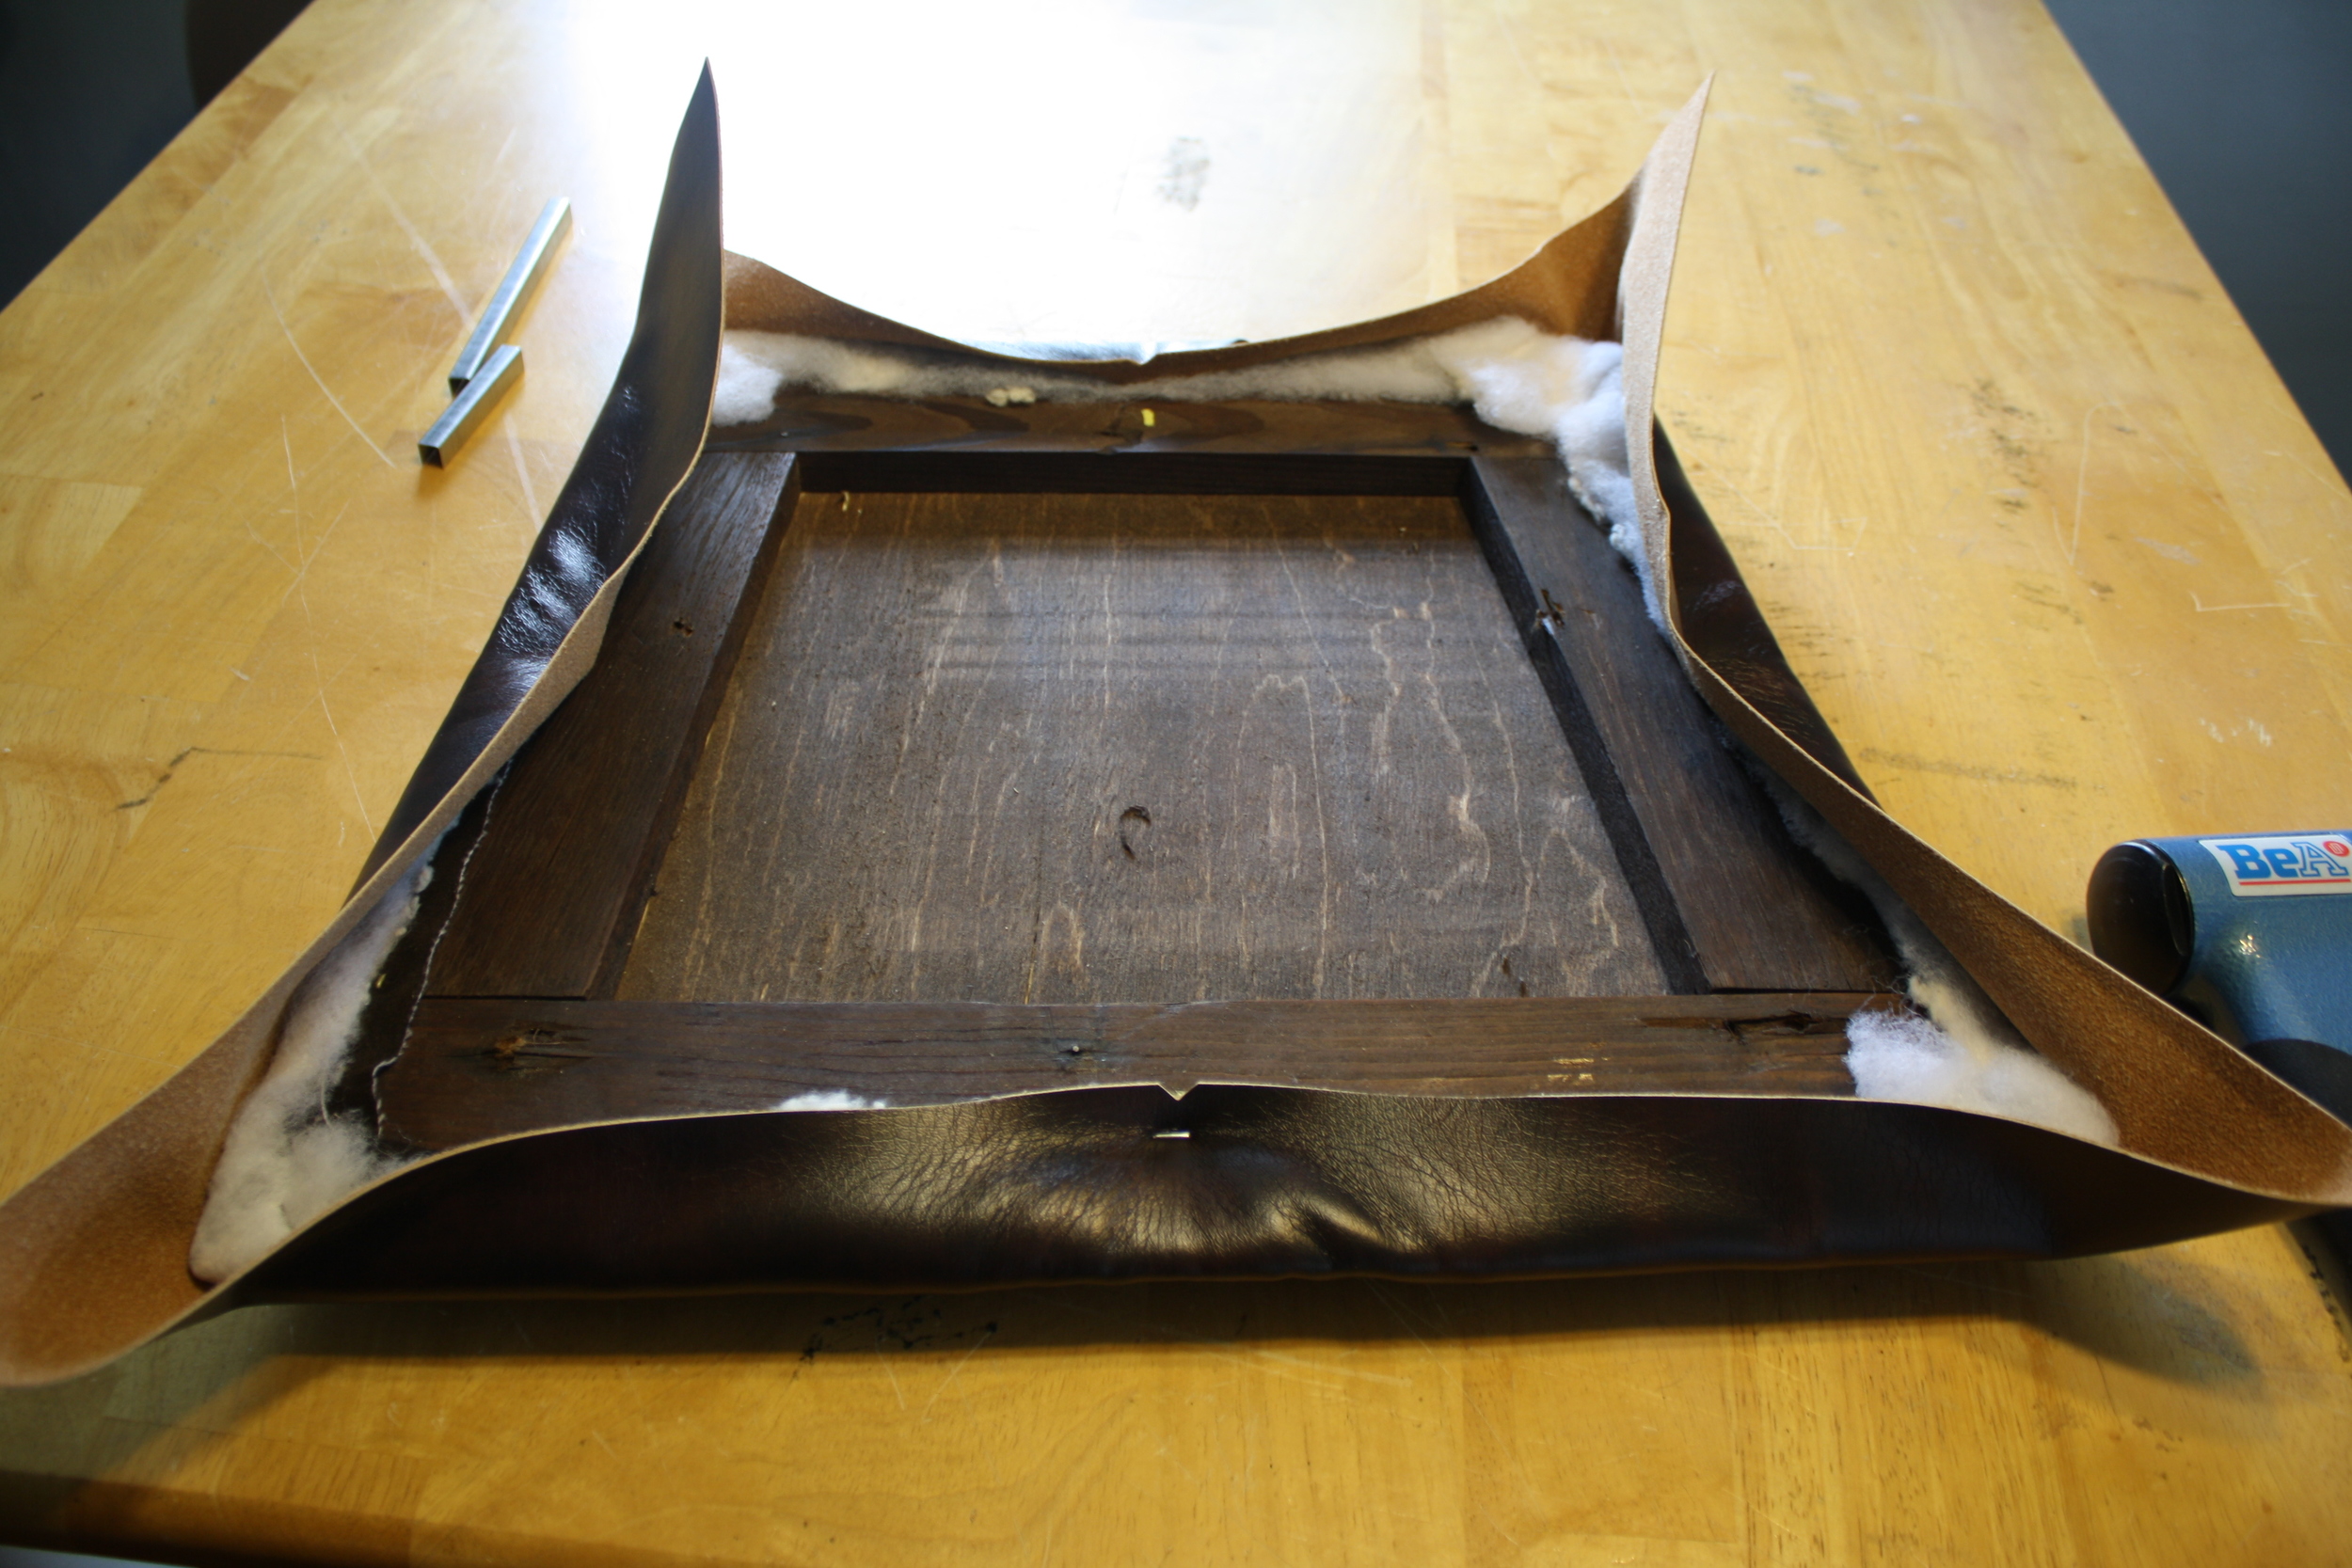
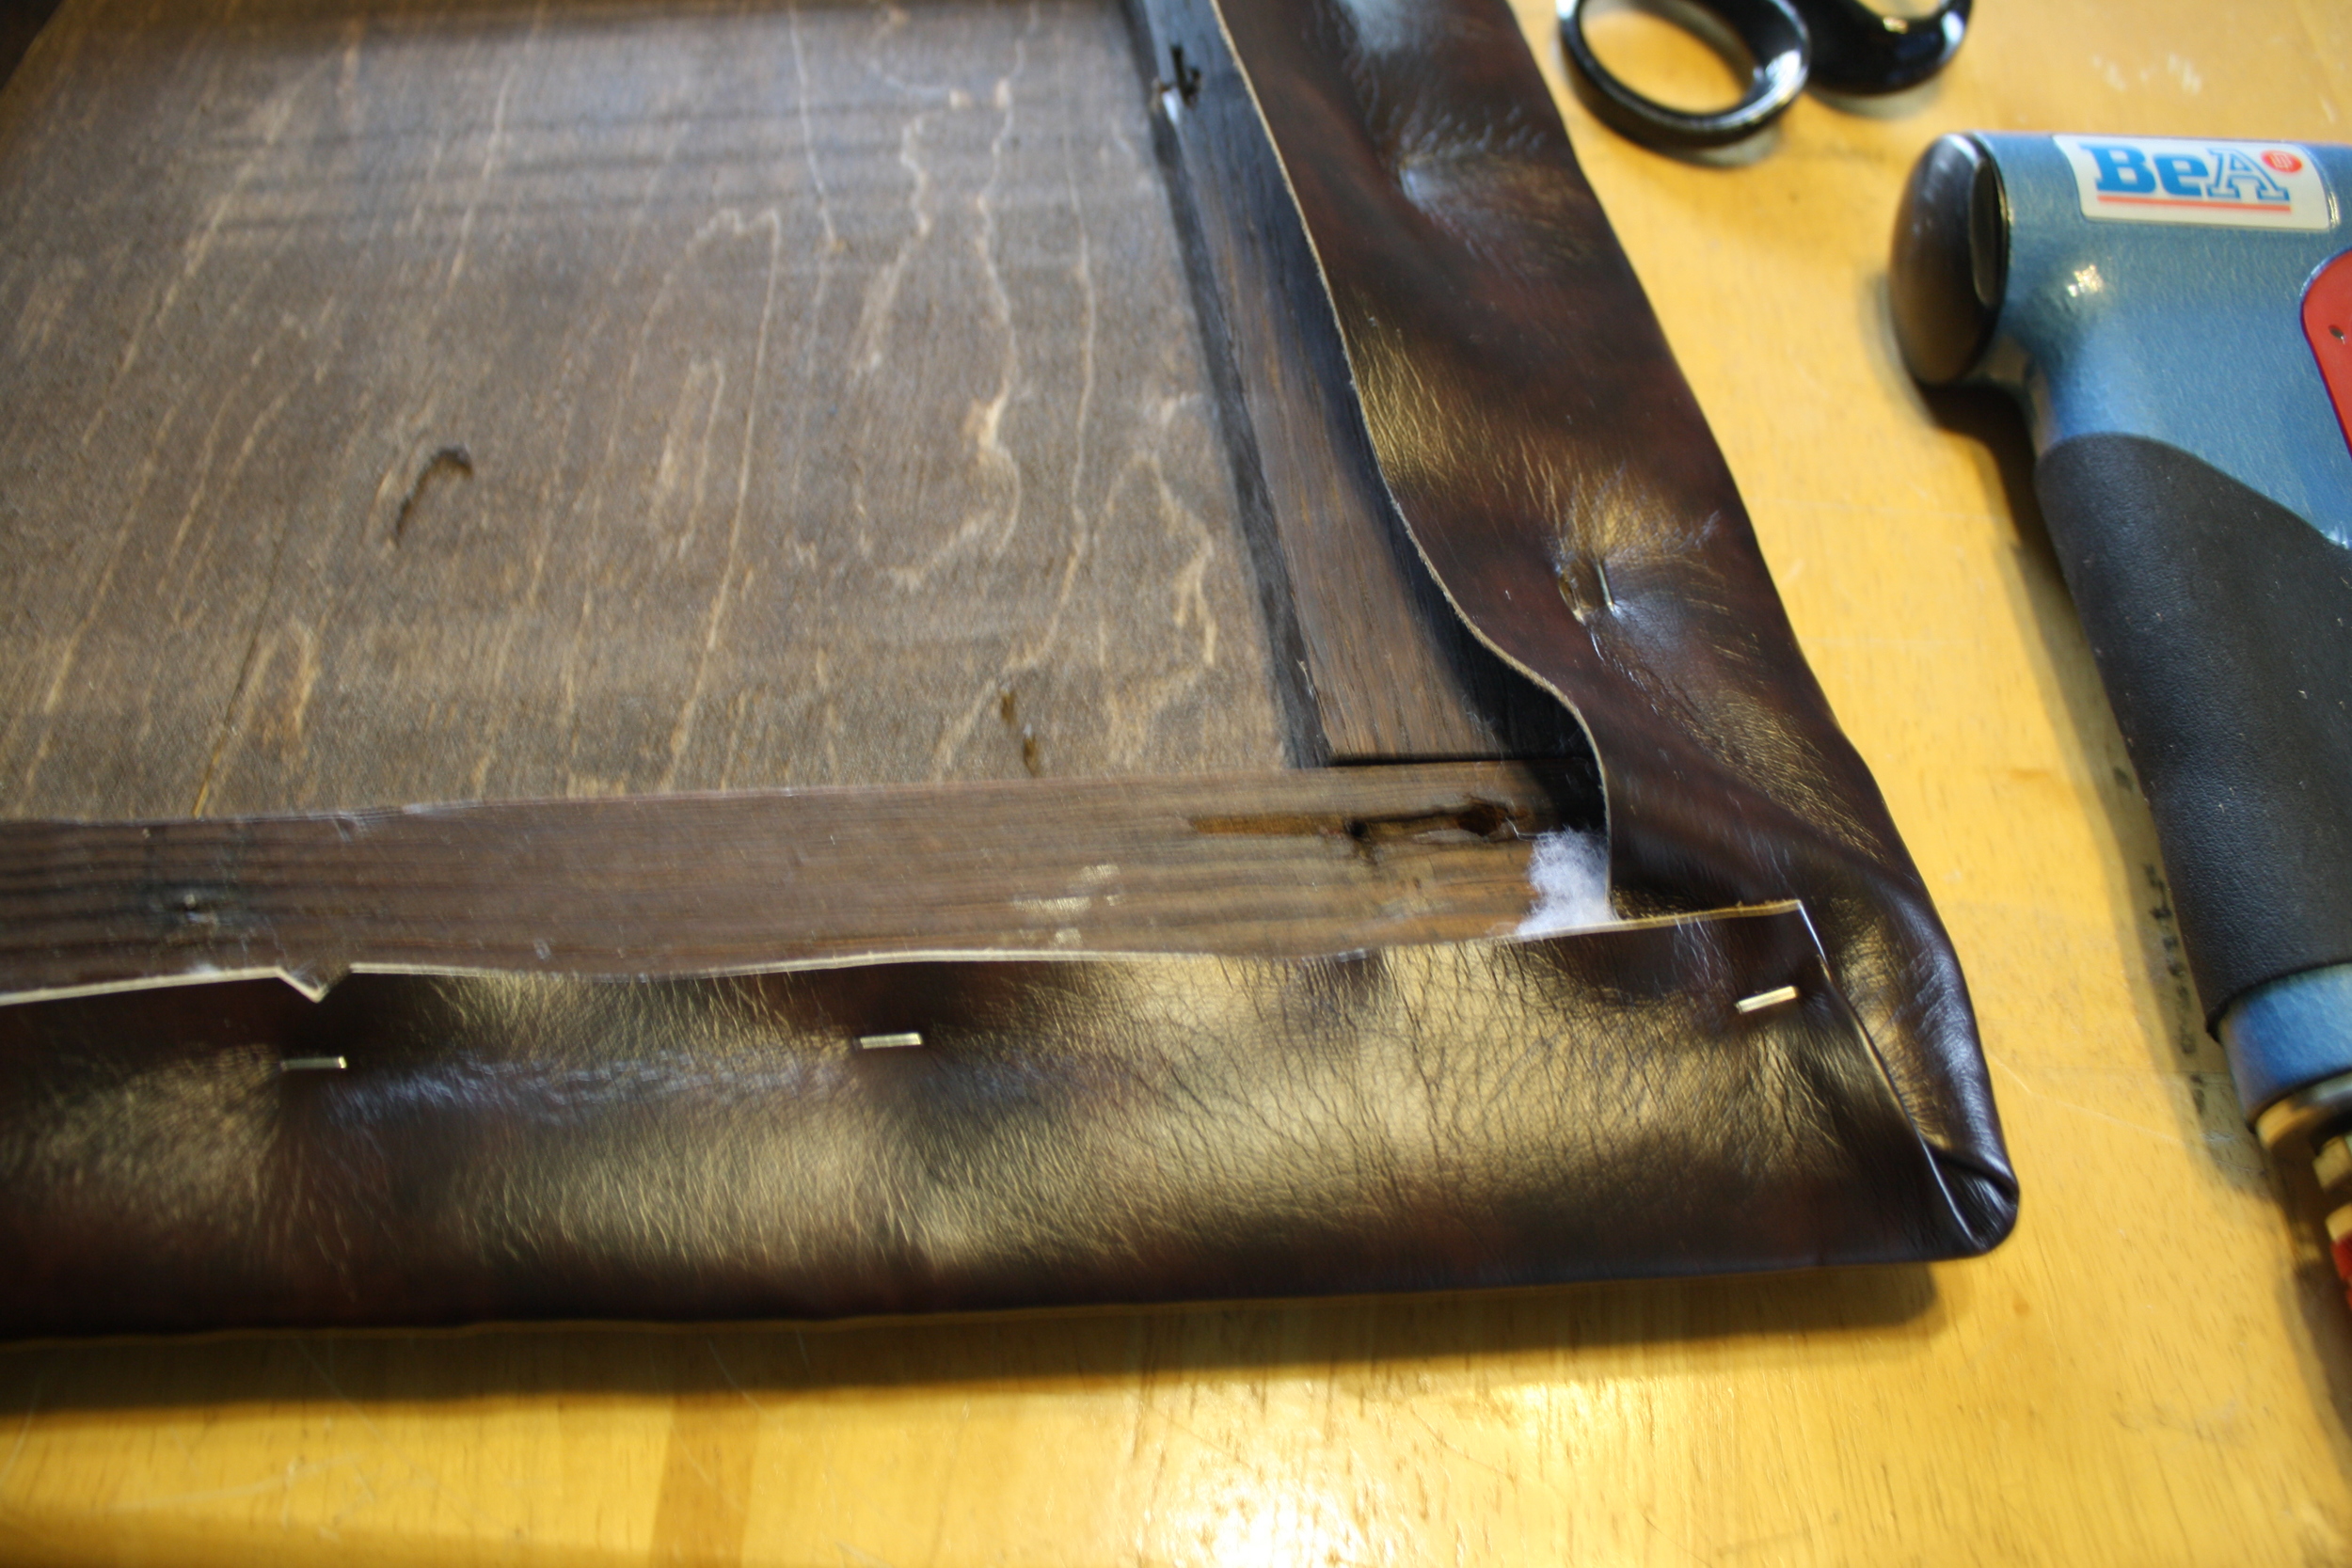
Step 3: Loose tack the fabric
Loose tacking the fabric means that you get it correctly positioned and attached to the frame; it also implies the likelihood that these initial staples or tacks may need to be pulled out as you progress. Mark the mid-point of each side of your seat frame and align your fabric to these points. Start by attaching the fabric at the mid-point of each side, making sure you are pulling the fabric tight; remember that when you put a staple on one side, your next should go in the same place on the opposite side (i.e., attach the bottom, then the top; next the right, then the left). Once you are satisfied that the fabric is on your frame straight and in the correct direction, and is pulled tightly, continue the same process until you have about three staples on each side. Keep your staples at least a few inches in from each corner.
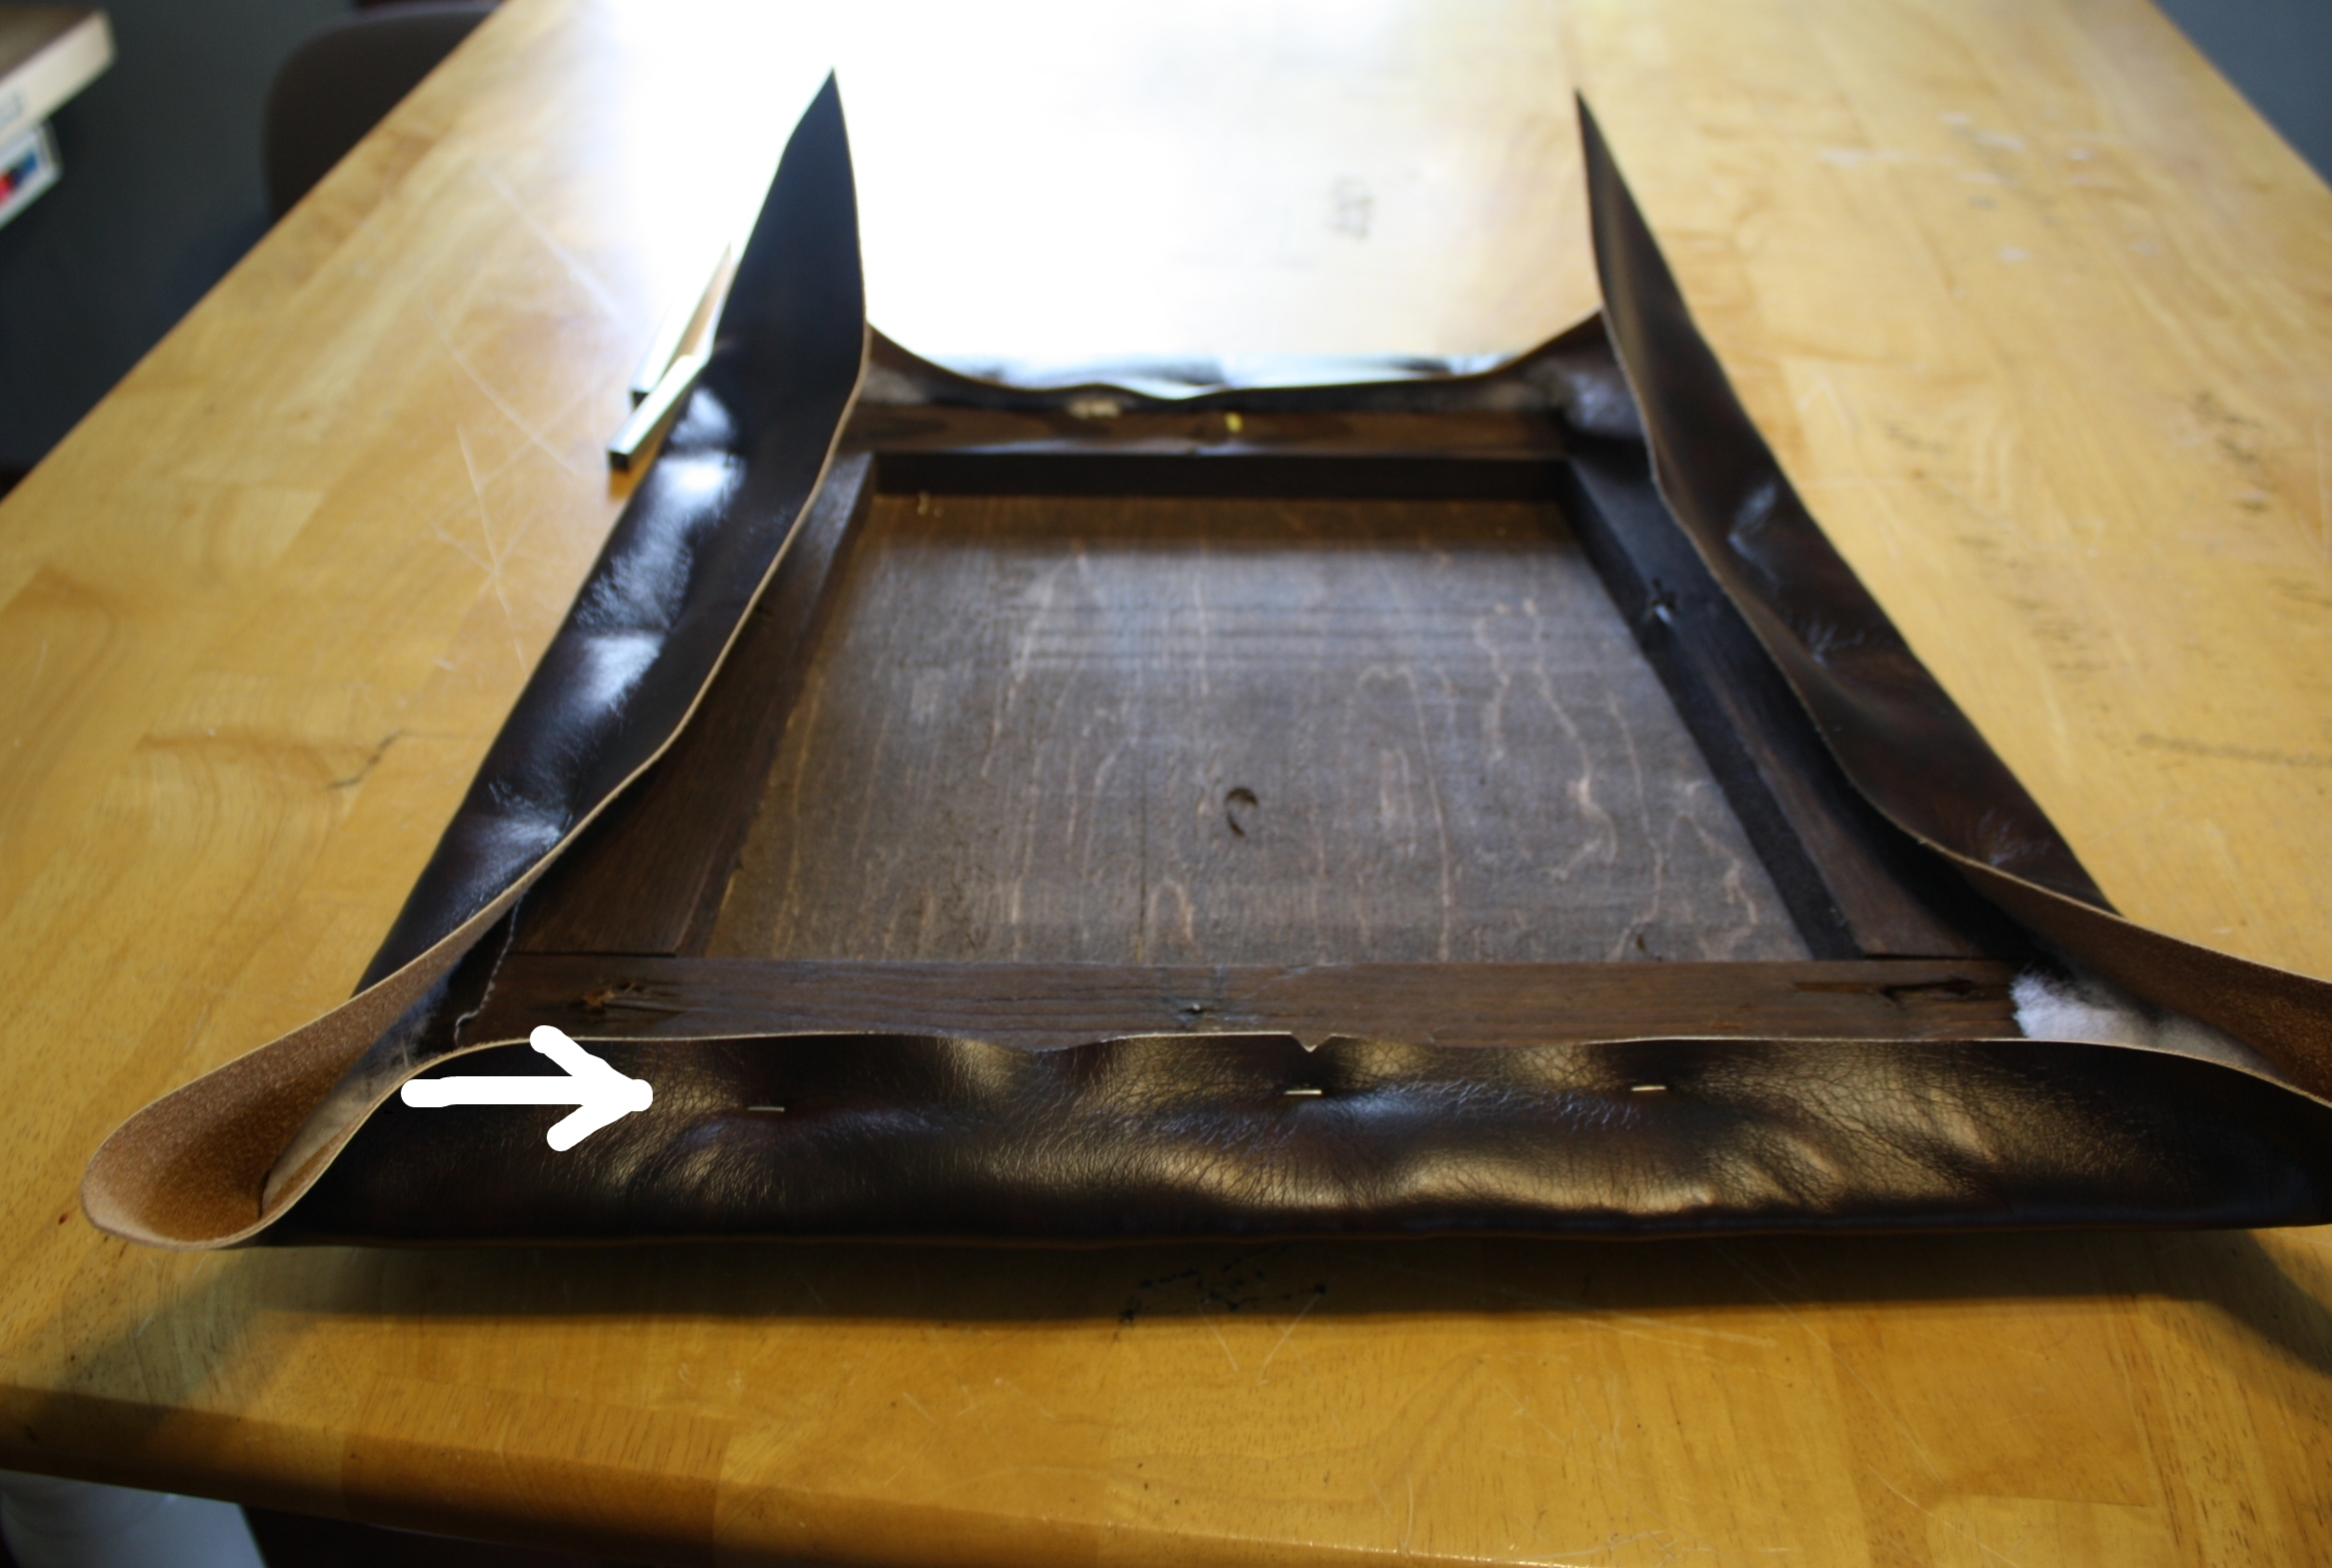
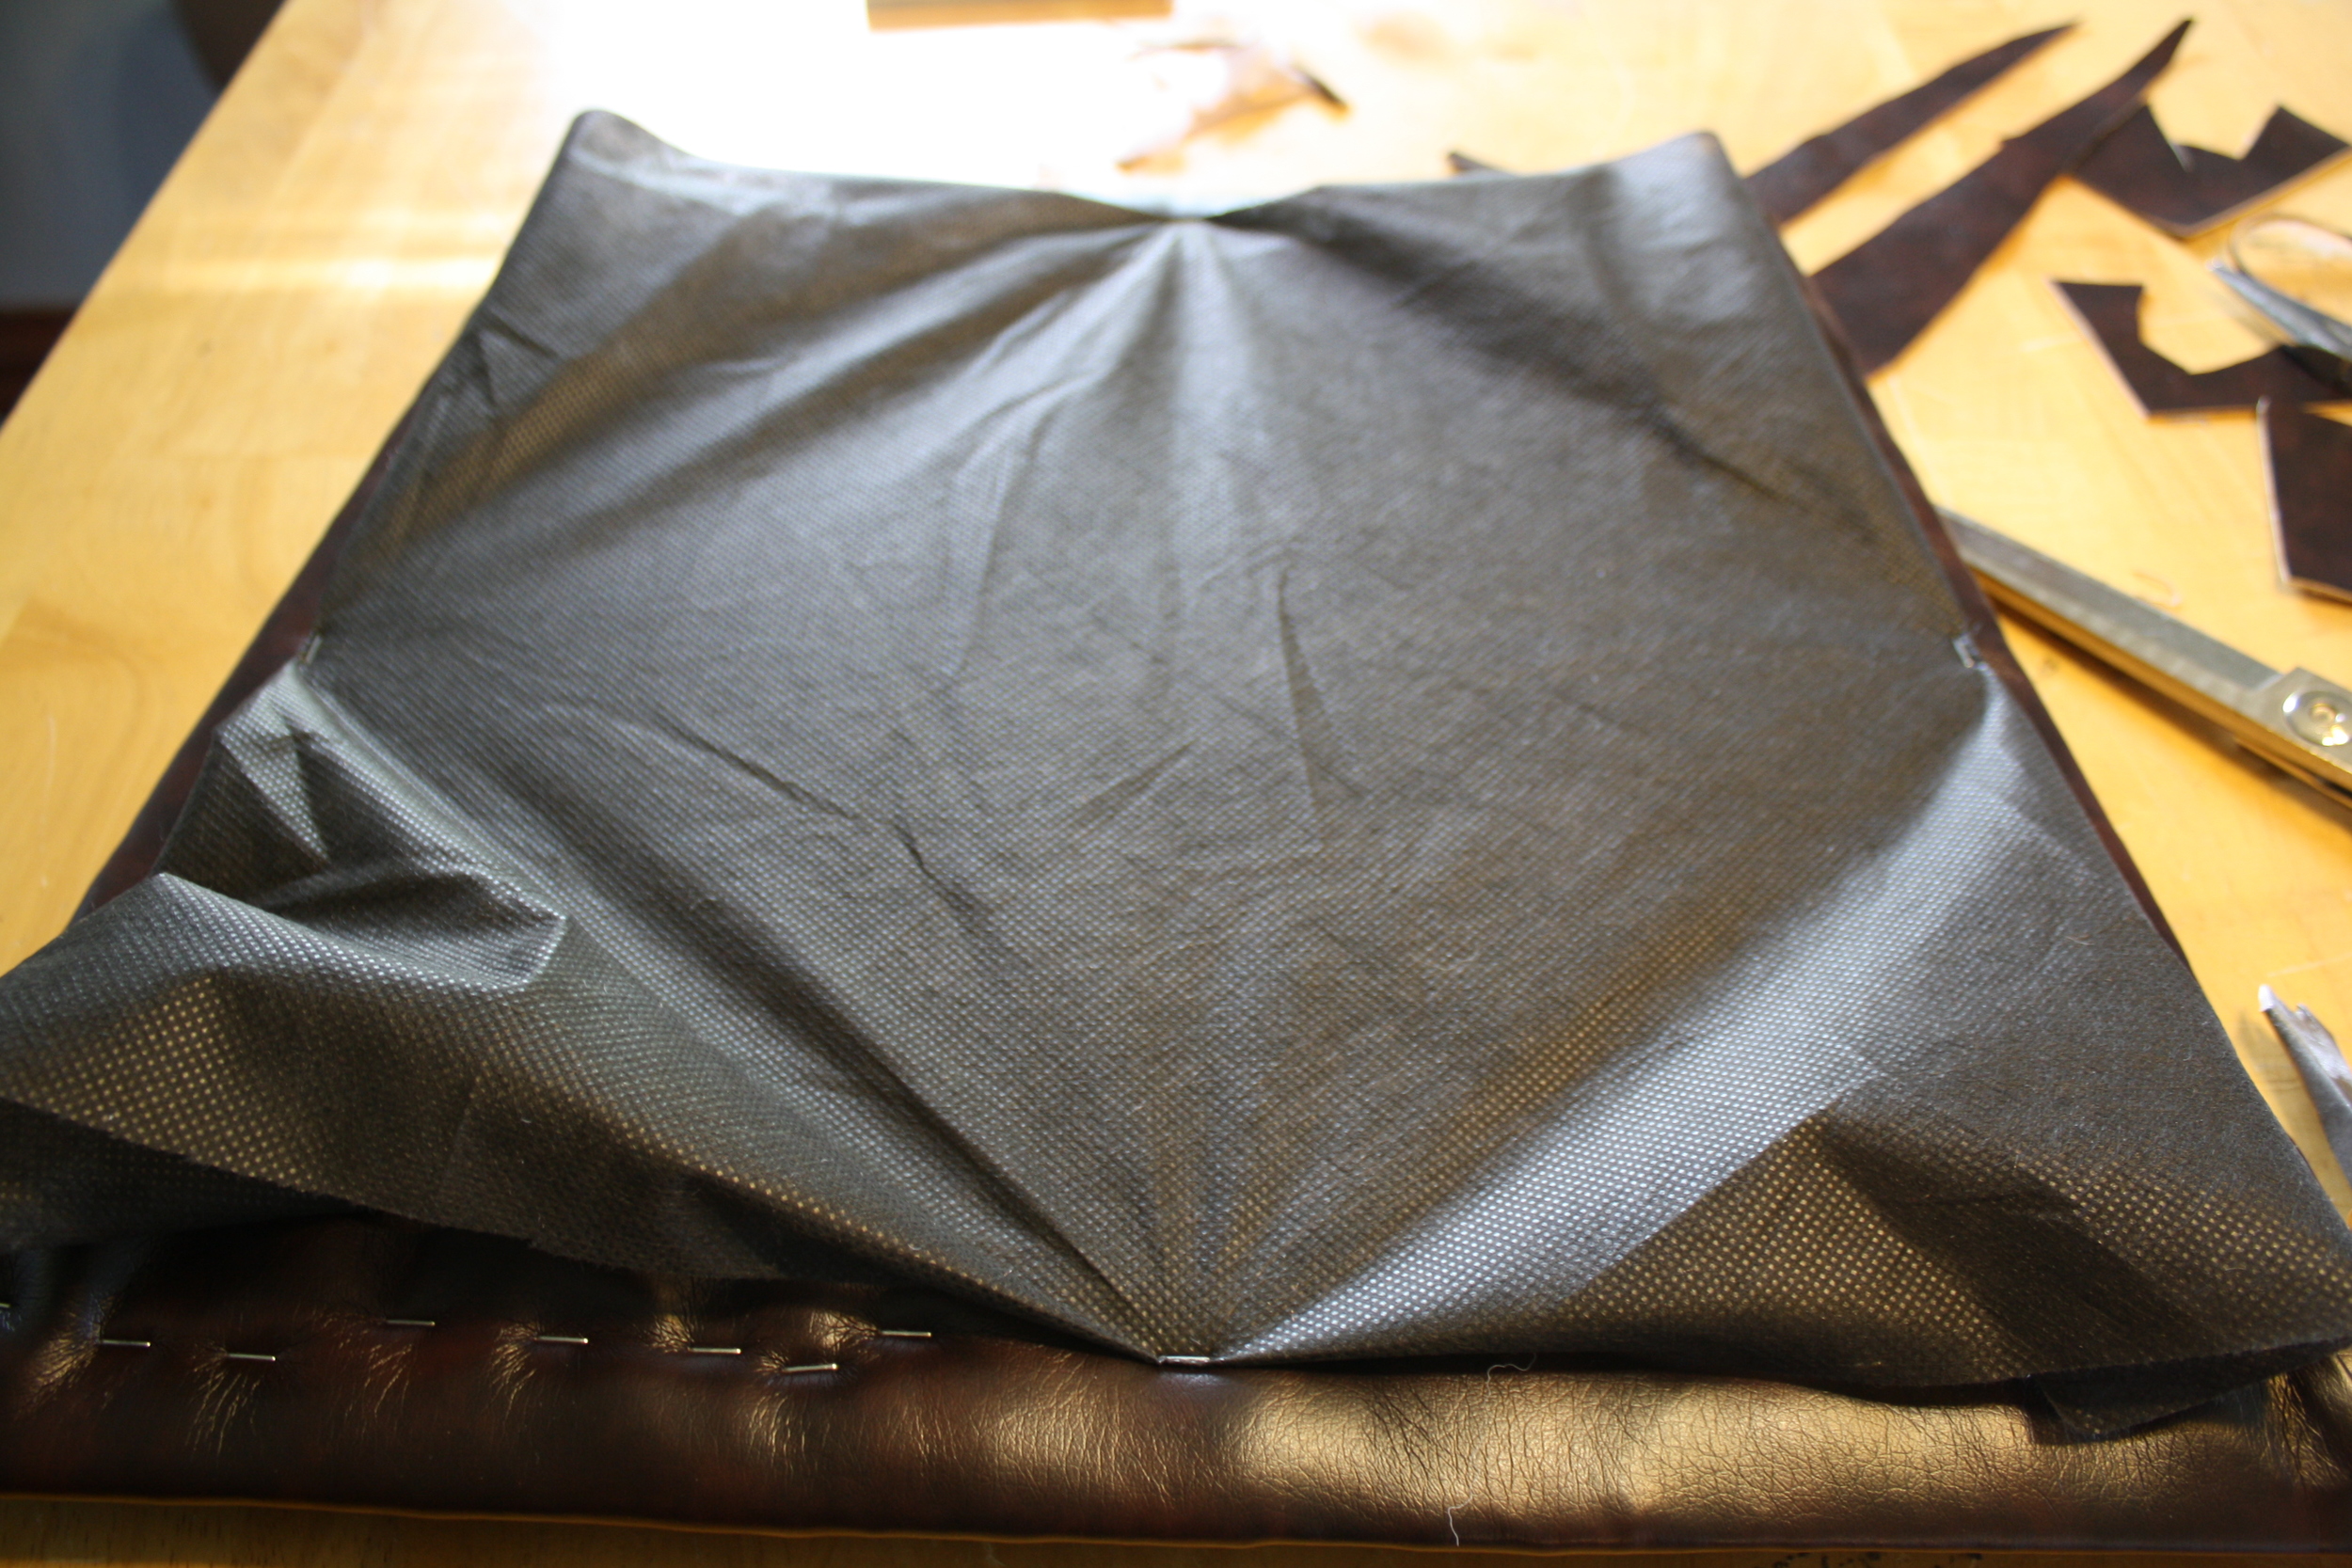
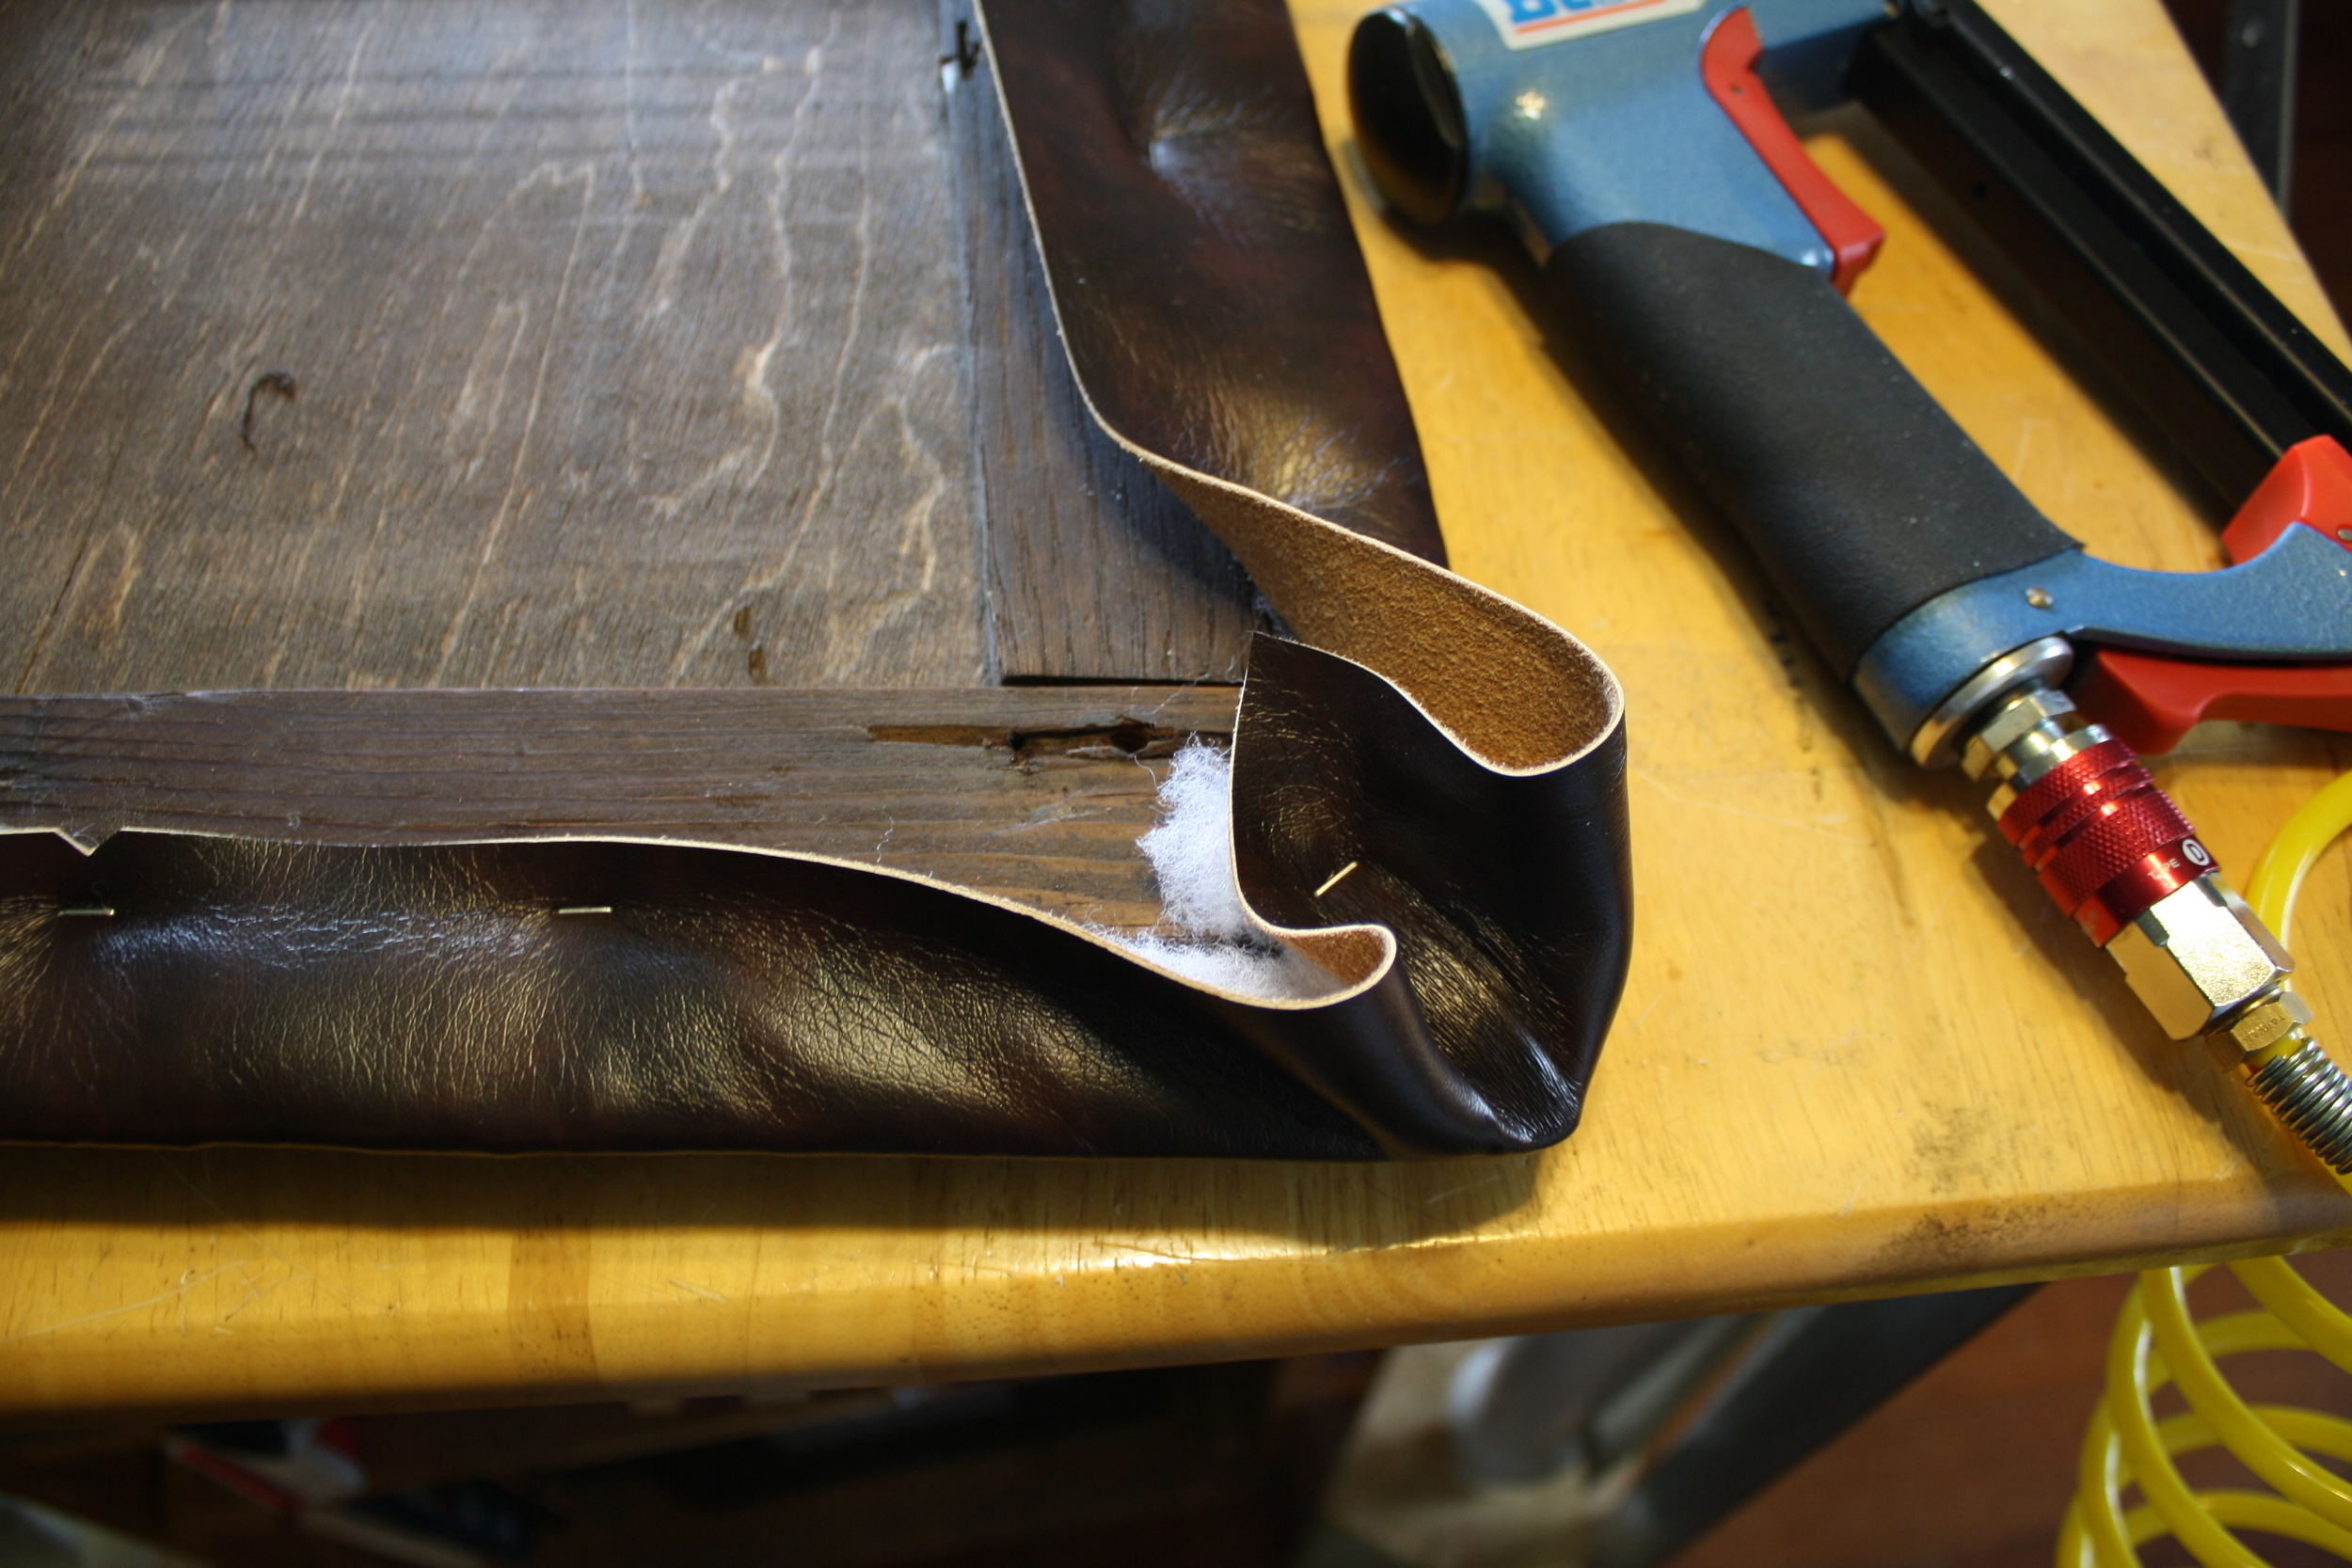
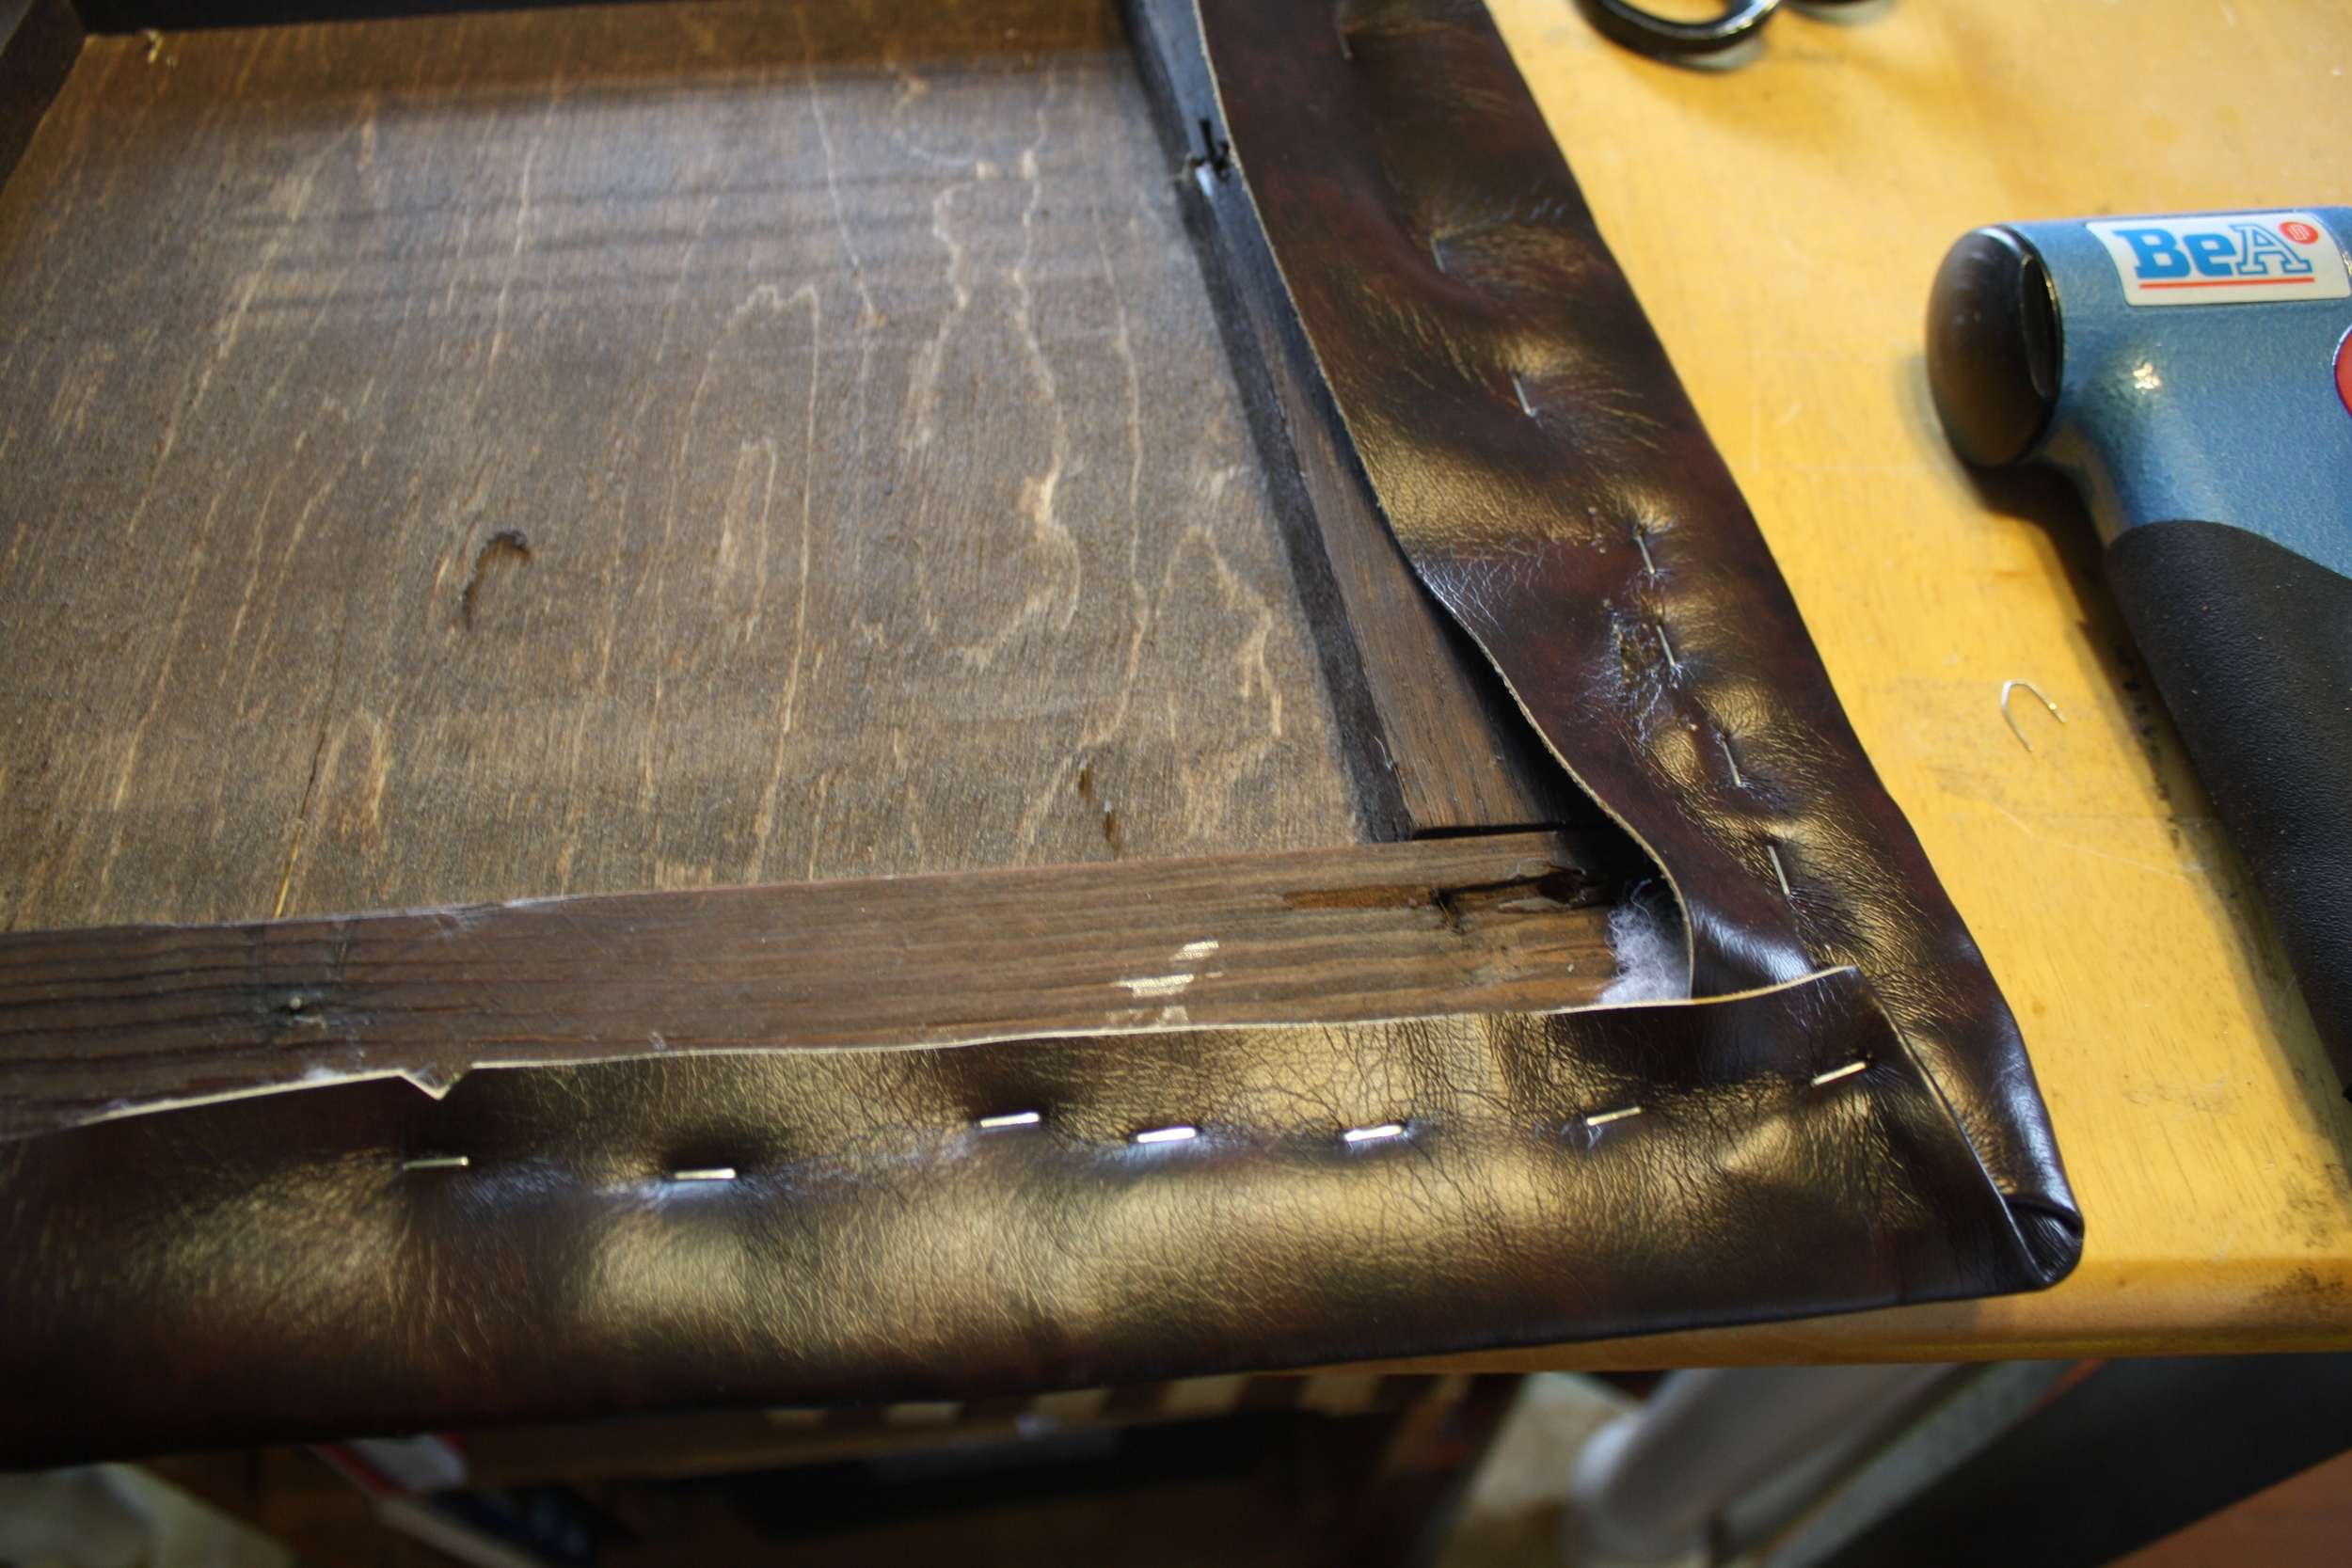
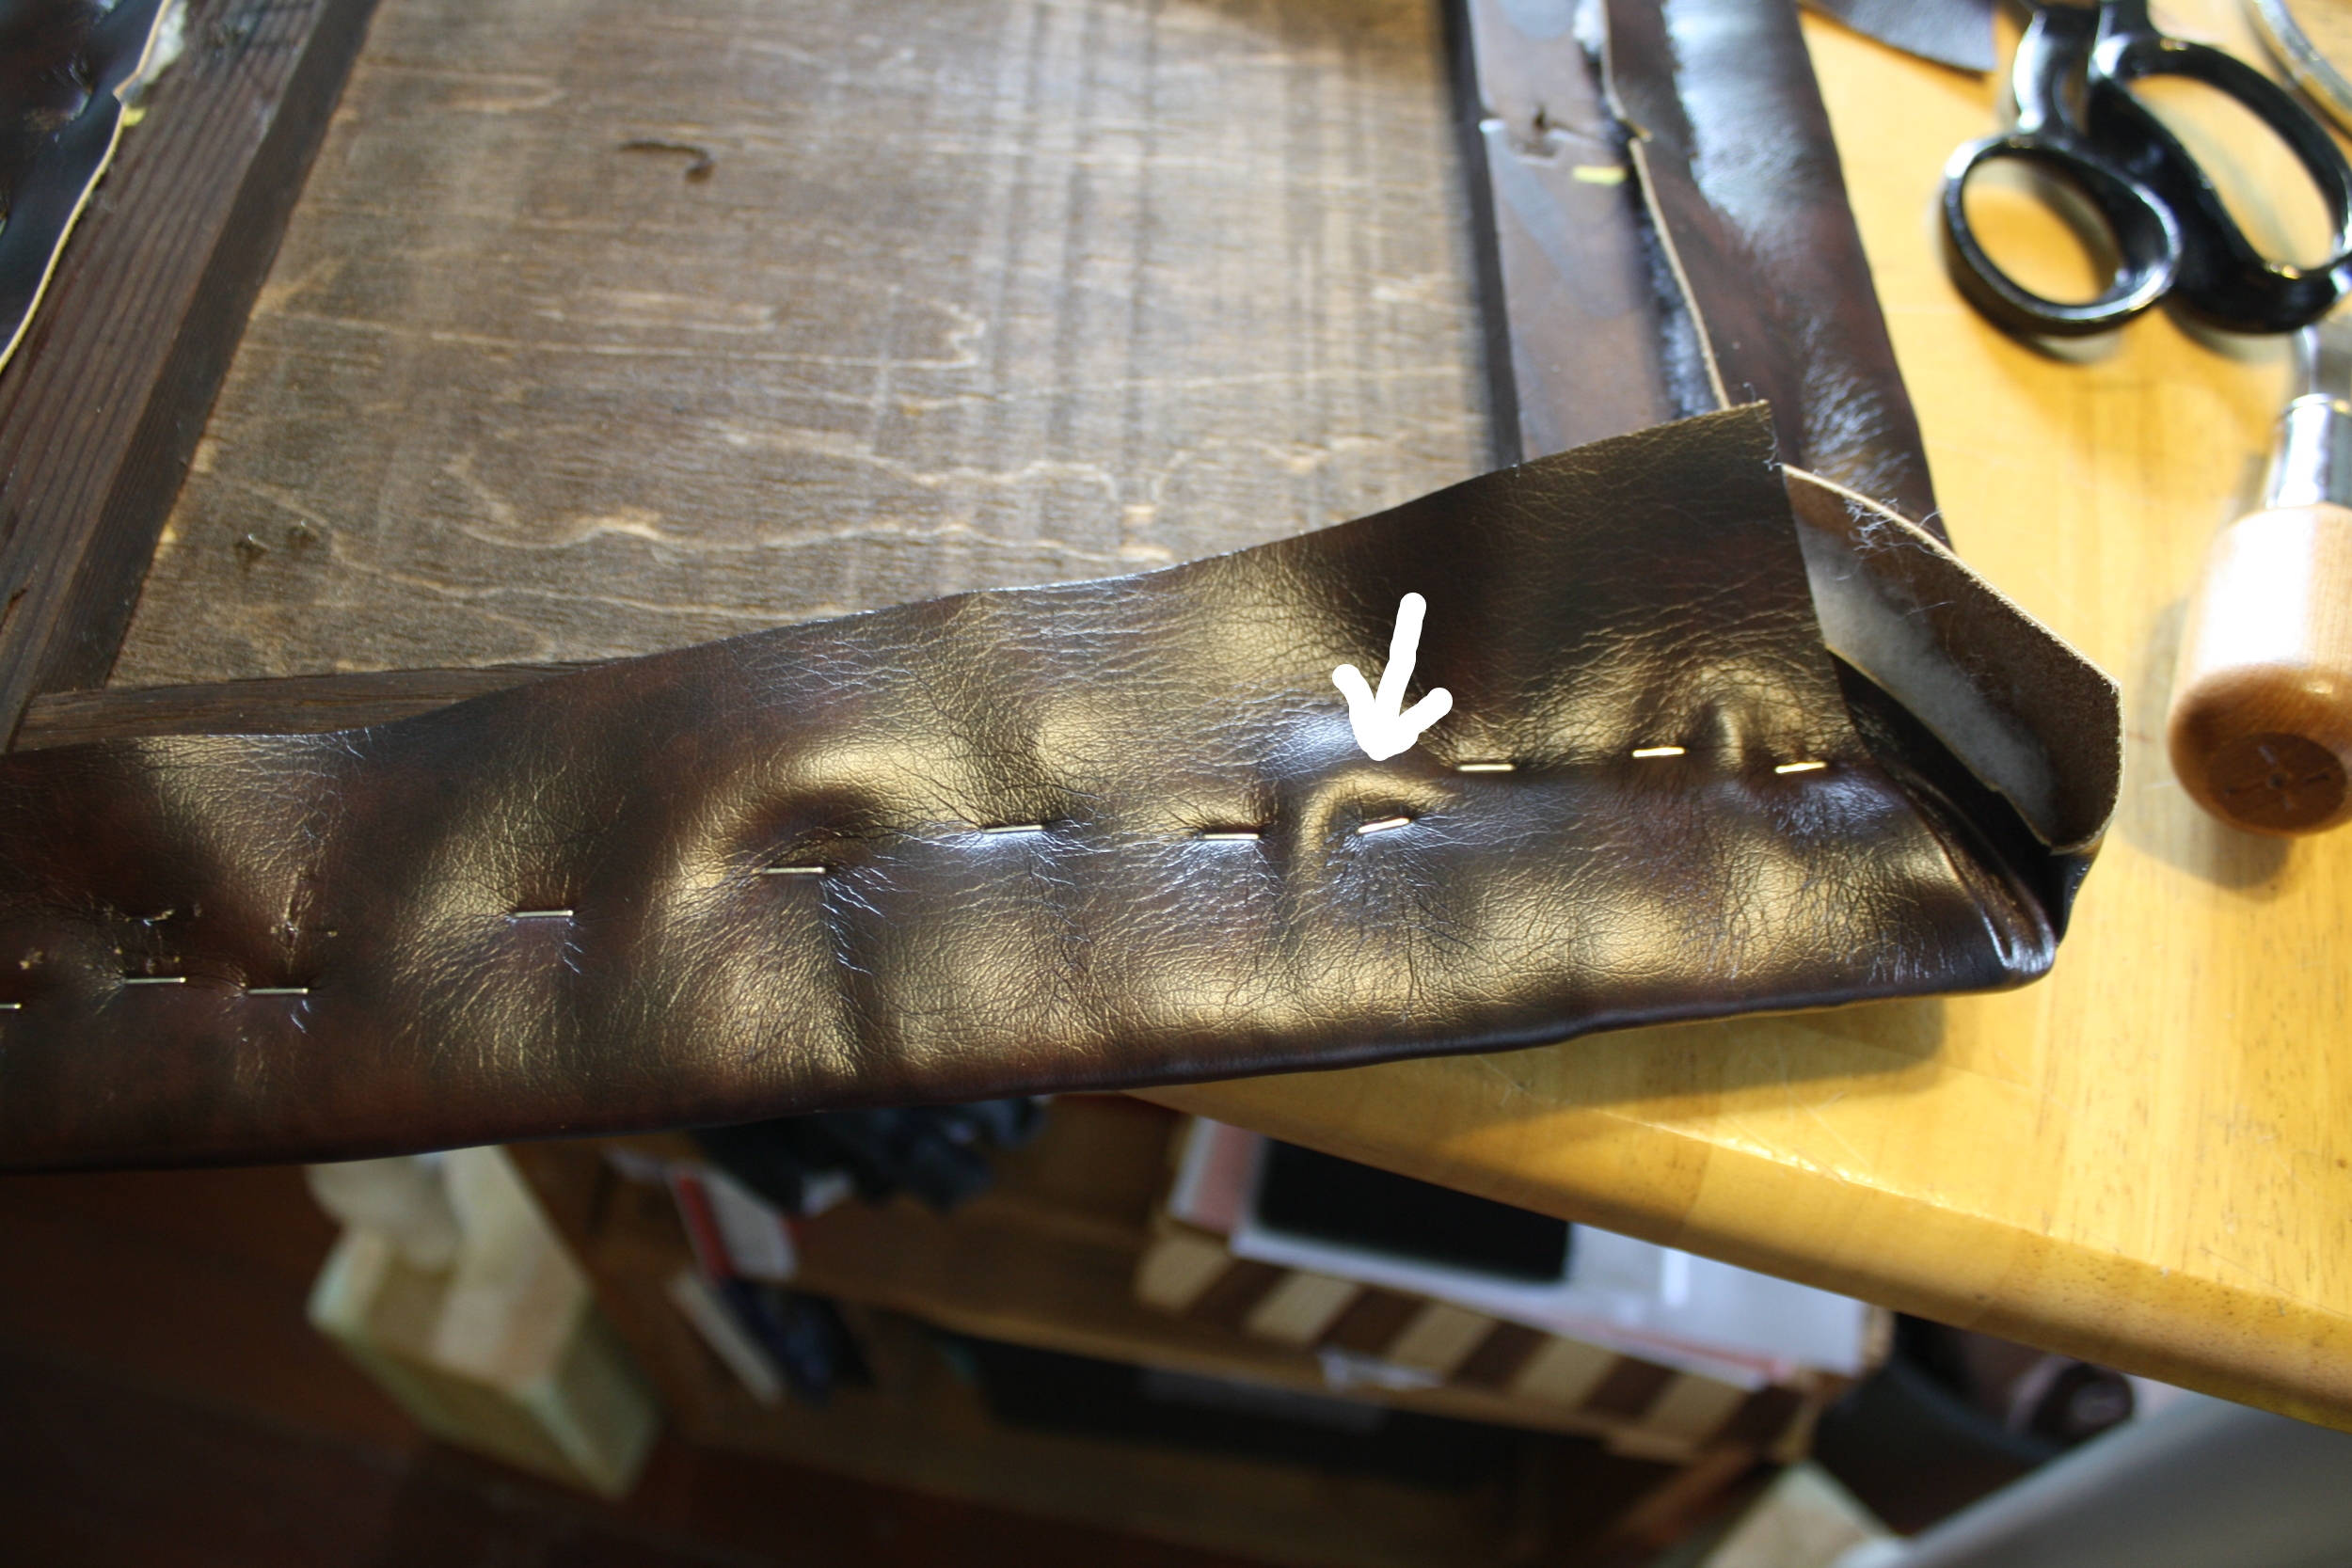
Step 4: Attach the corners and sides
Pick a corner and start by pulling the very corner of the fabric up and over the very corner of the seat and attach with one staple. Trim away the excess fabric created by the fold. Tightly pull and attach first one side and then the other. Next, go ahead and finish attaching the fabric from the corners you just finished to the mid-point of the respective sides. You may need to pull out staples you put in previously if they are too tight, or too loose, or if the fabric has become bunched. When attaching the fabric, use your palm to help smooth and stretch the fabric on the top side of the seat and to pull it around to be attached. This will help to ensure that the amount of pull on the fabric stays uniform around the entire seat. Repeat the process for each corner.

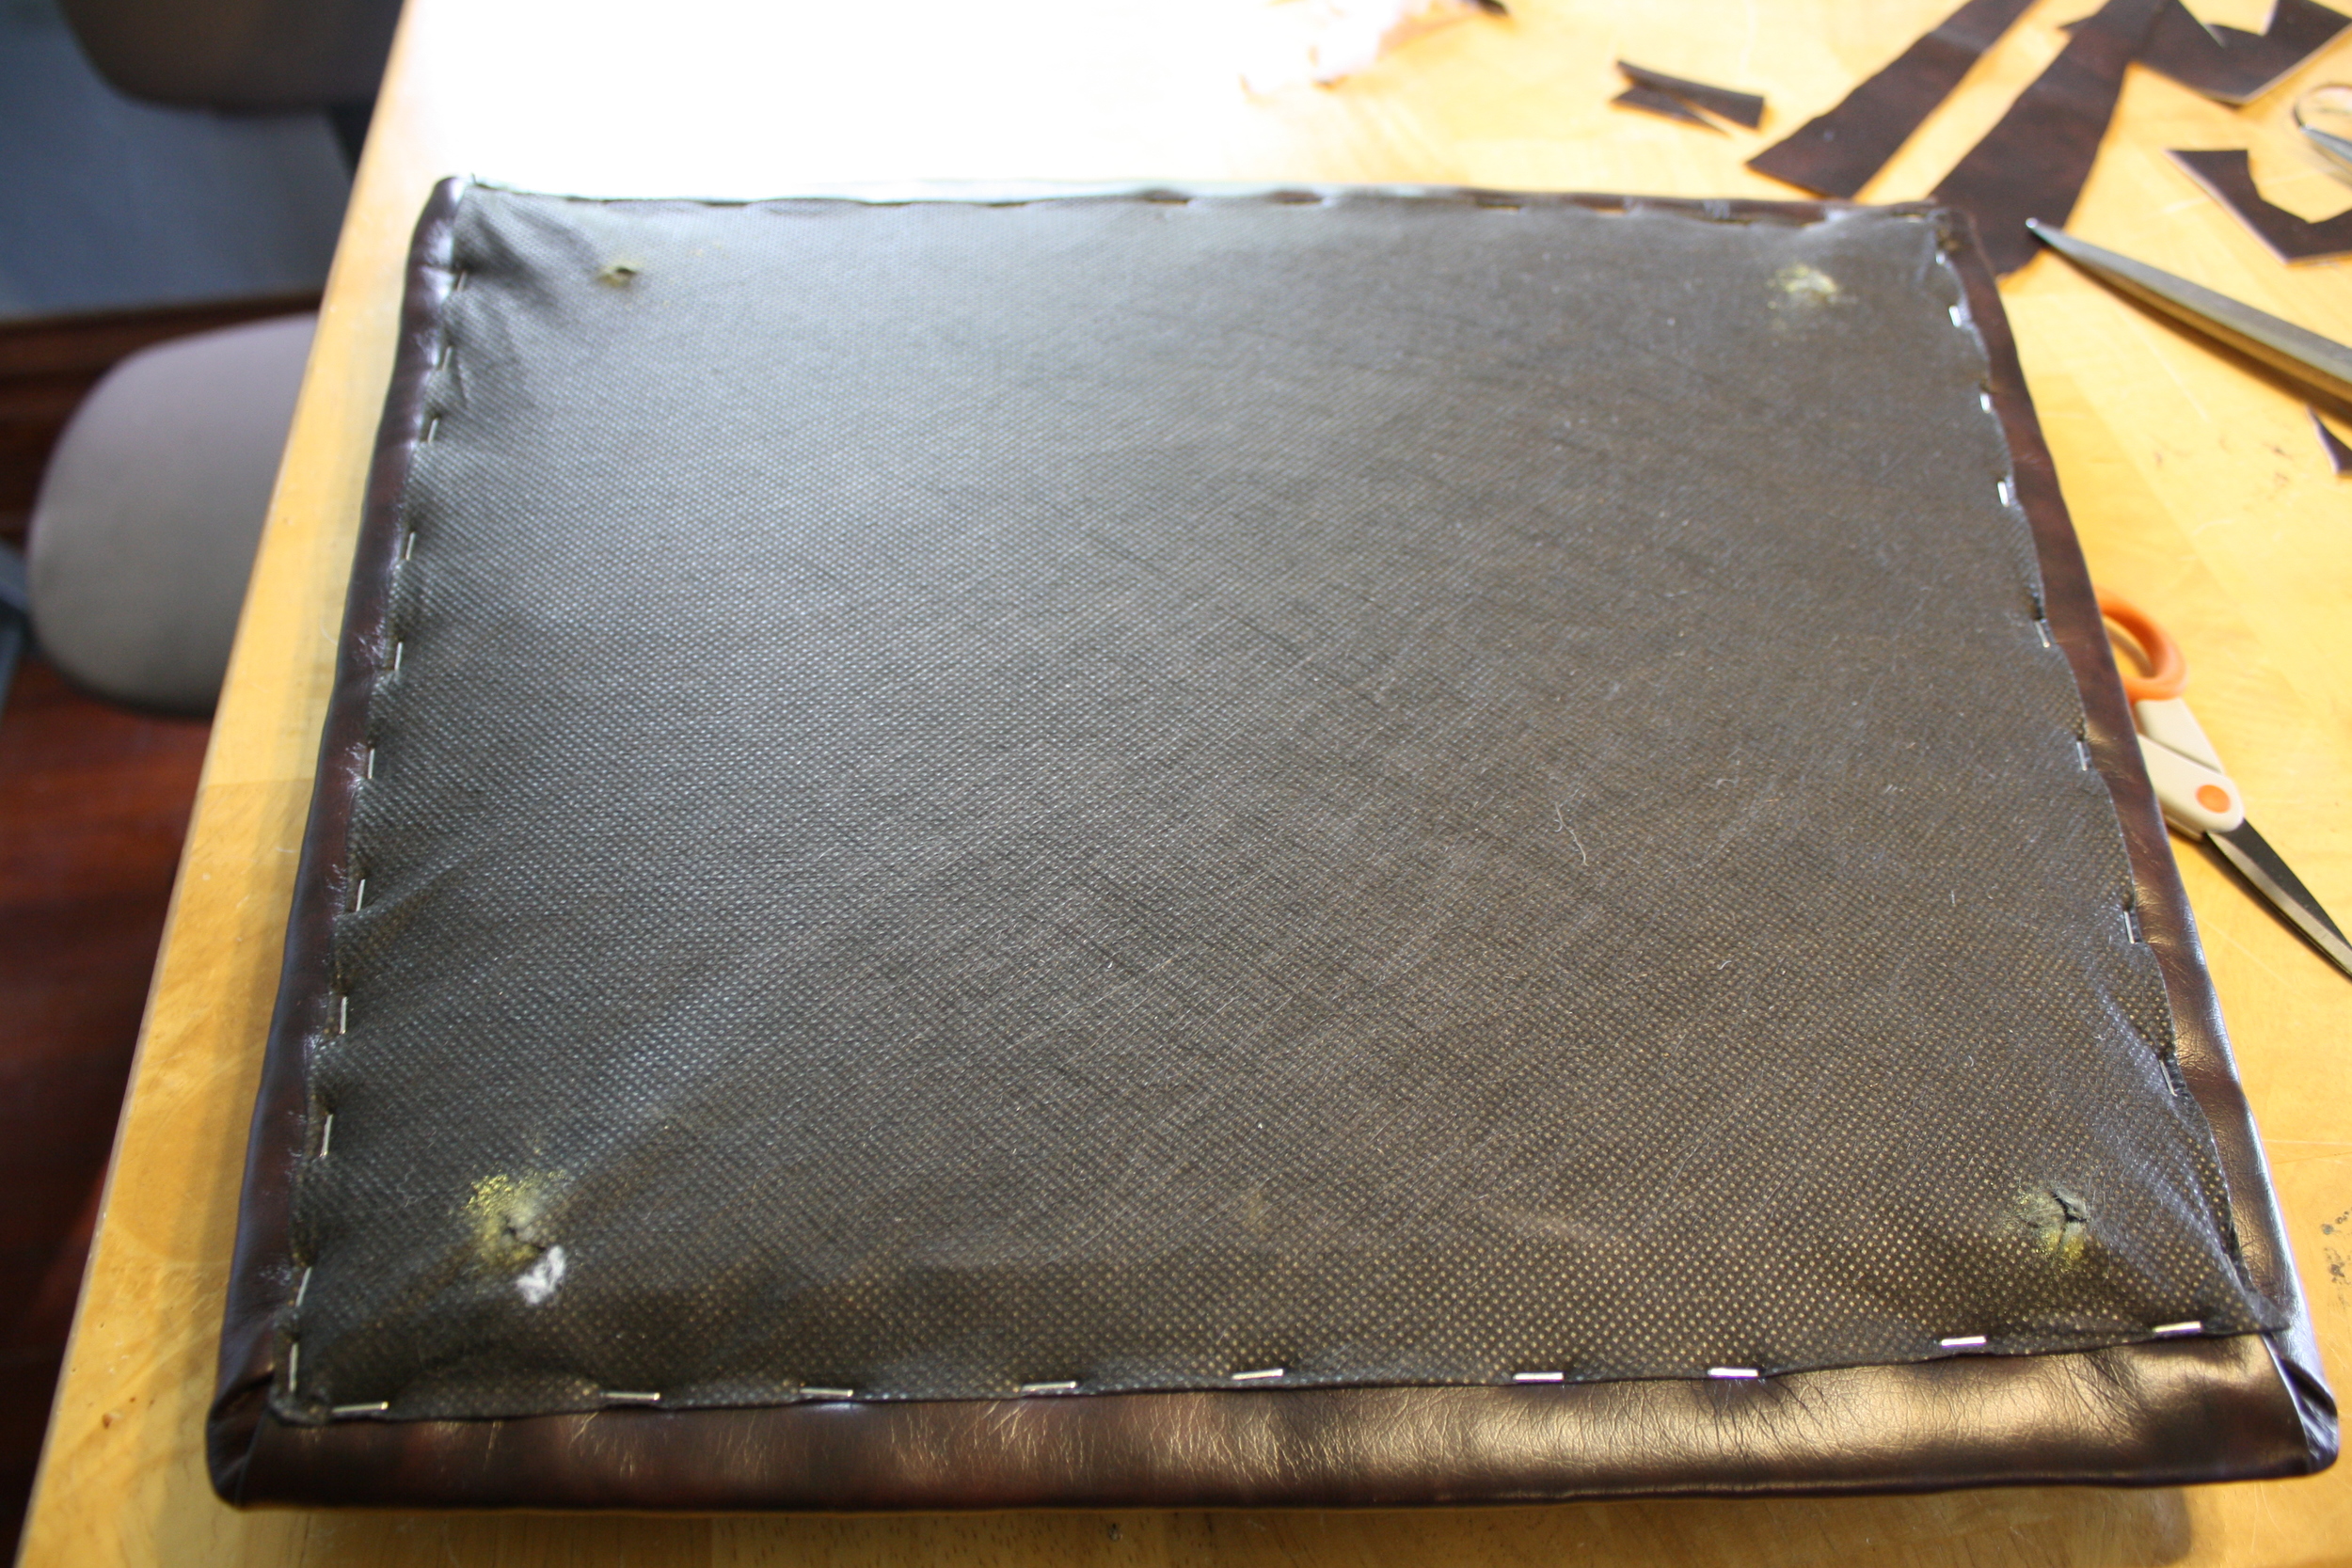
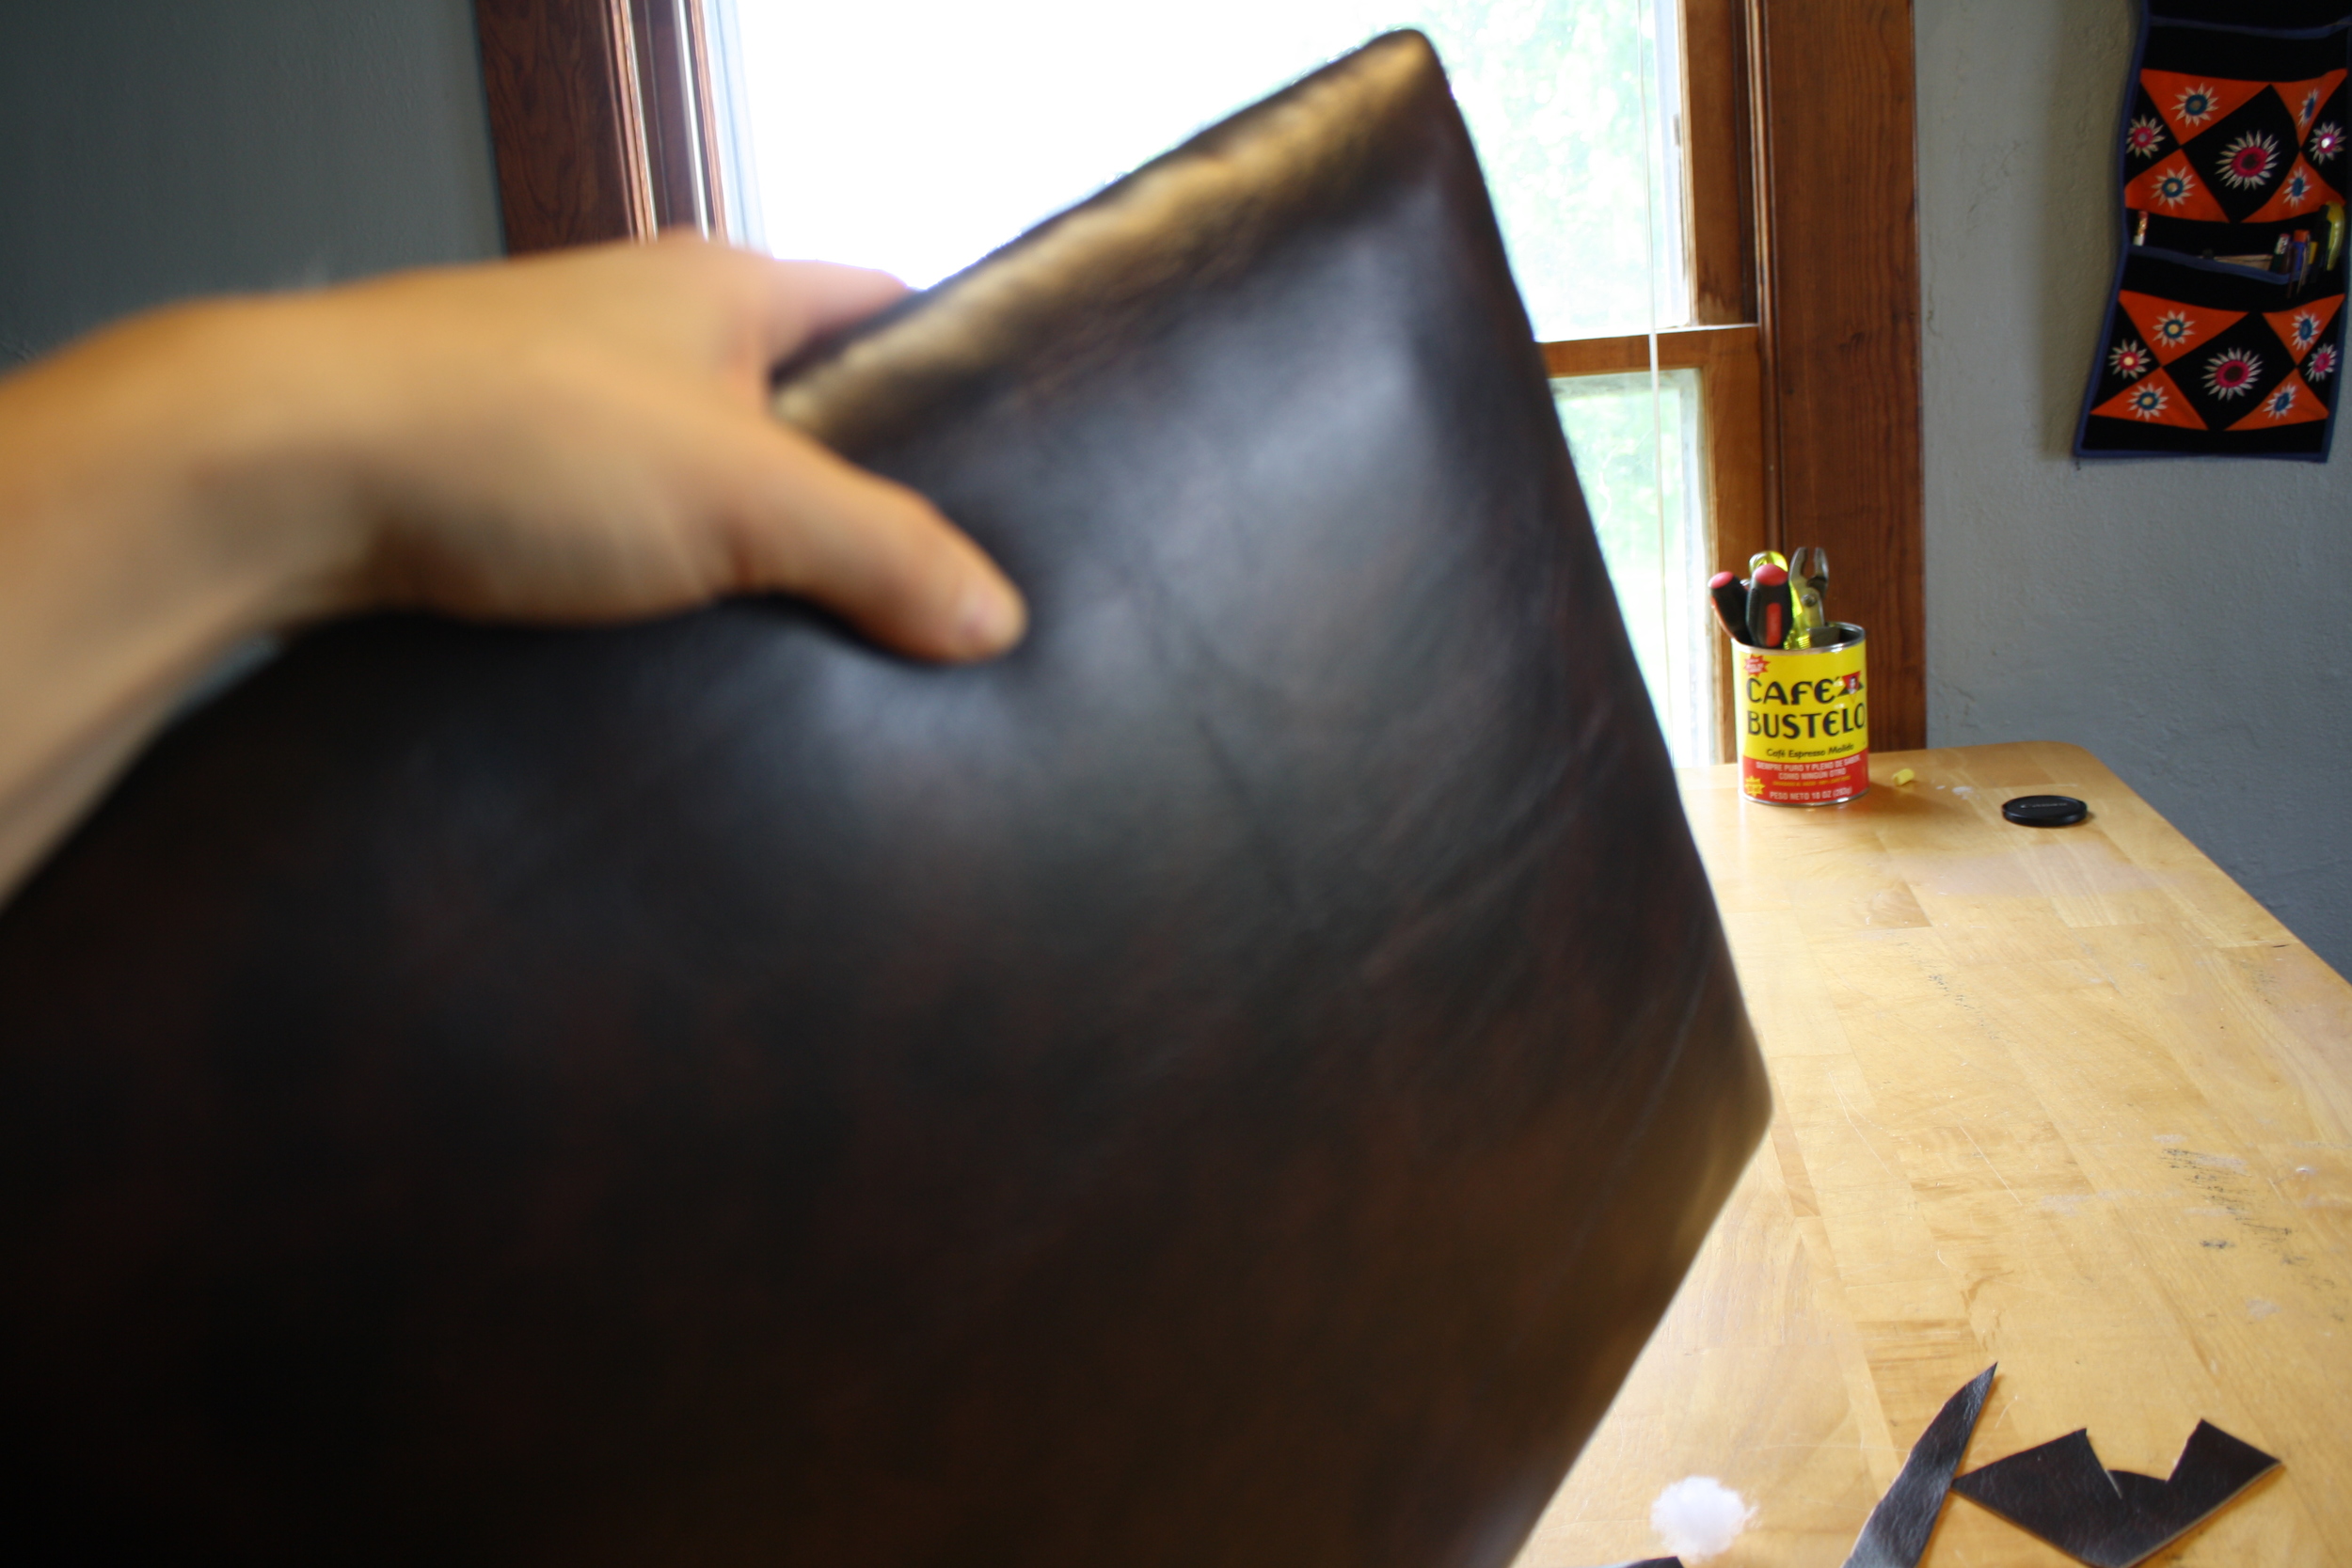
Step 5: Quality control
Once you've got all of the corners and sides stapled down, take a moment to check for any issues, especially making sure that the fabric is pulled uniformly on all sides and that you have no bumps or lumps. You can spot problem areas by looking along the edges of the seat to check for hills and valleys or by looking at your staples. If you've stapled an area too tightly, often you'll notice that the fabric is gathered into a small hill above the staple. This means that it is exerting more pull on the fabric than the other staples around it. Older wooden seats may have edges that have been nicked or worn by time and are no longer uniform and so even if your fabric is pulled tightly and uniformly, you may still not get a smooth edge.
Step 6: Attach cambric and put back on the frame
Now that your fabric is attached nicely to the seat, trim away any excess. Cambric is the thin black or white fabric that usually covers the bottom of any piece of upholstered furniture. Cut out a piece that will be large enough to cover the staples on the bottom of the seat while leaving a thin border around the edges. Attach the cambric by starting at the mid-points and then working your way towards the corners. Before attaching the cambric the whole way to the corners, be sure to mark the screw holes. Once the cambric is attached, cut a small hole in the cambric where the screws will go in. Finally, attach the seat to the frame and enjoy your "new" chair.