Upholstery 101: Replace Broken Caning with a Padded Seat

I've had a few folks ask me if I can re-cane chairs and with some materials in hand, I thought I might give it a try.  Alas, I soon found that I lacked the necessary tools to successfully rip out the old cane and add in the new.  Instead, I decided to do what I know (upholstery, of course) and transform a dining chair with broken cane on the seat into a padded side chair.  If you've got a chair in your life with broken caning or wicker that you just can't bring yourself to toss away, check out the steps below, and you too can create something marvelous and new out of what was once a dejected piece of furniture. 

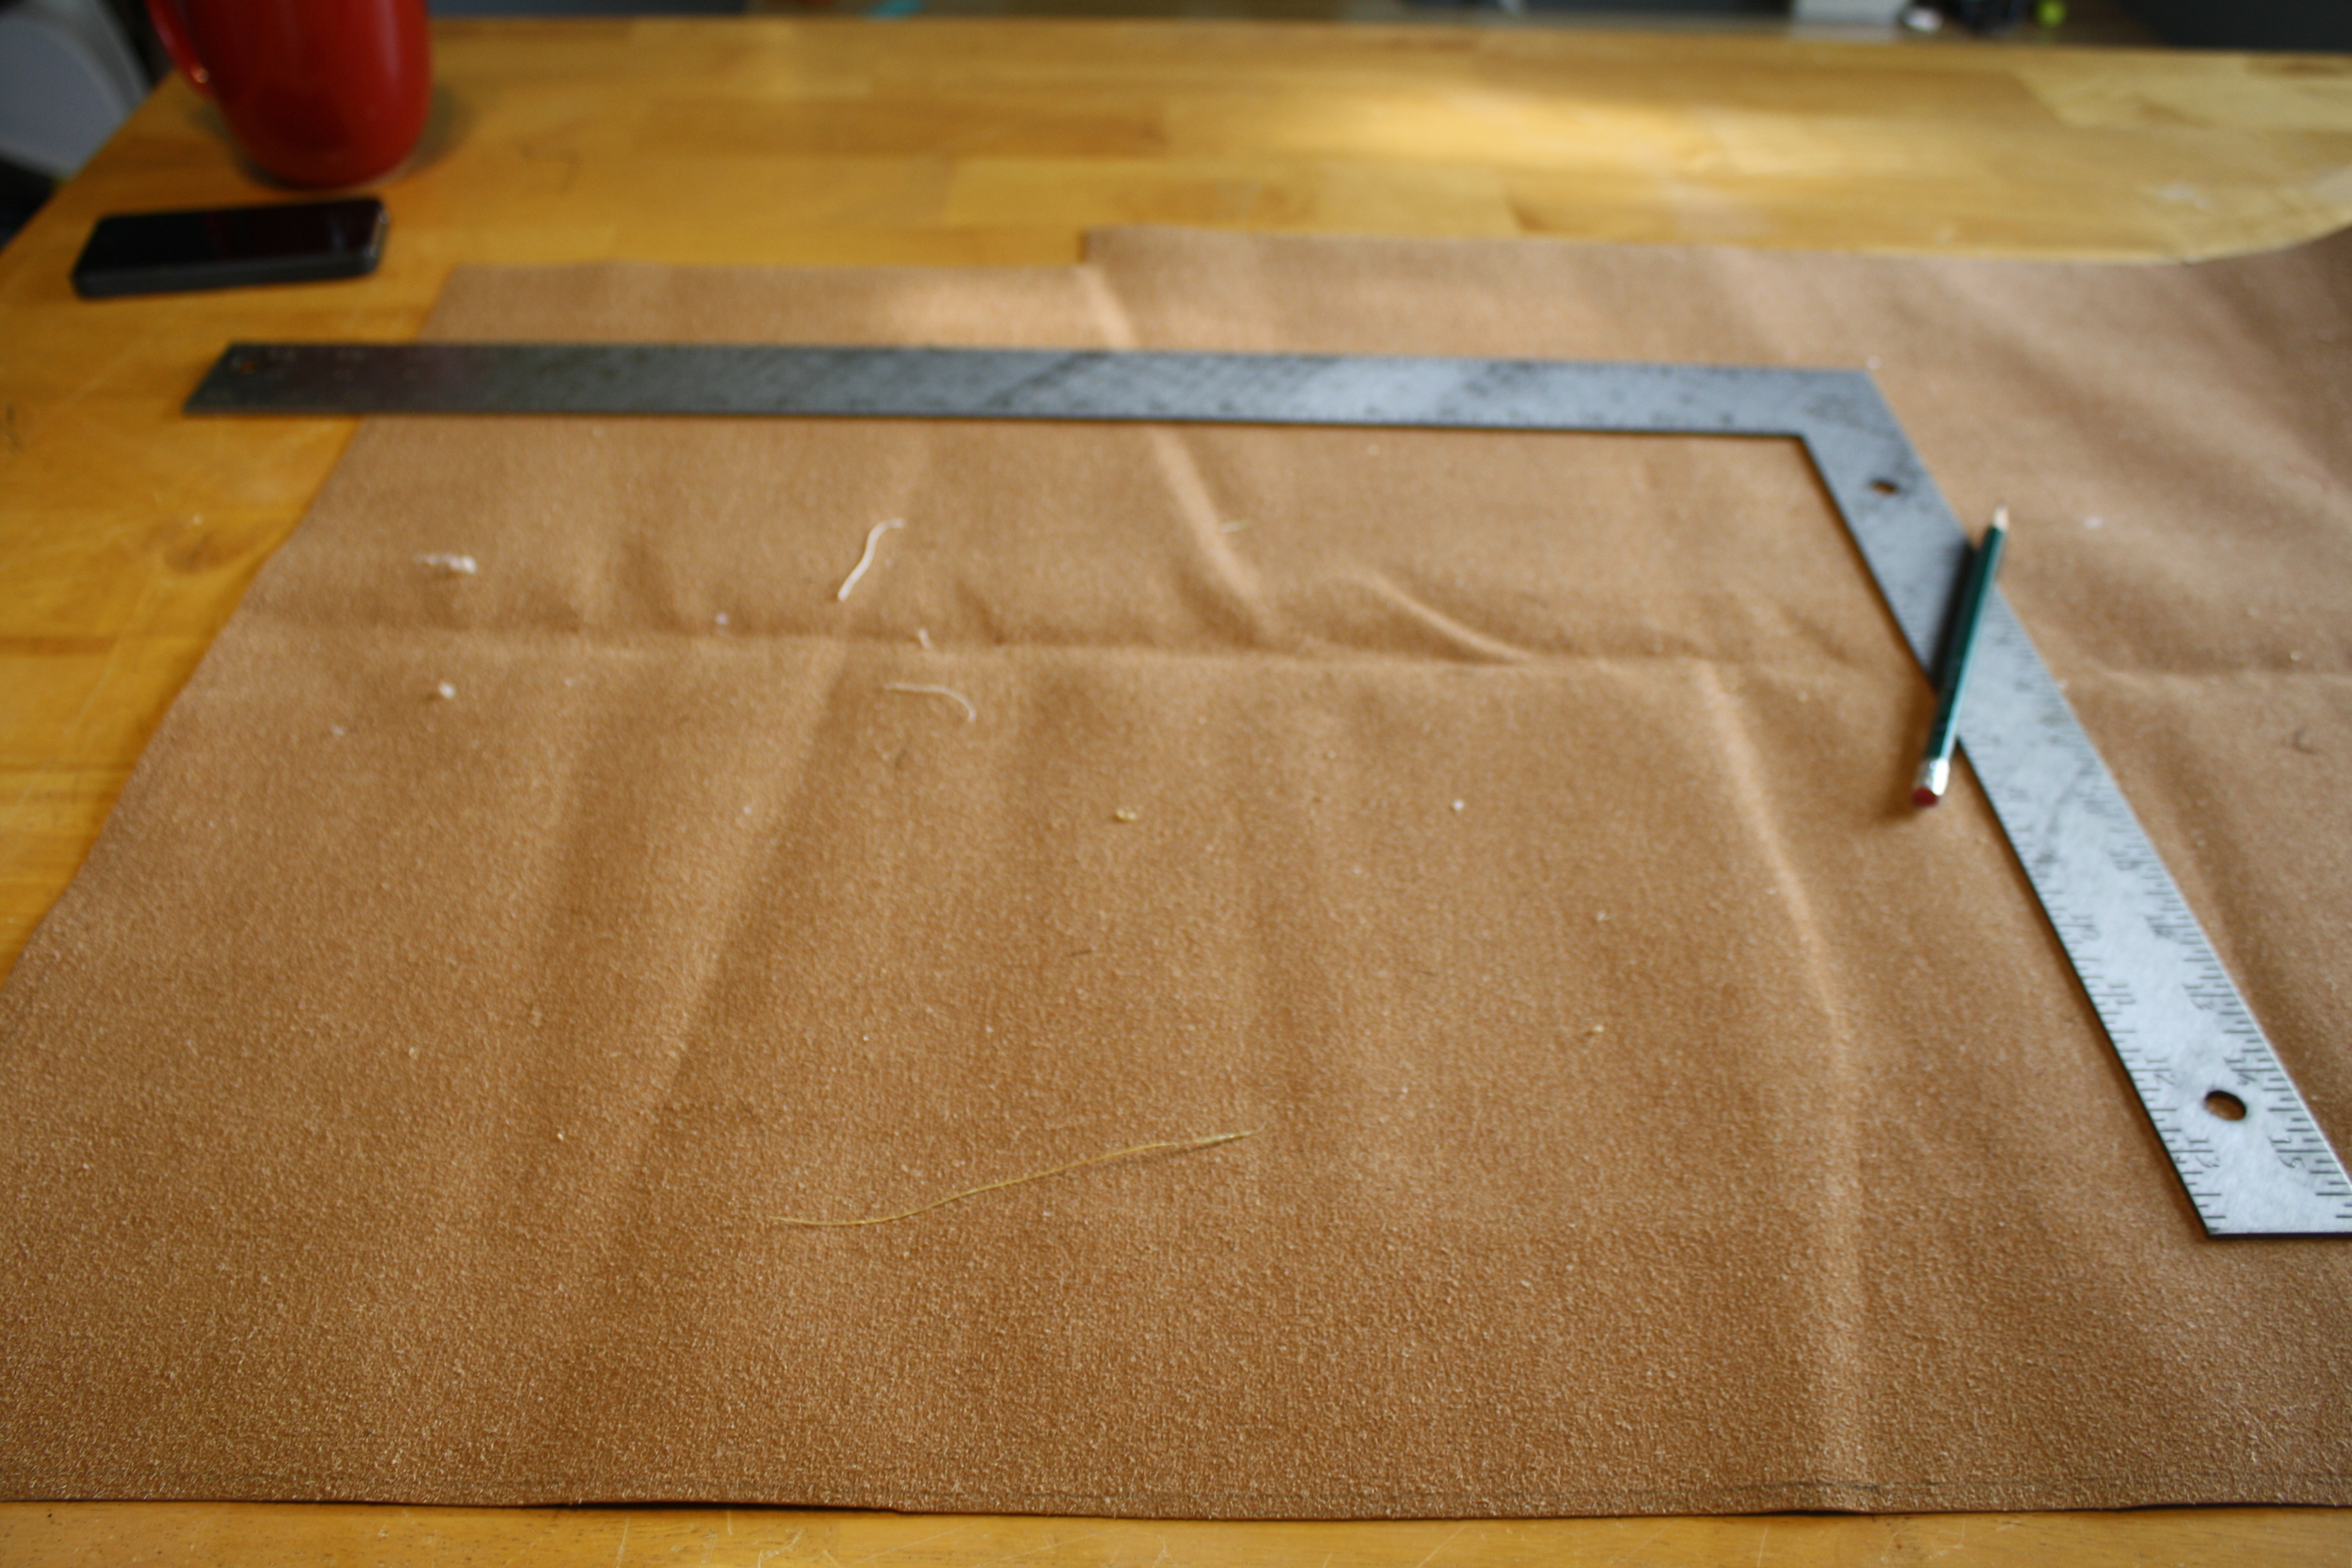
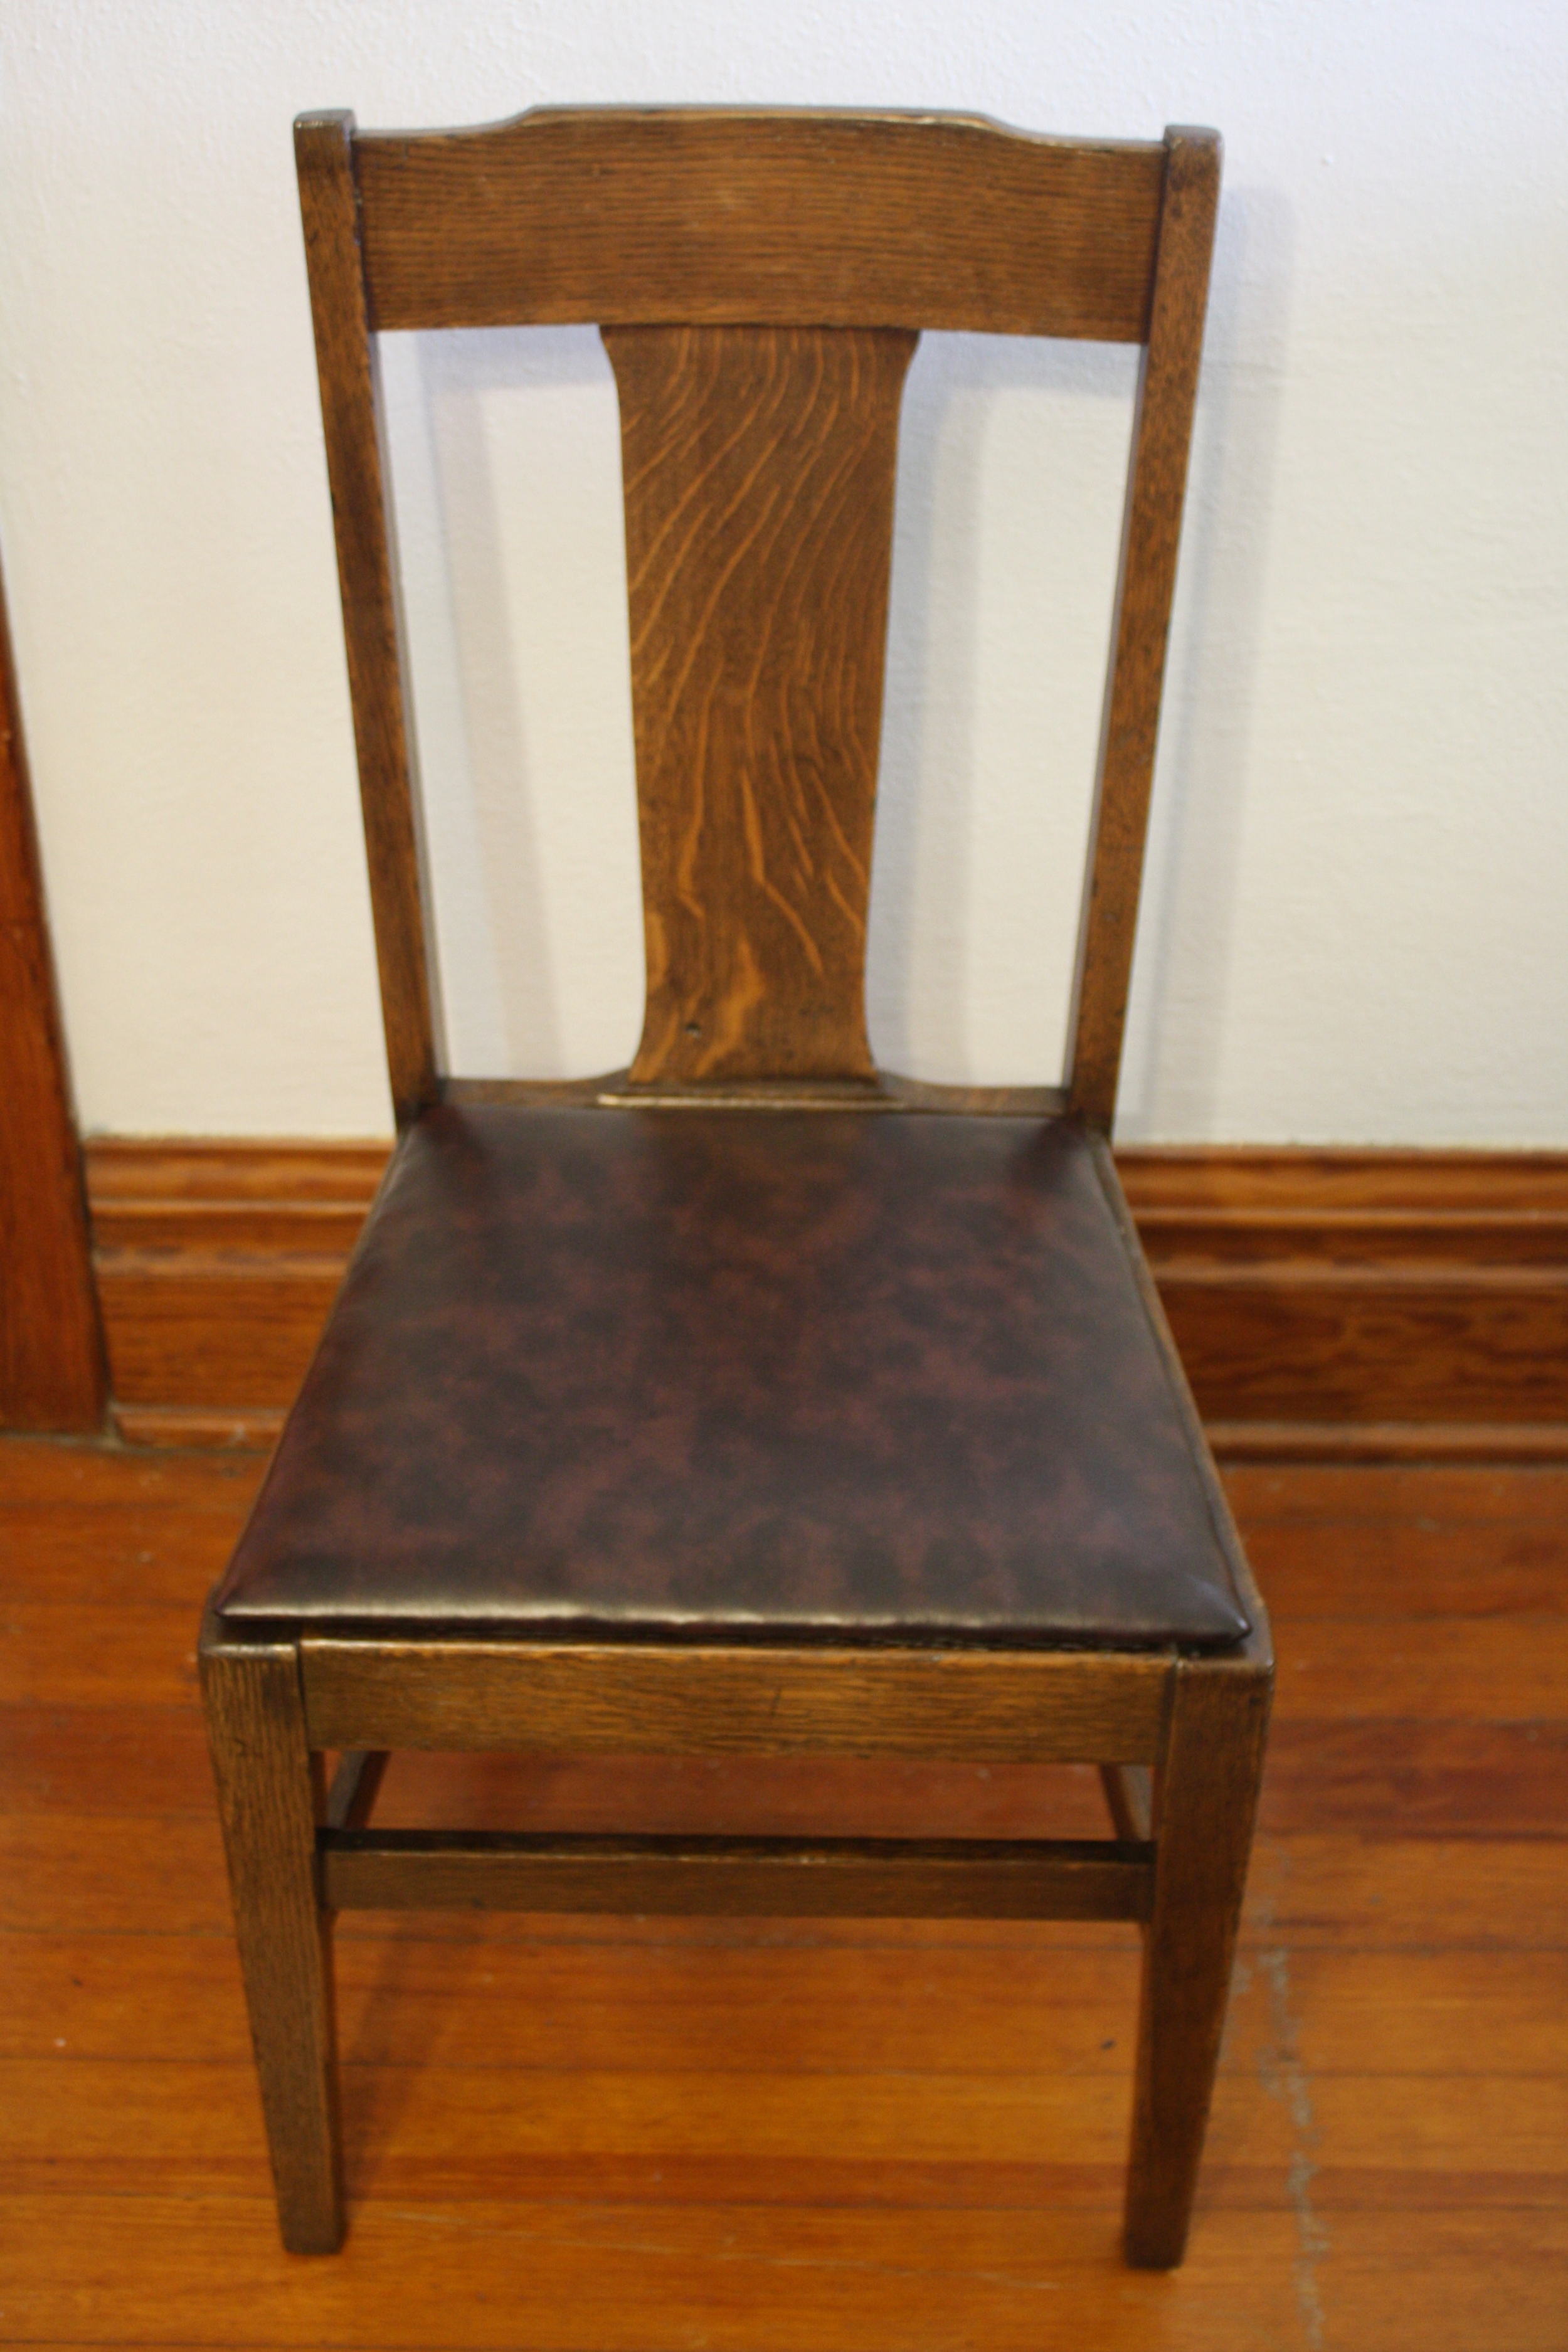
Above (left) is the dining chair in question.  I had previously trimmed out the caning and tried to dig out the spline (this is where specific caning tools would have come in handy).  What I'm left with is an open space in the seat and a groove that goes around that space which still has some caning materials in it.  I'll be covering that unsightly groove up with upholstery. 

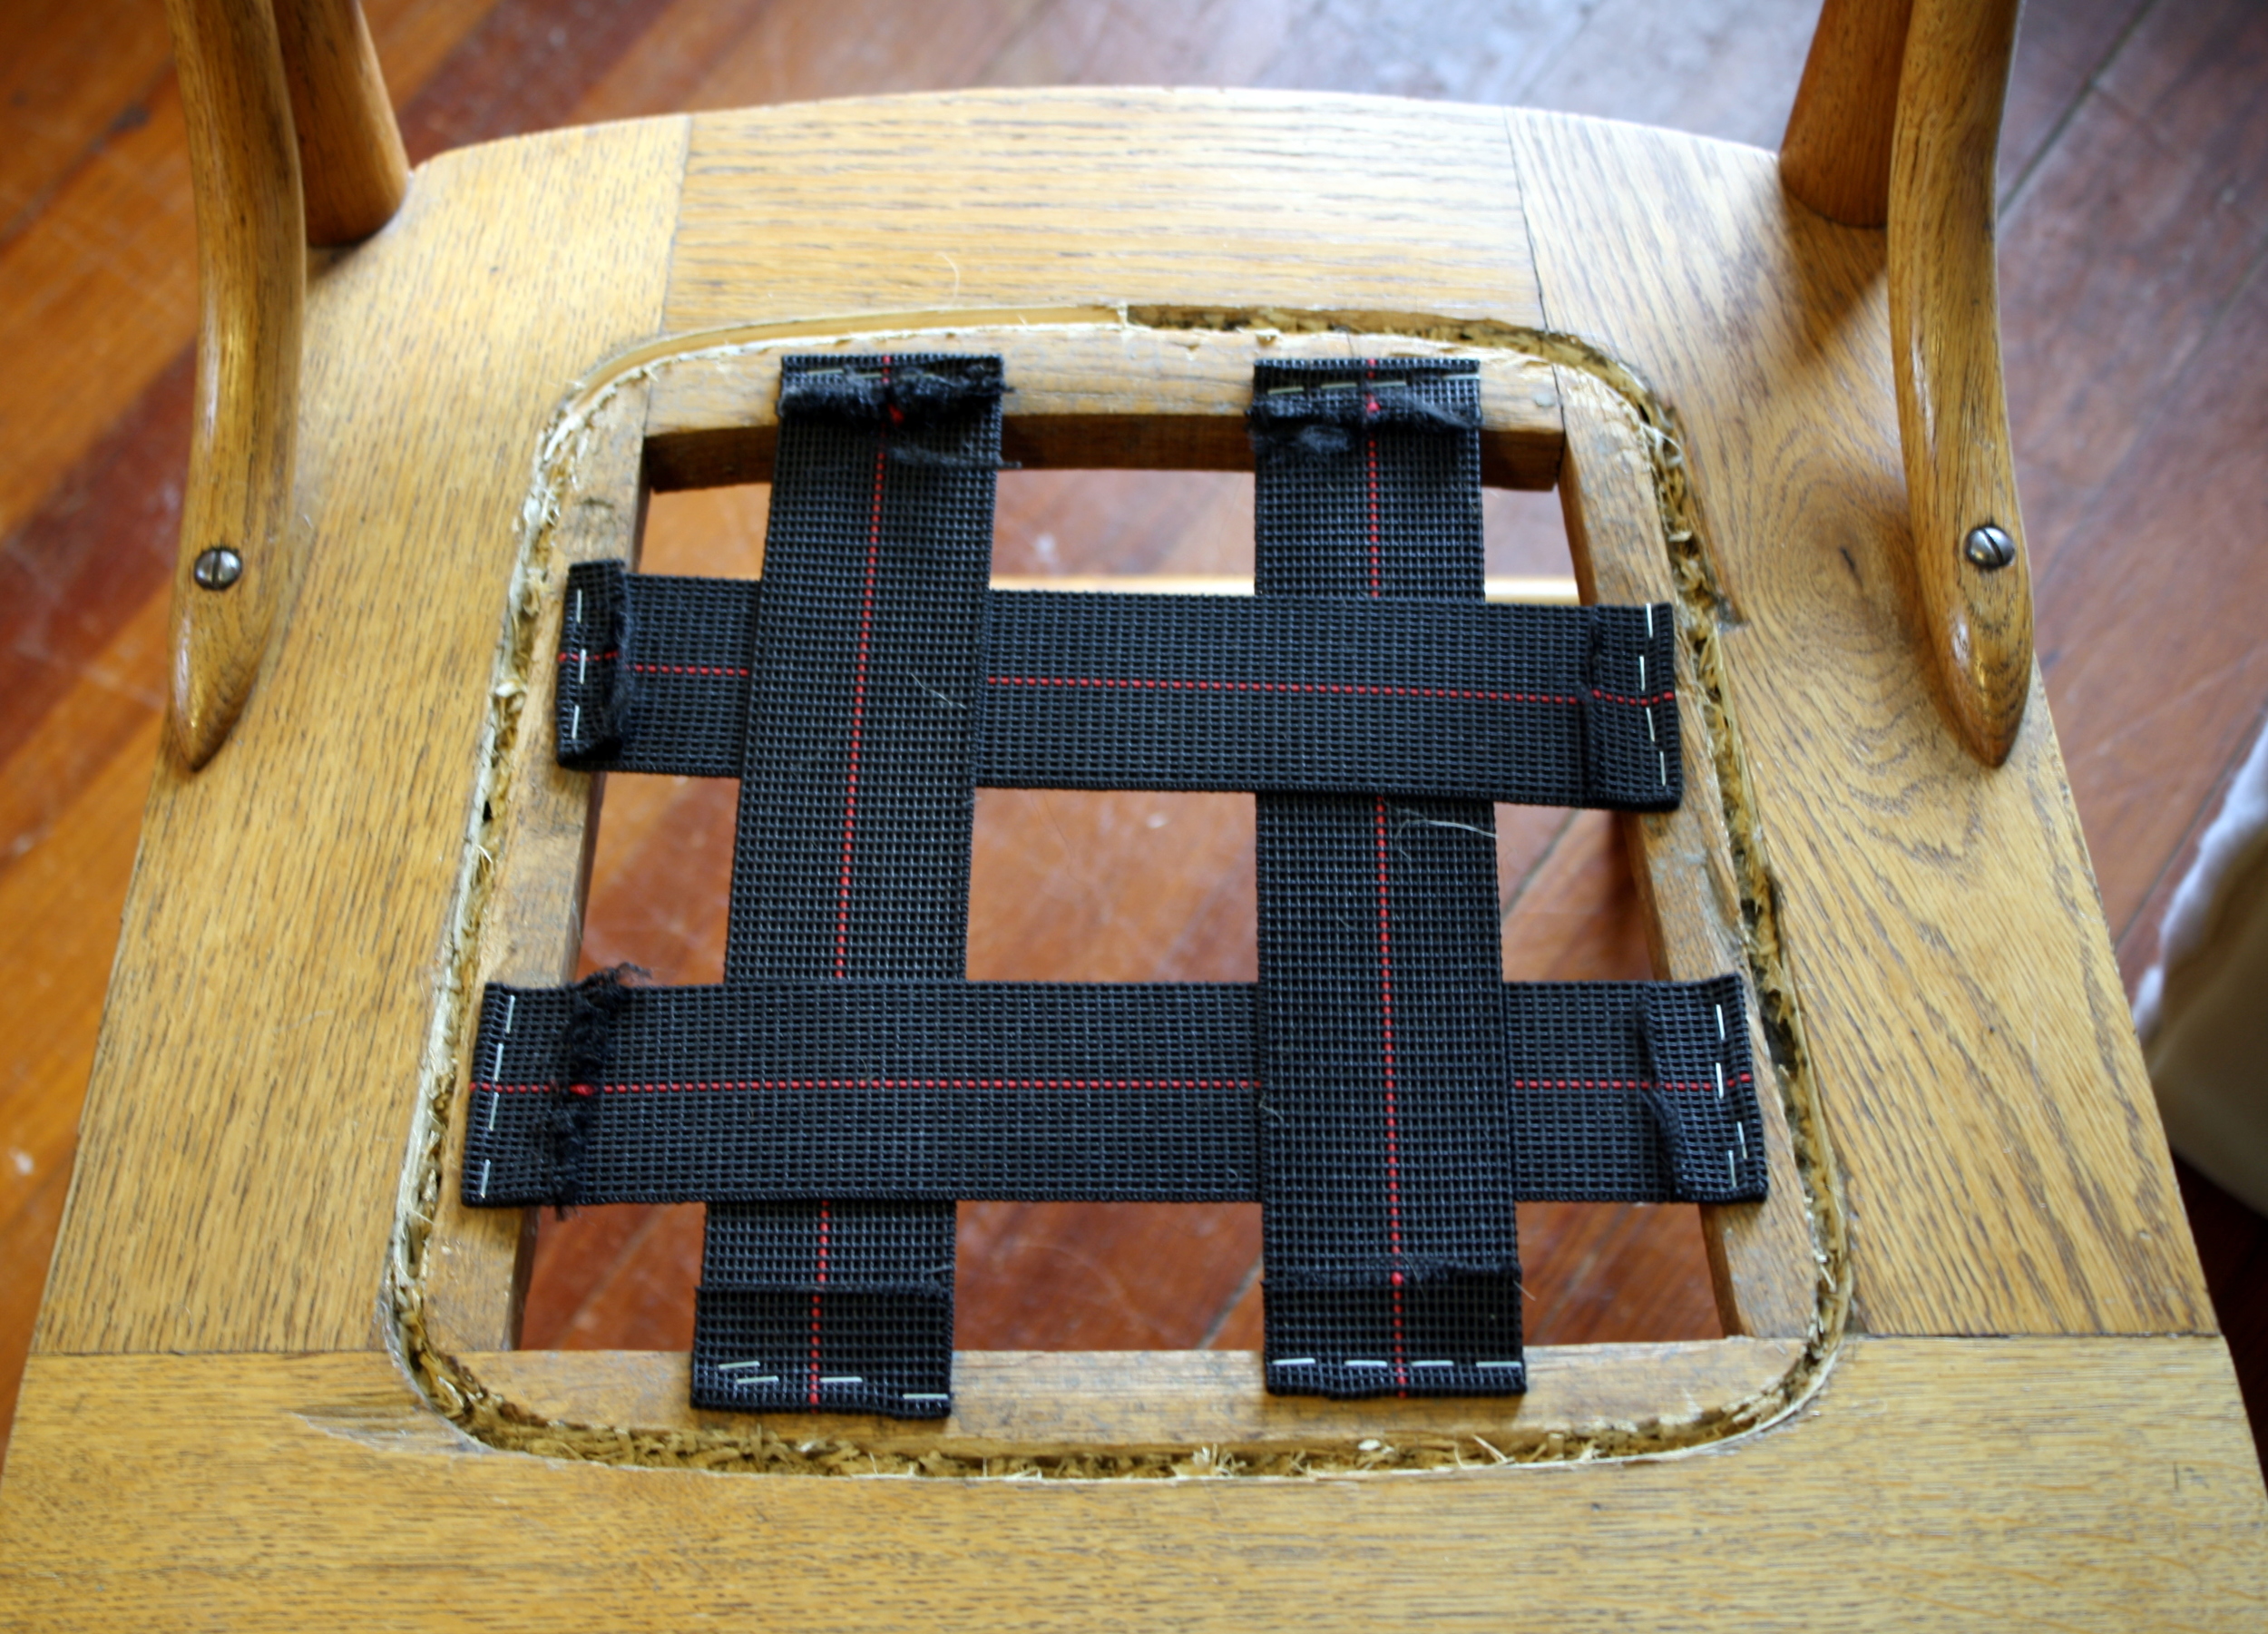
The first step is to install webbing to span the open space in the seat.  The synthetic webbing I've used is strong and durable without being too rigid; it will give with the weight of a sitter, but not to the point of sinking down into the chair.  To install webbing, staple down one  end with two layers of staples (staple it down, then fold it over and staple again), then stretch the other end and pull it quite taut before stapling.  There are specific tools available to stretch this kind of webbing, but you can also use pliers or a strong arm. Staple down the vertical pieces of webbing, then weave the horizontal pieces through. 

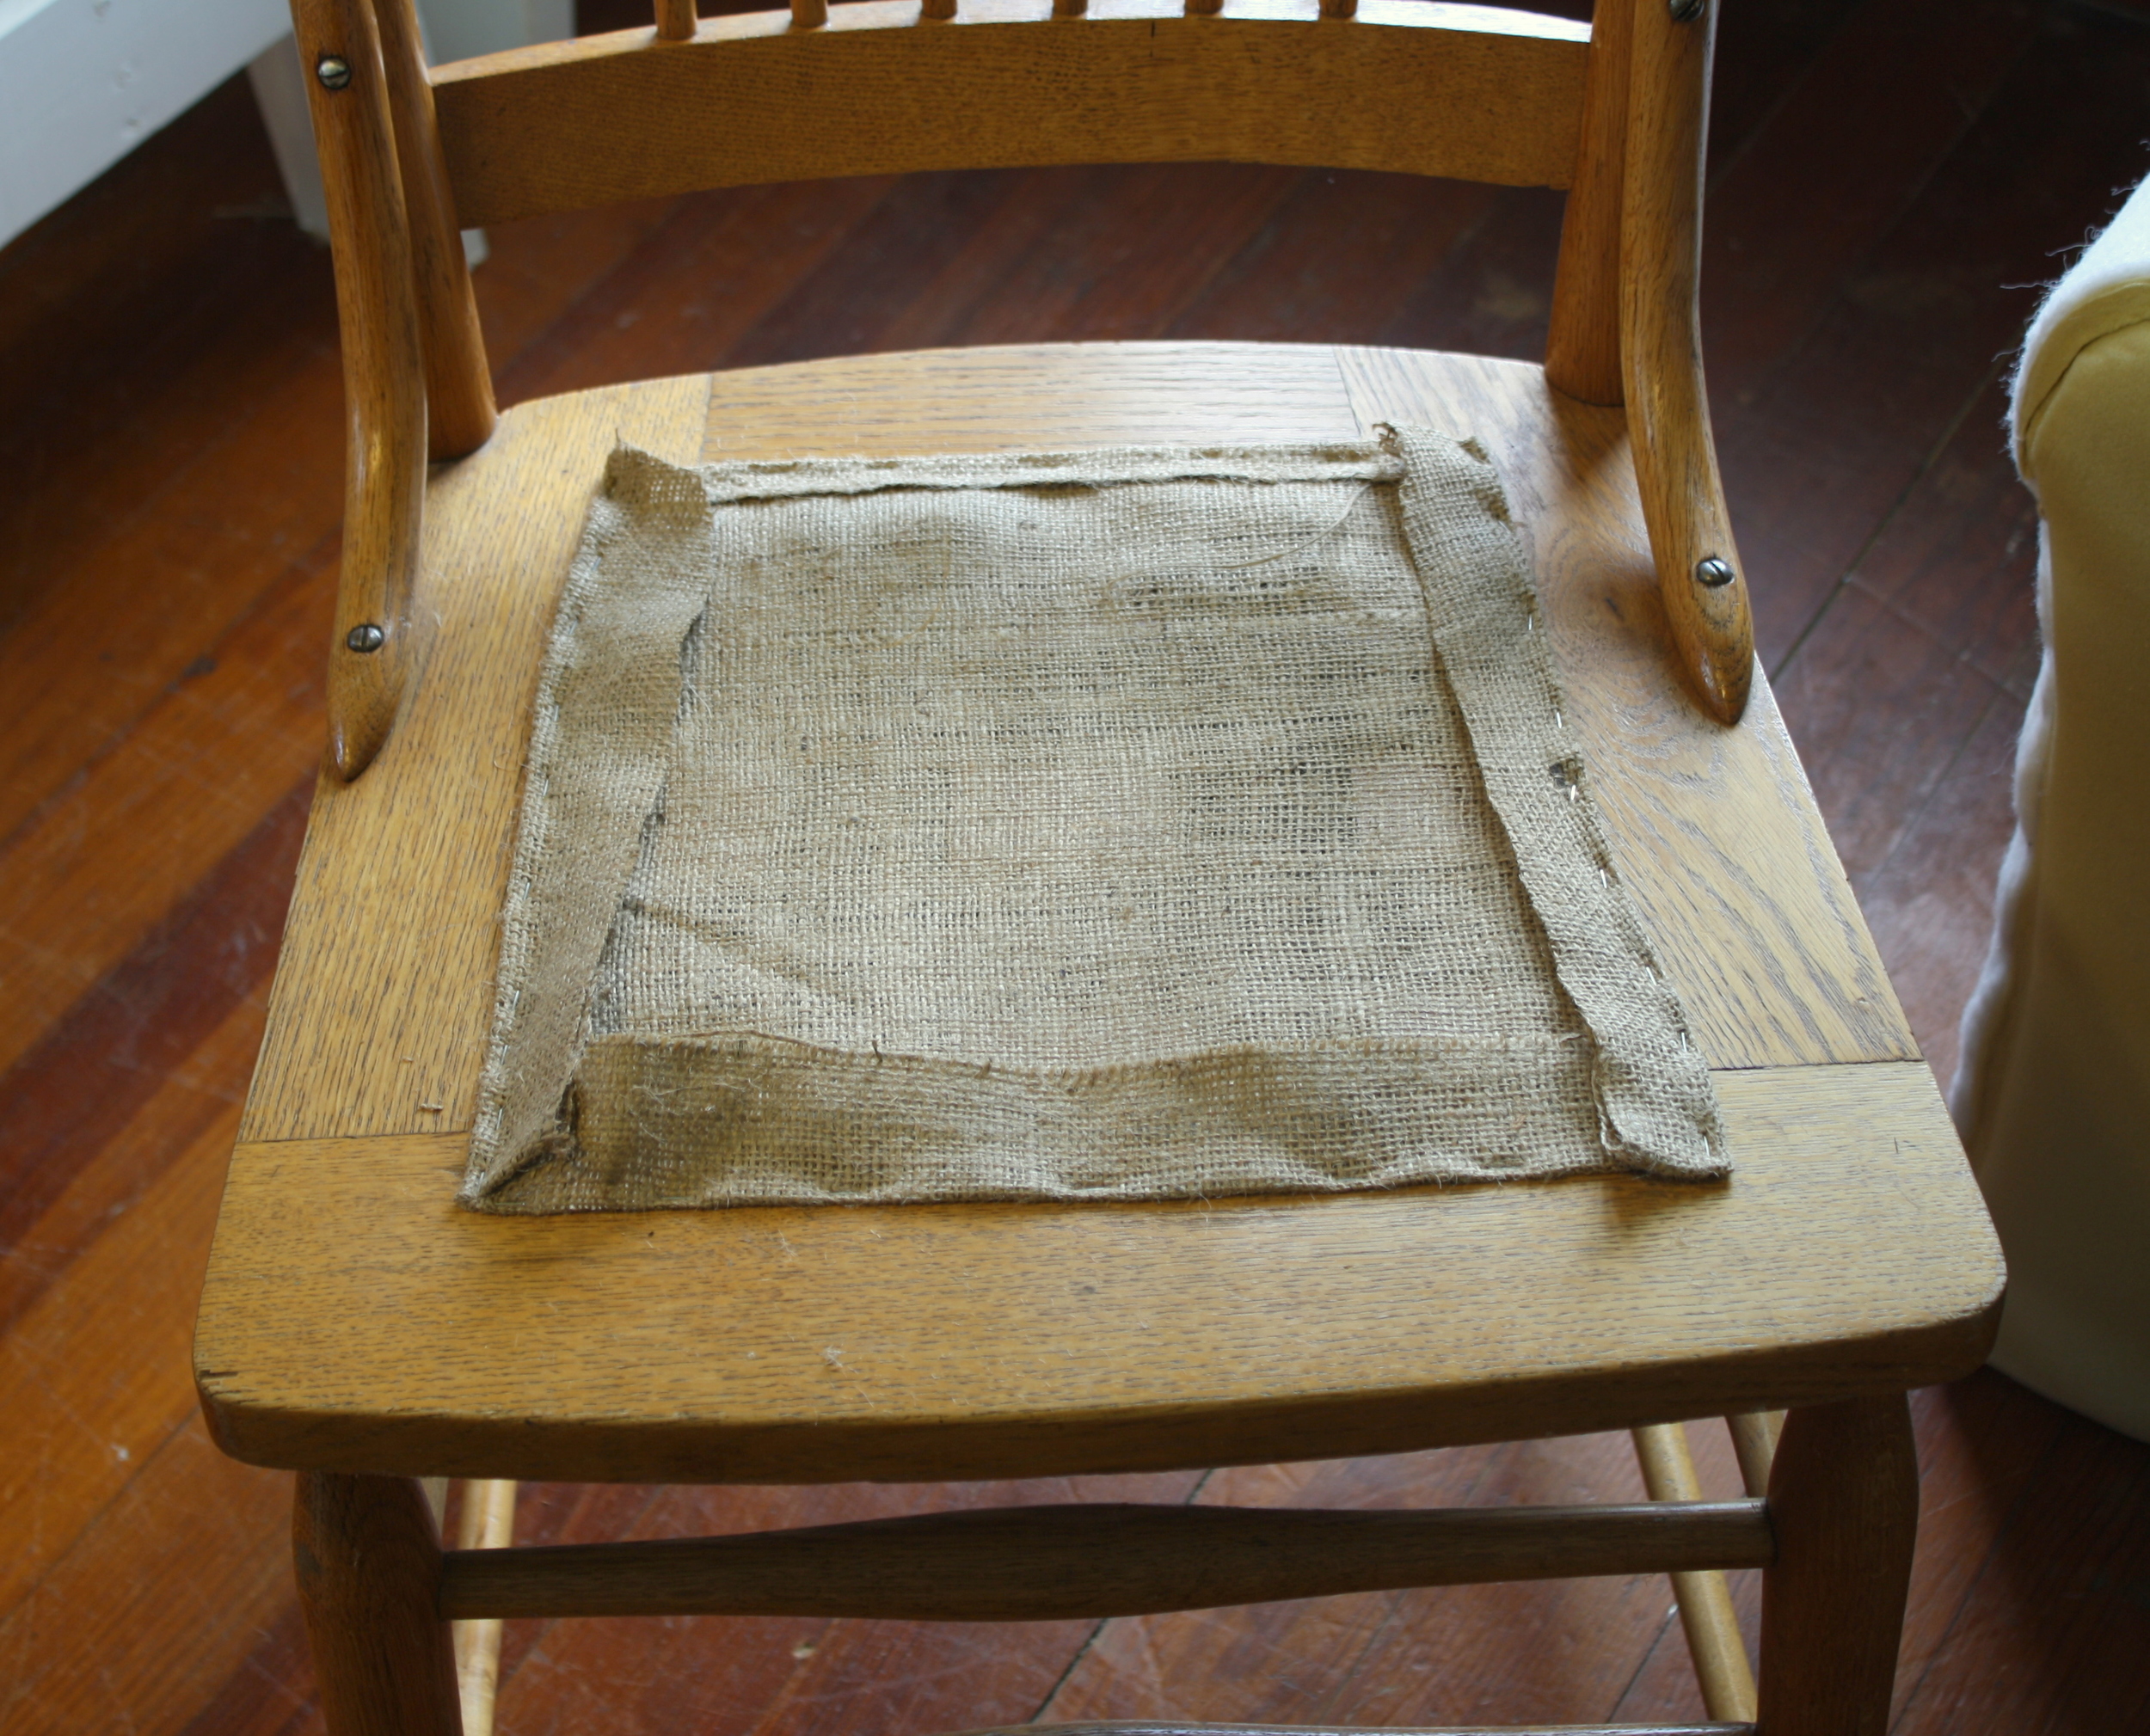
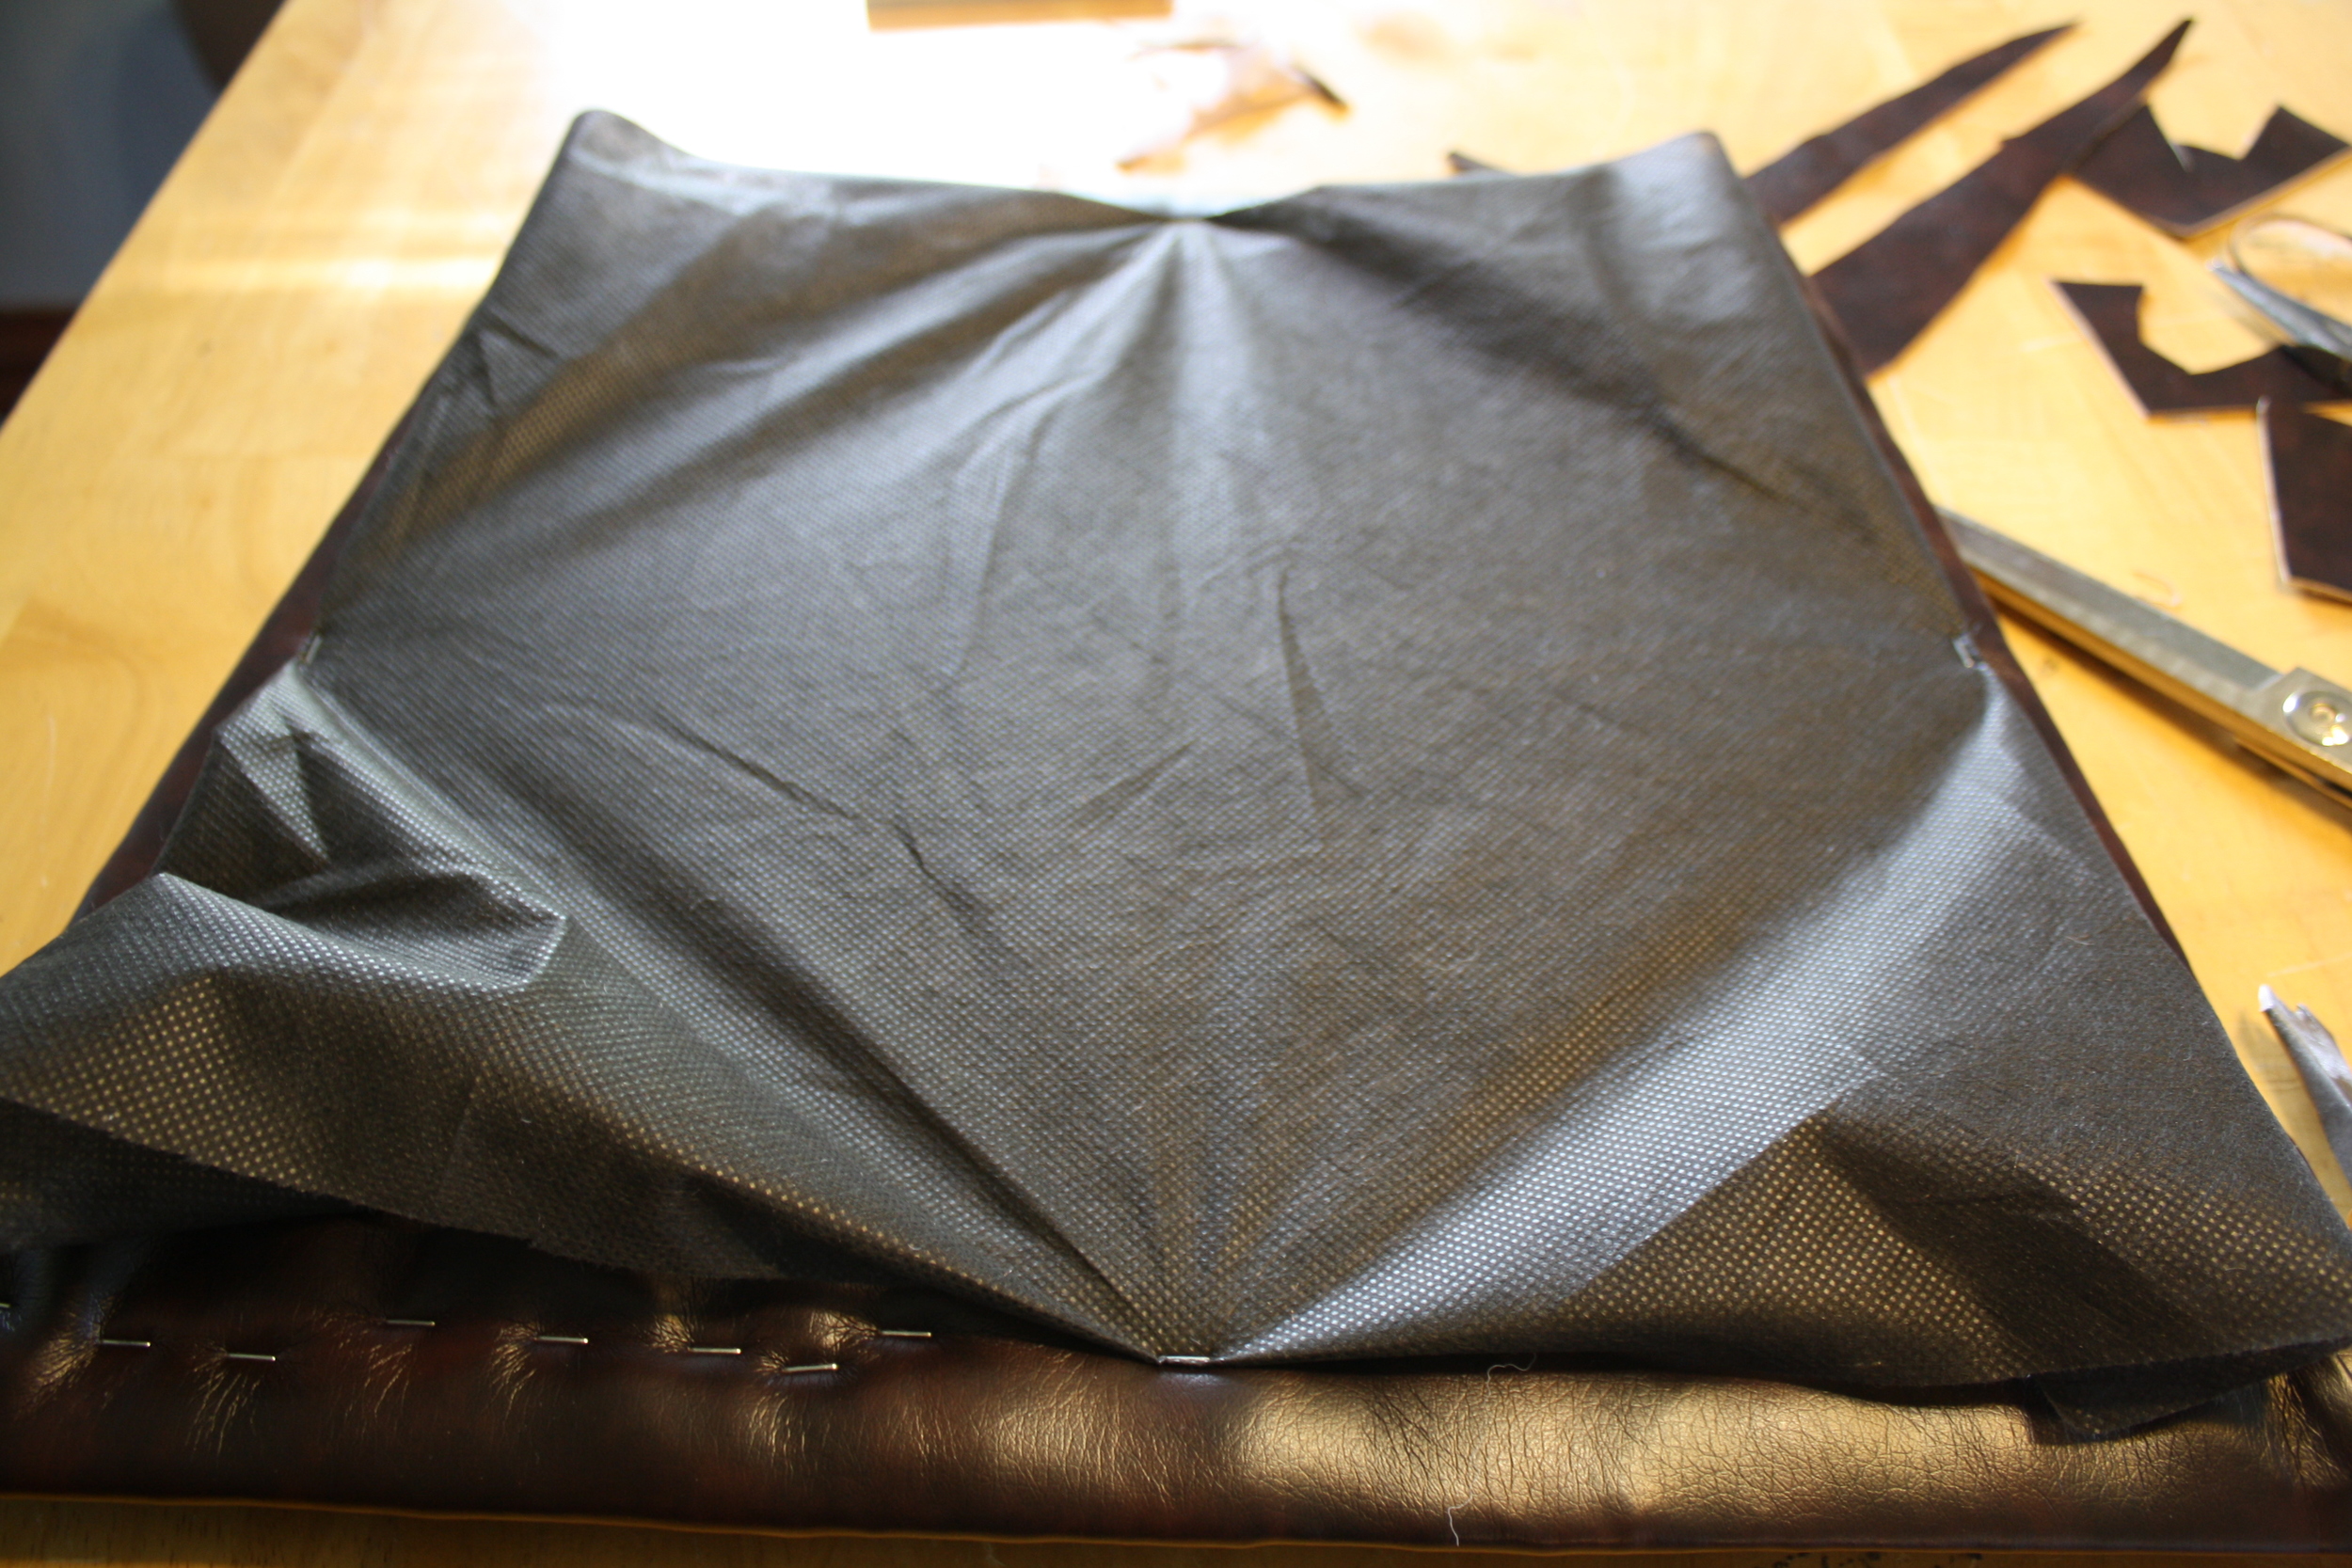
Next, cover the scaffolding of webbing you've created with a piece of burlap.  This will prevent the padding from being pushed down into the gaps between the webbing when someone sits on it and will generally create a more level and uniform seat. 

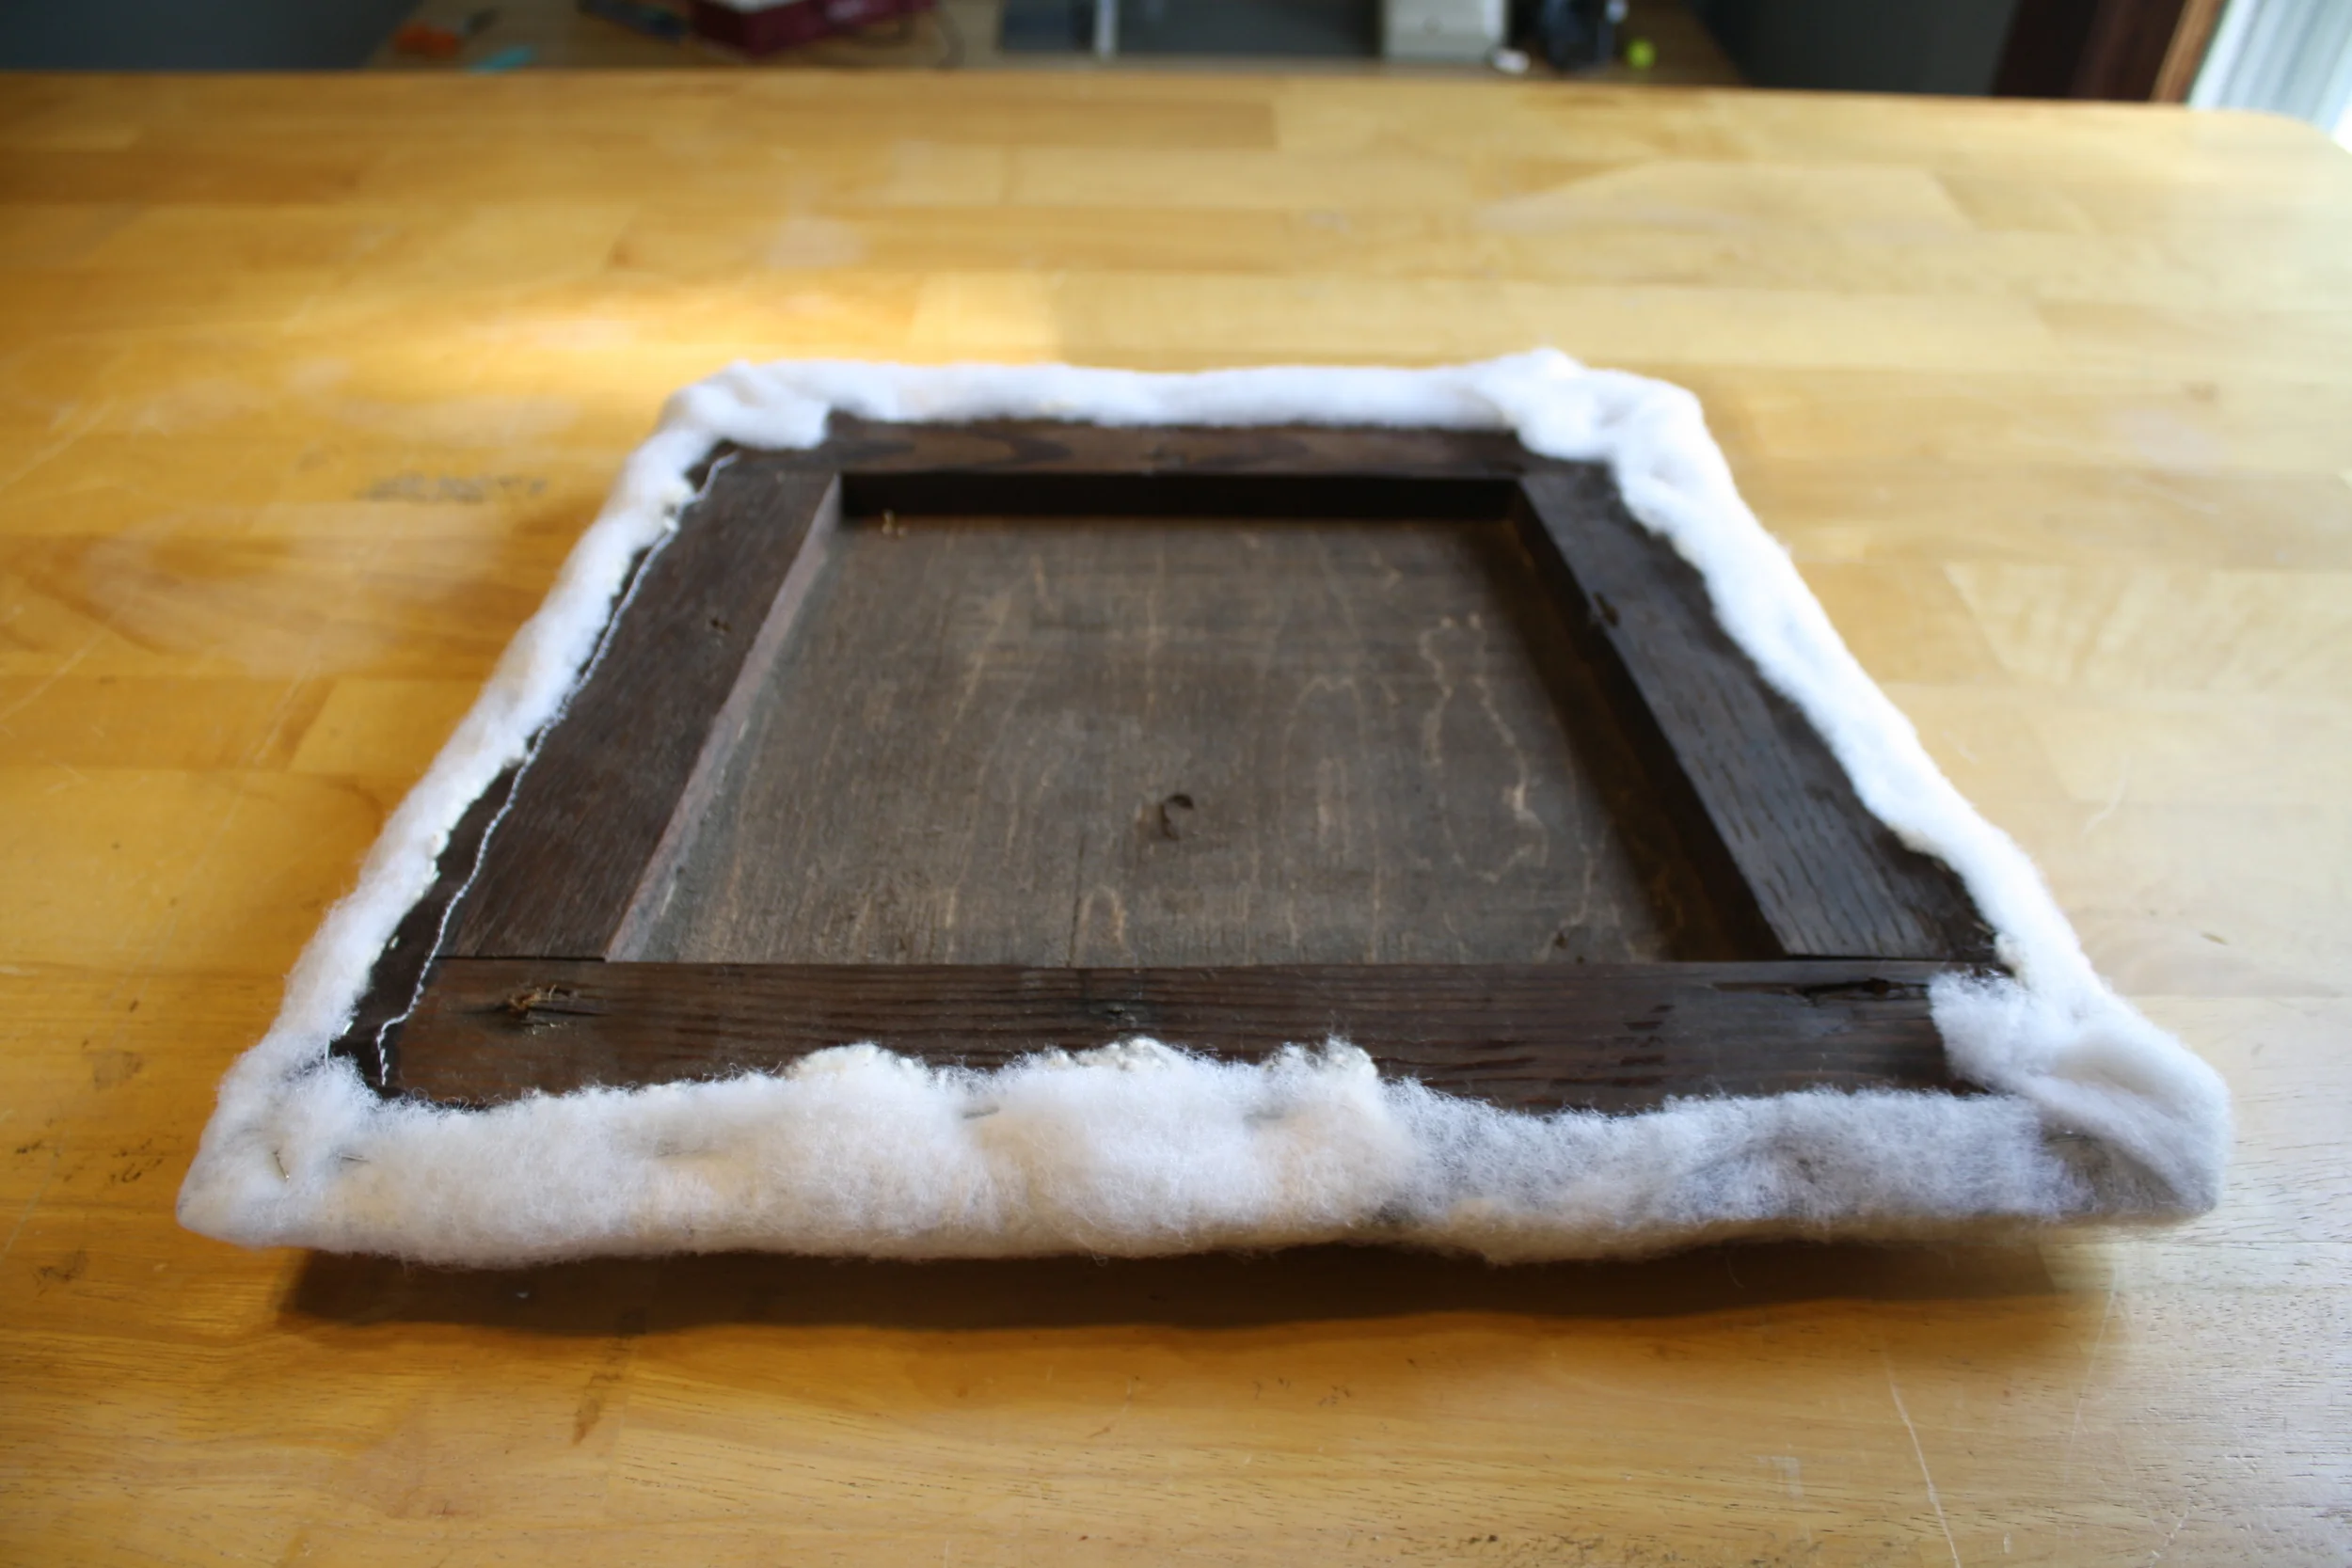
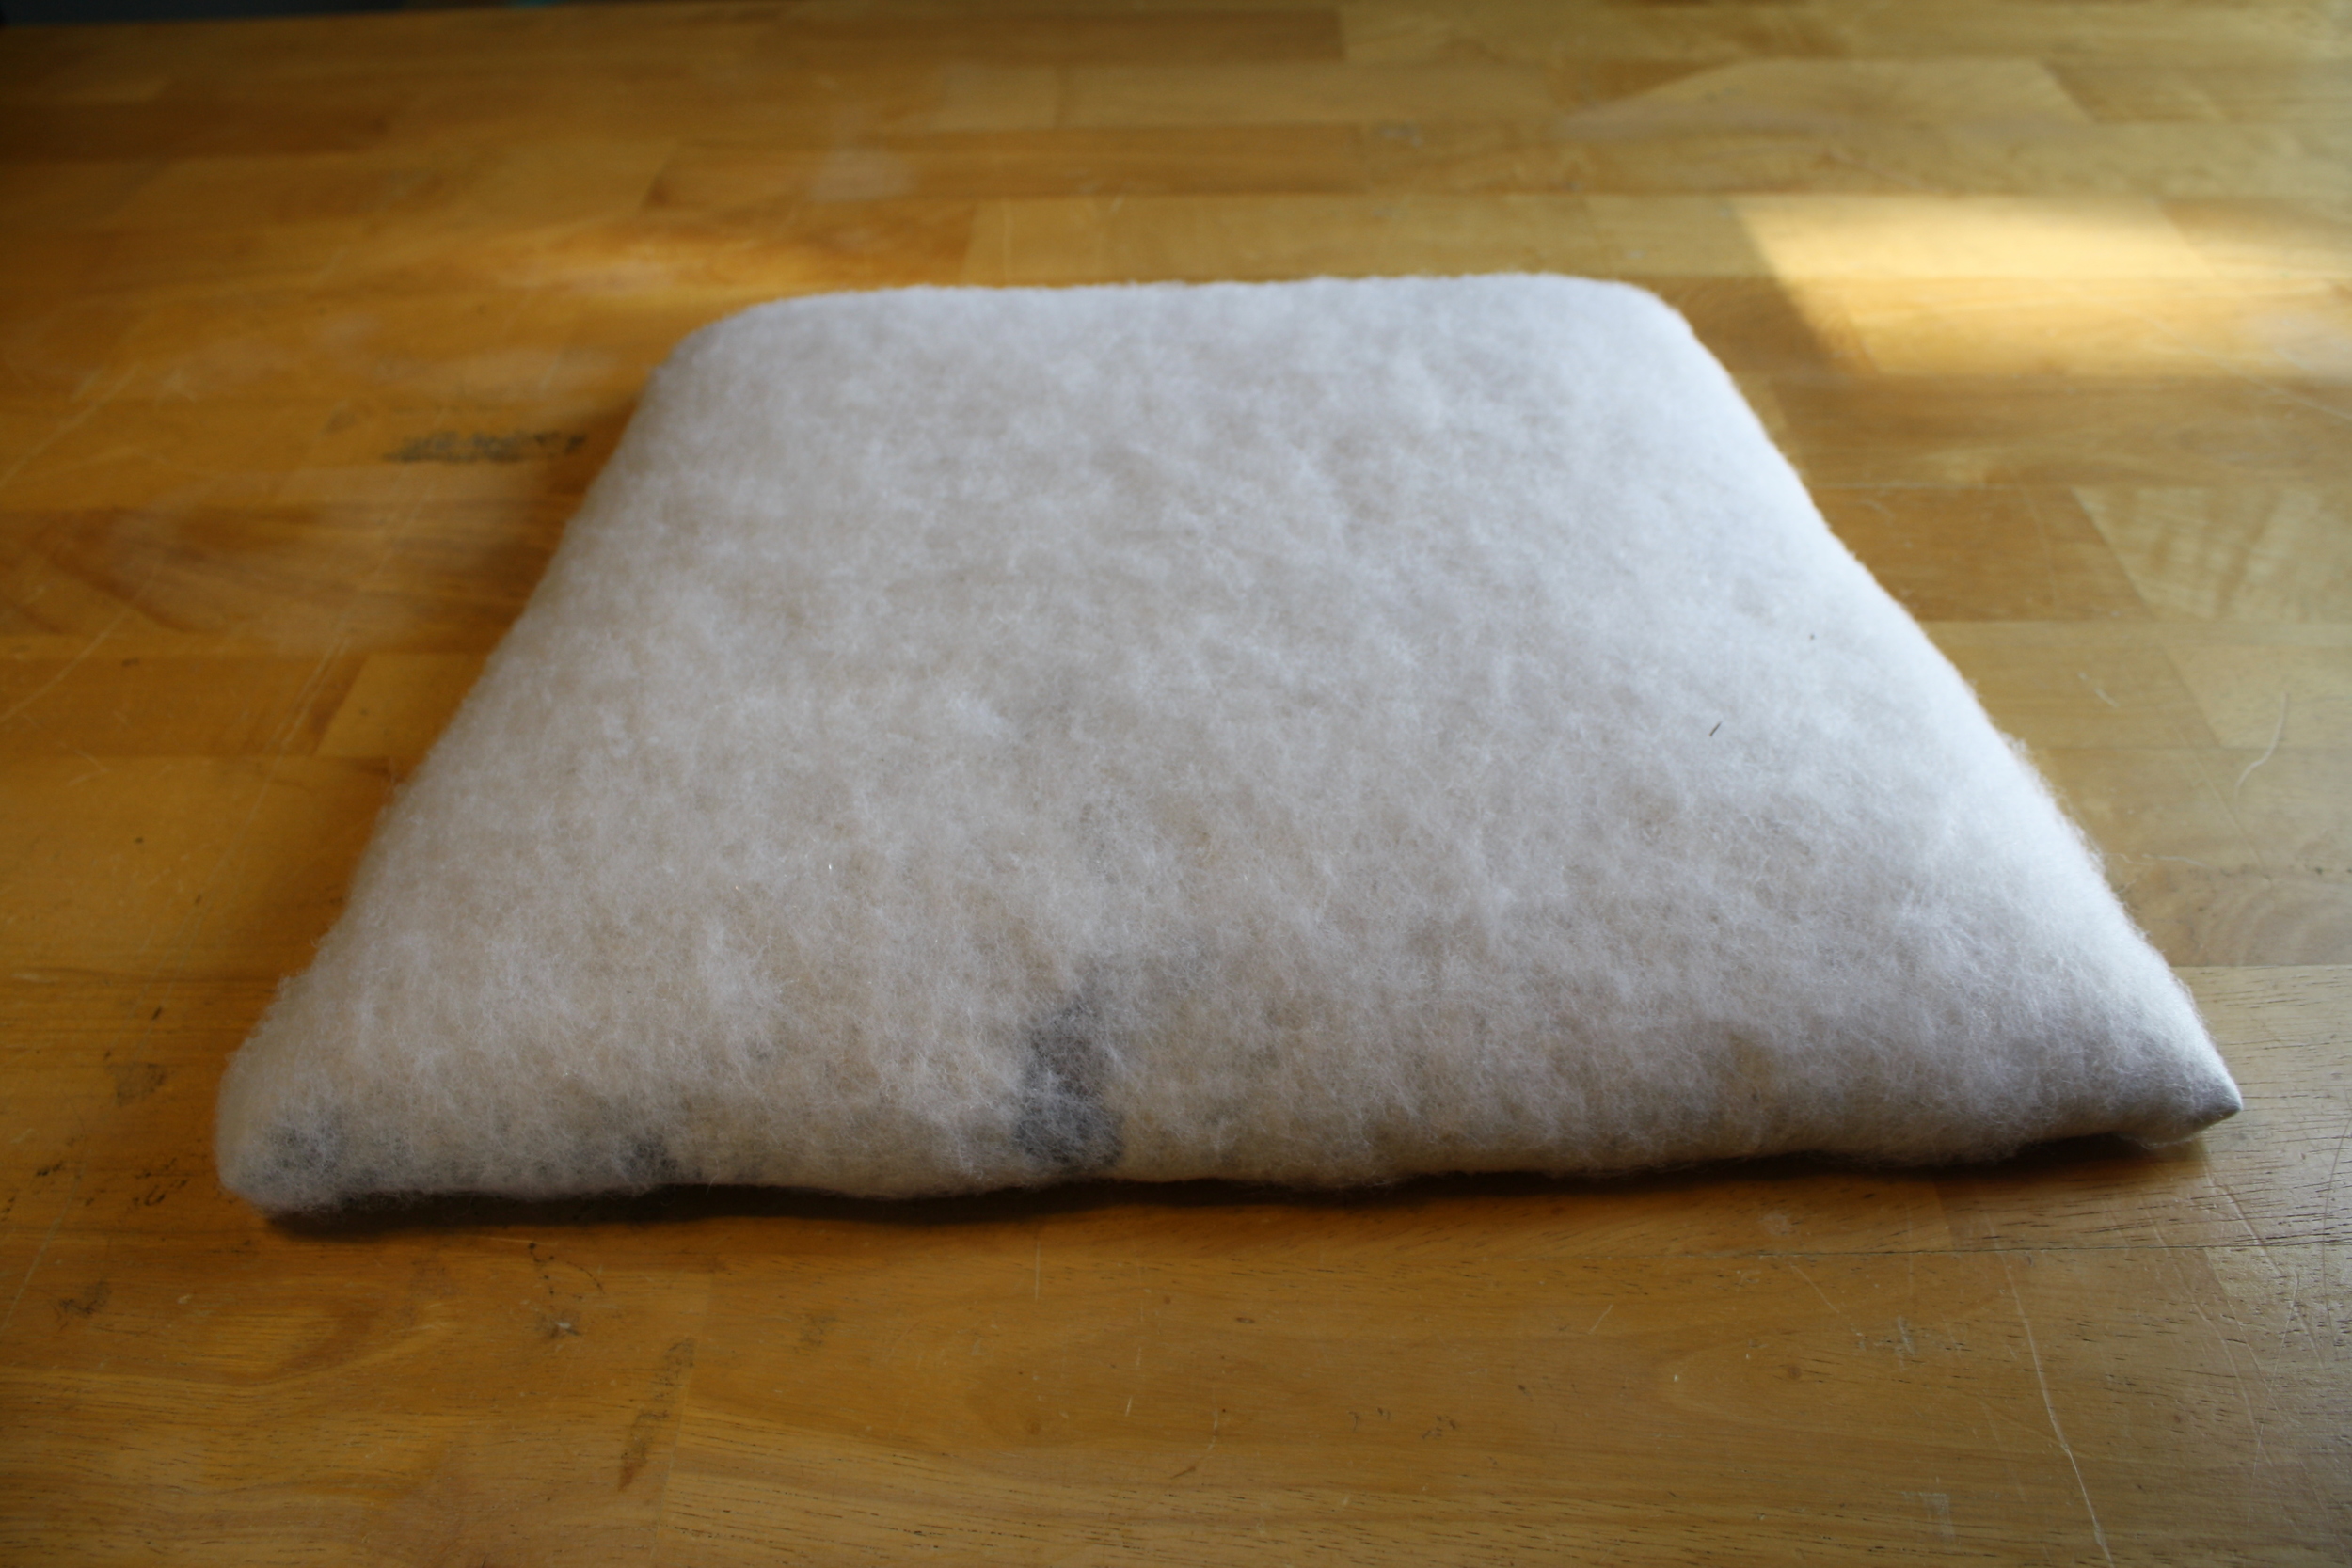
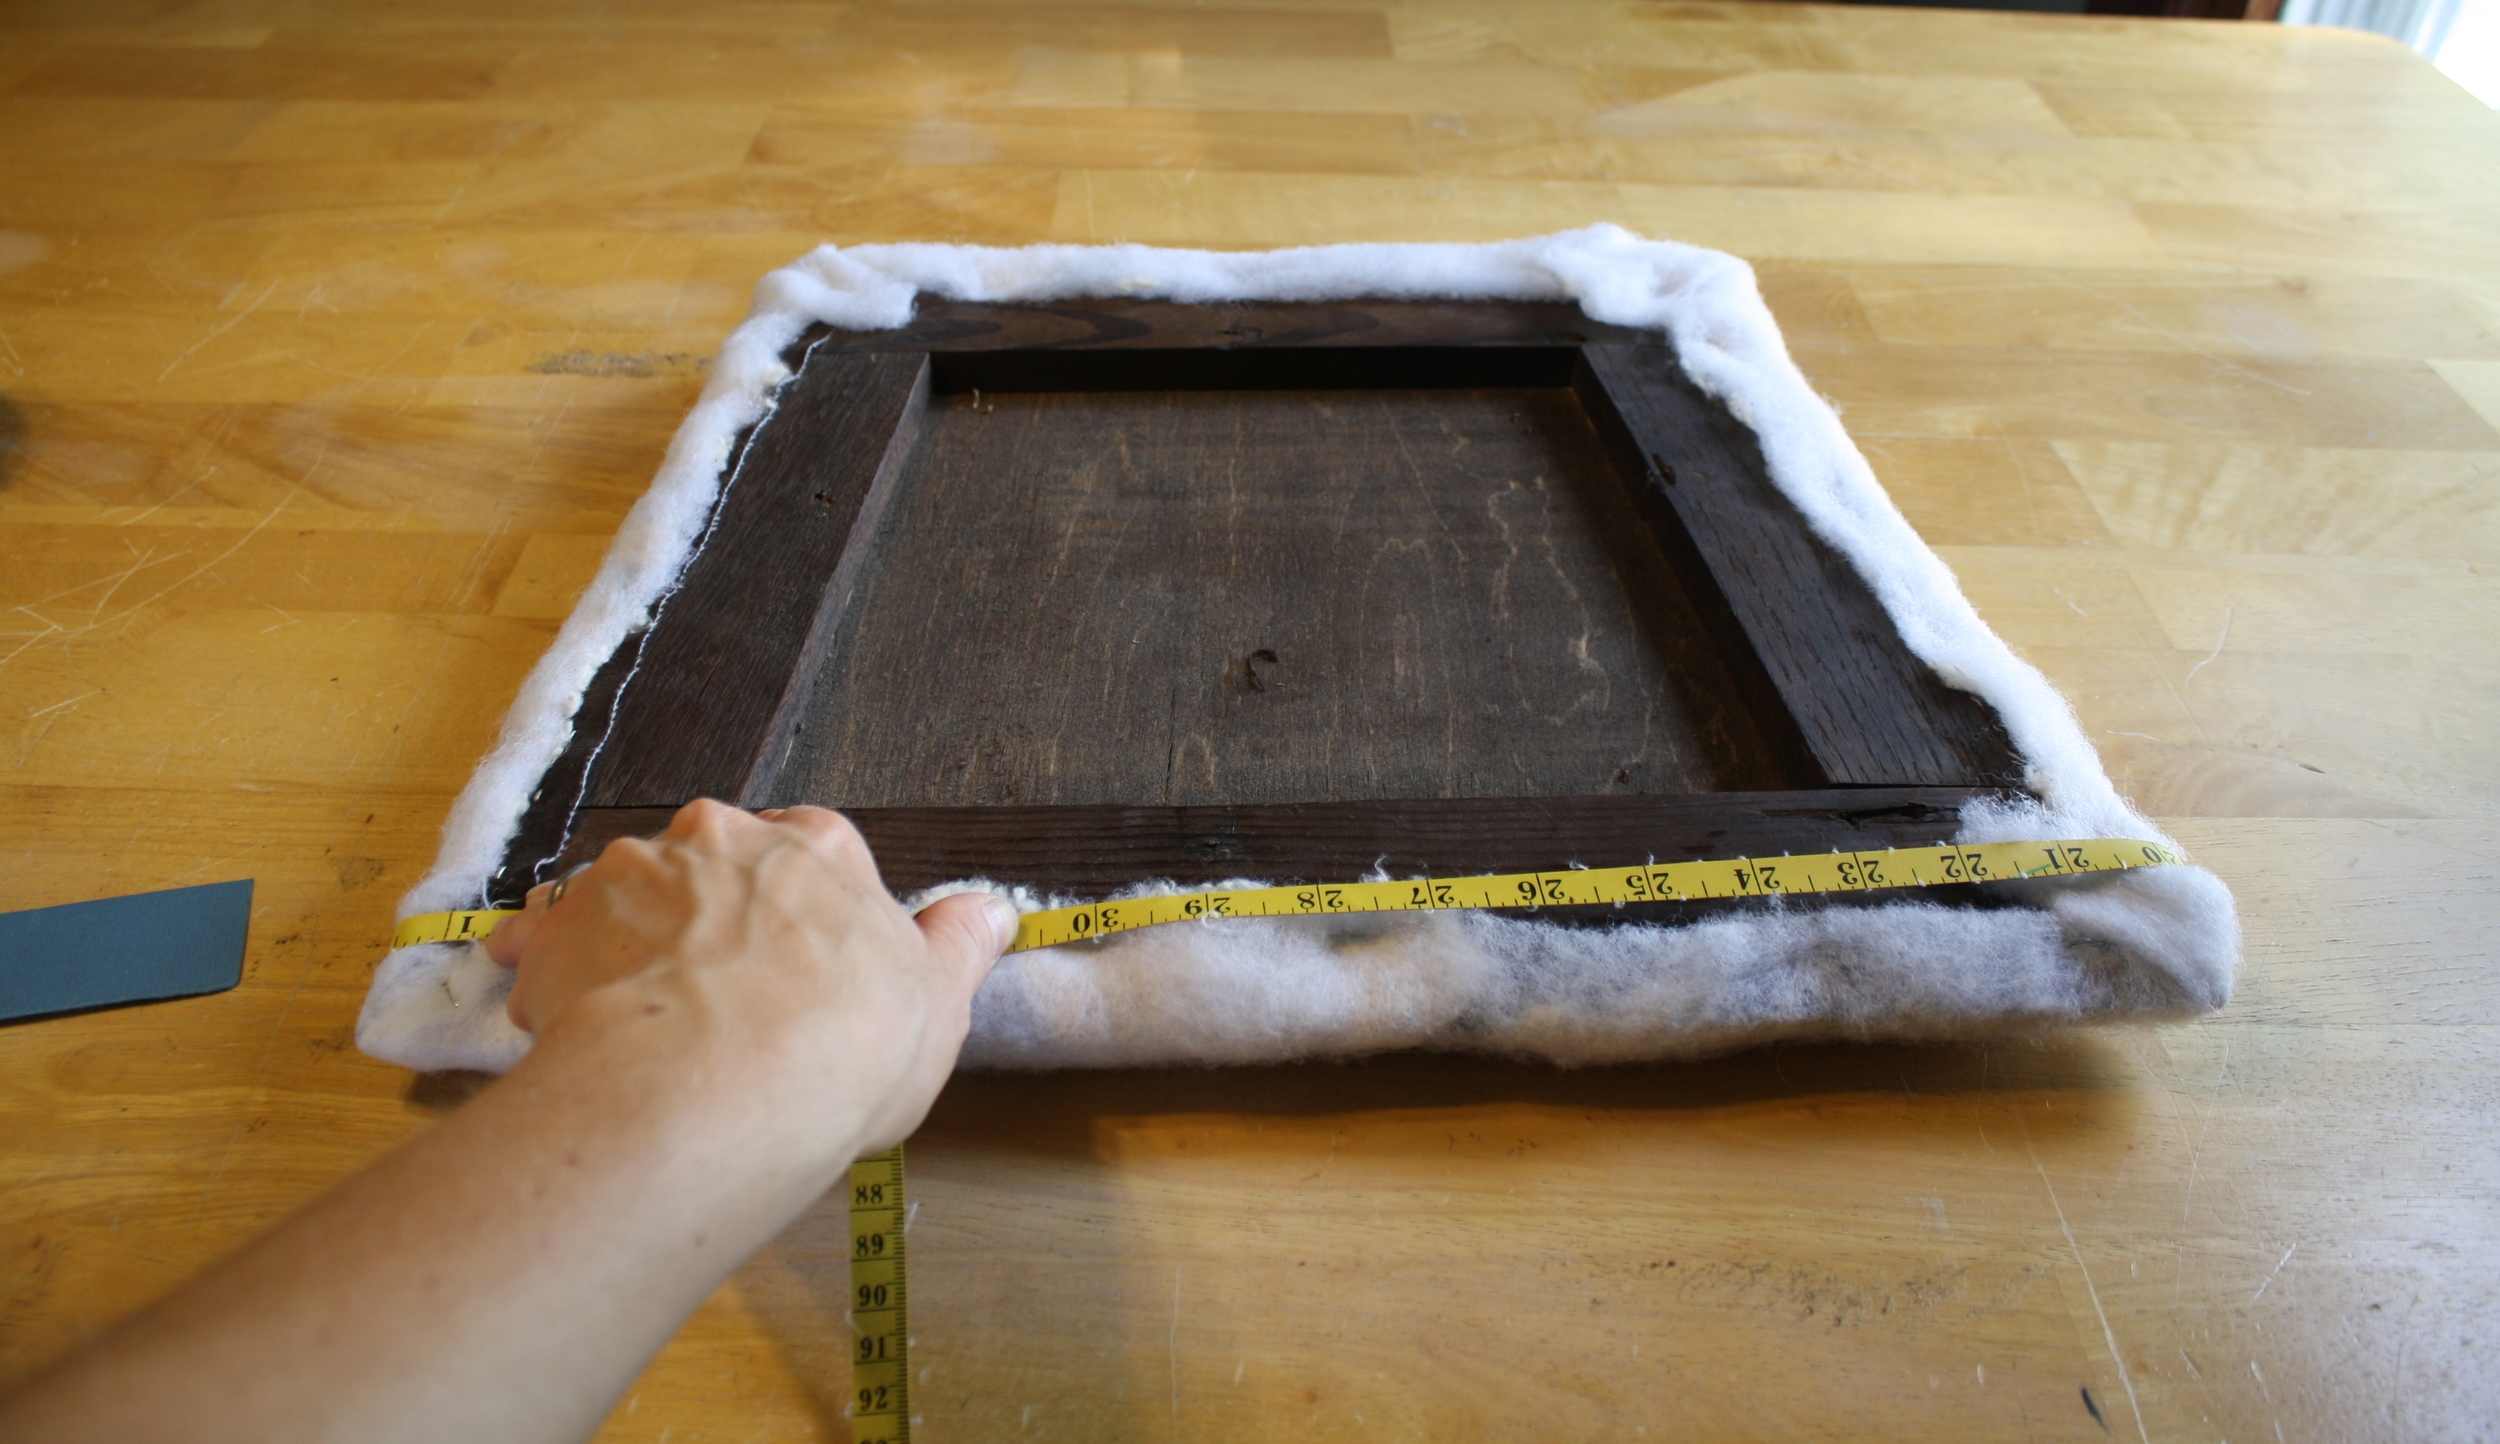
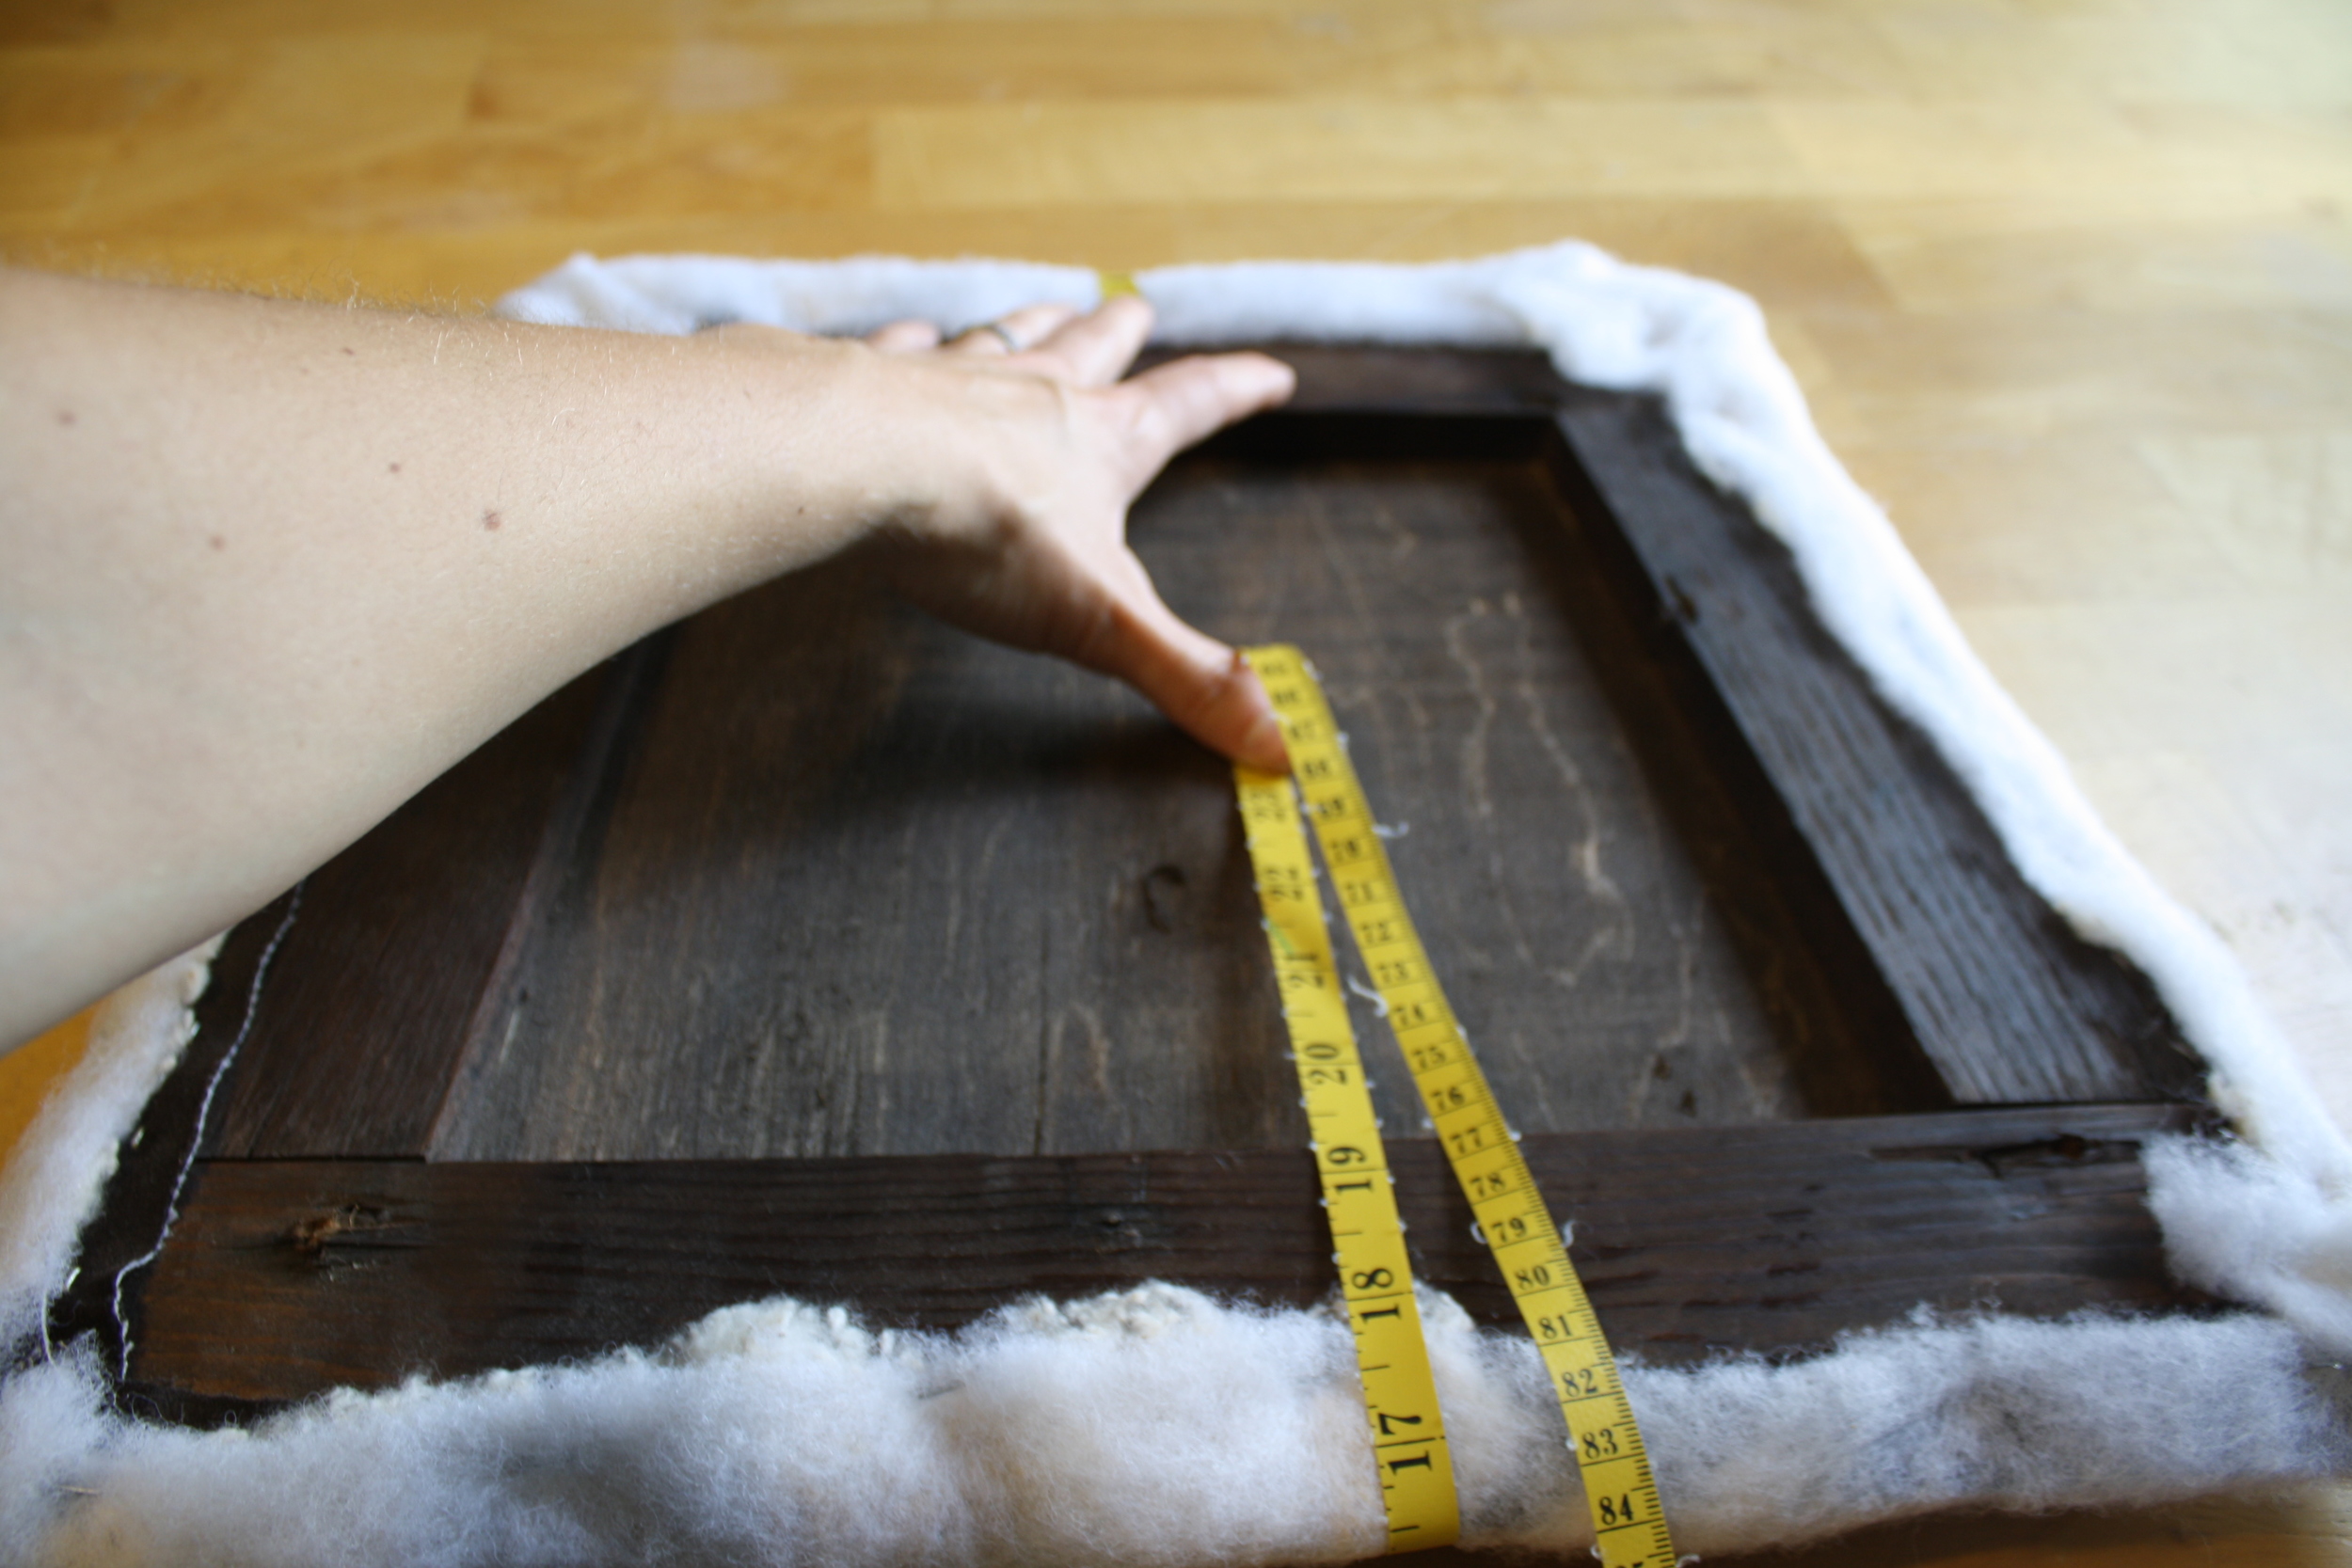
For the padding I've reused a piece of chair cushion foam, though you could also use a combination of horse hair (or synthetic horse hair) and cotton batting or a thinner foam one might purchase for various crafts.  I've cut this piece so that it is about a half inch wider on all sides than the groove in the chair seat where the caning spline was hammered in. While I have a tool thats specifically used for cutting foam, an electric bread knife can also do the job. Once your piece is cut, position it on the chair seat and then use a spray glue to adhere it to the burlap. 

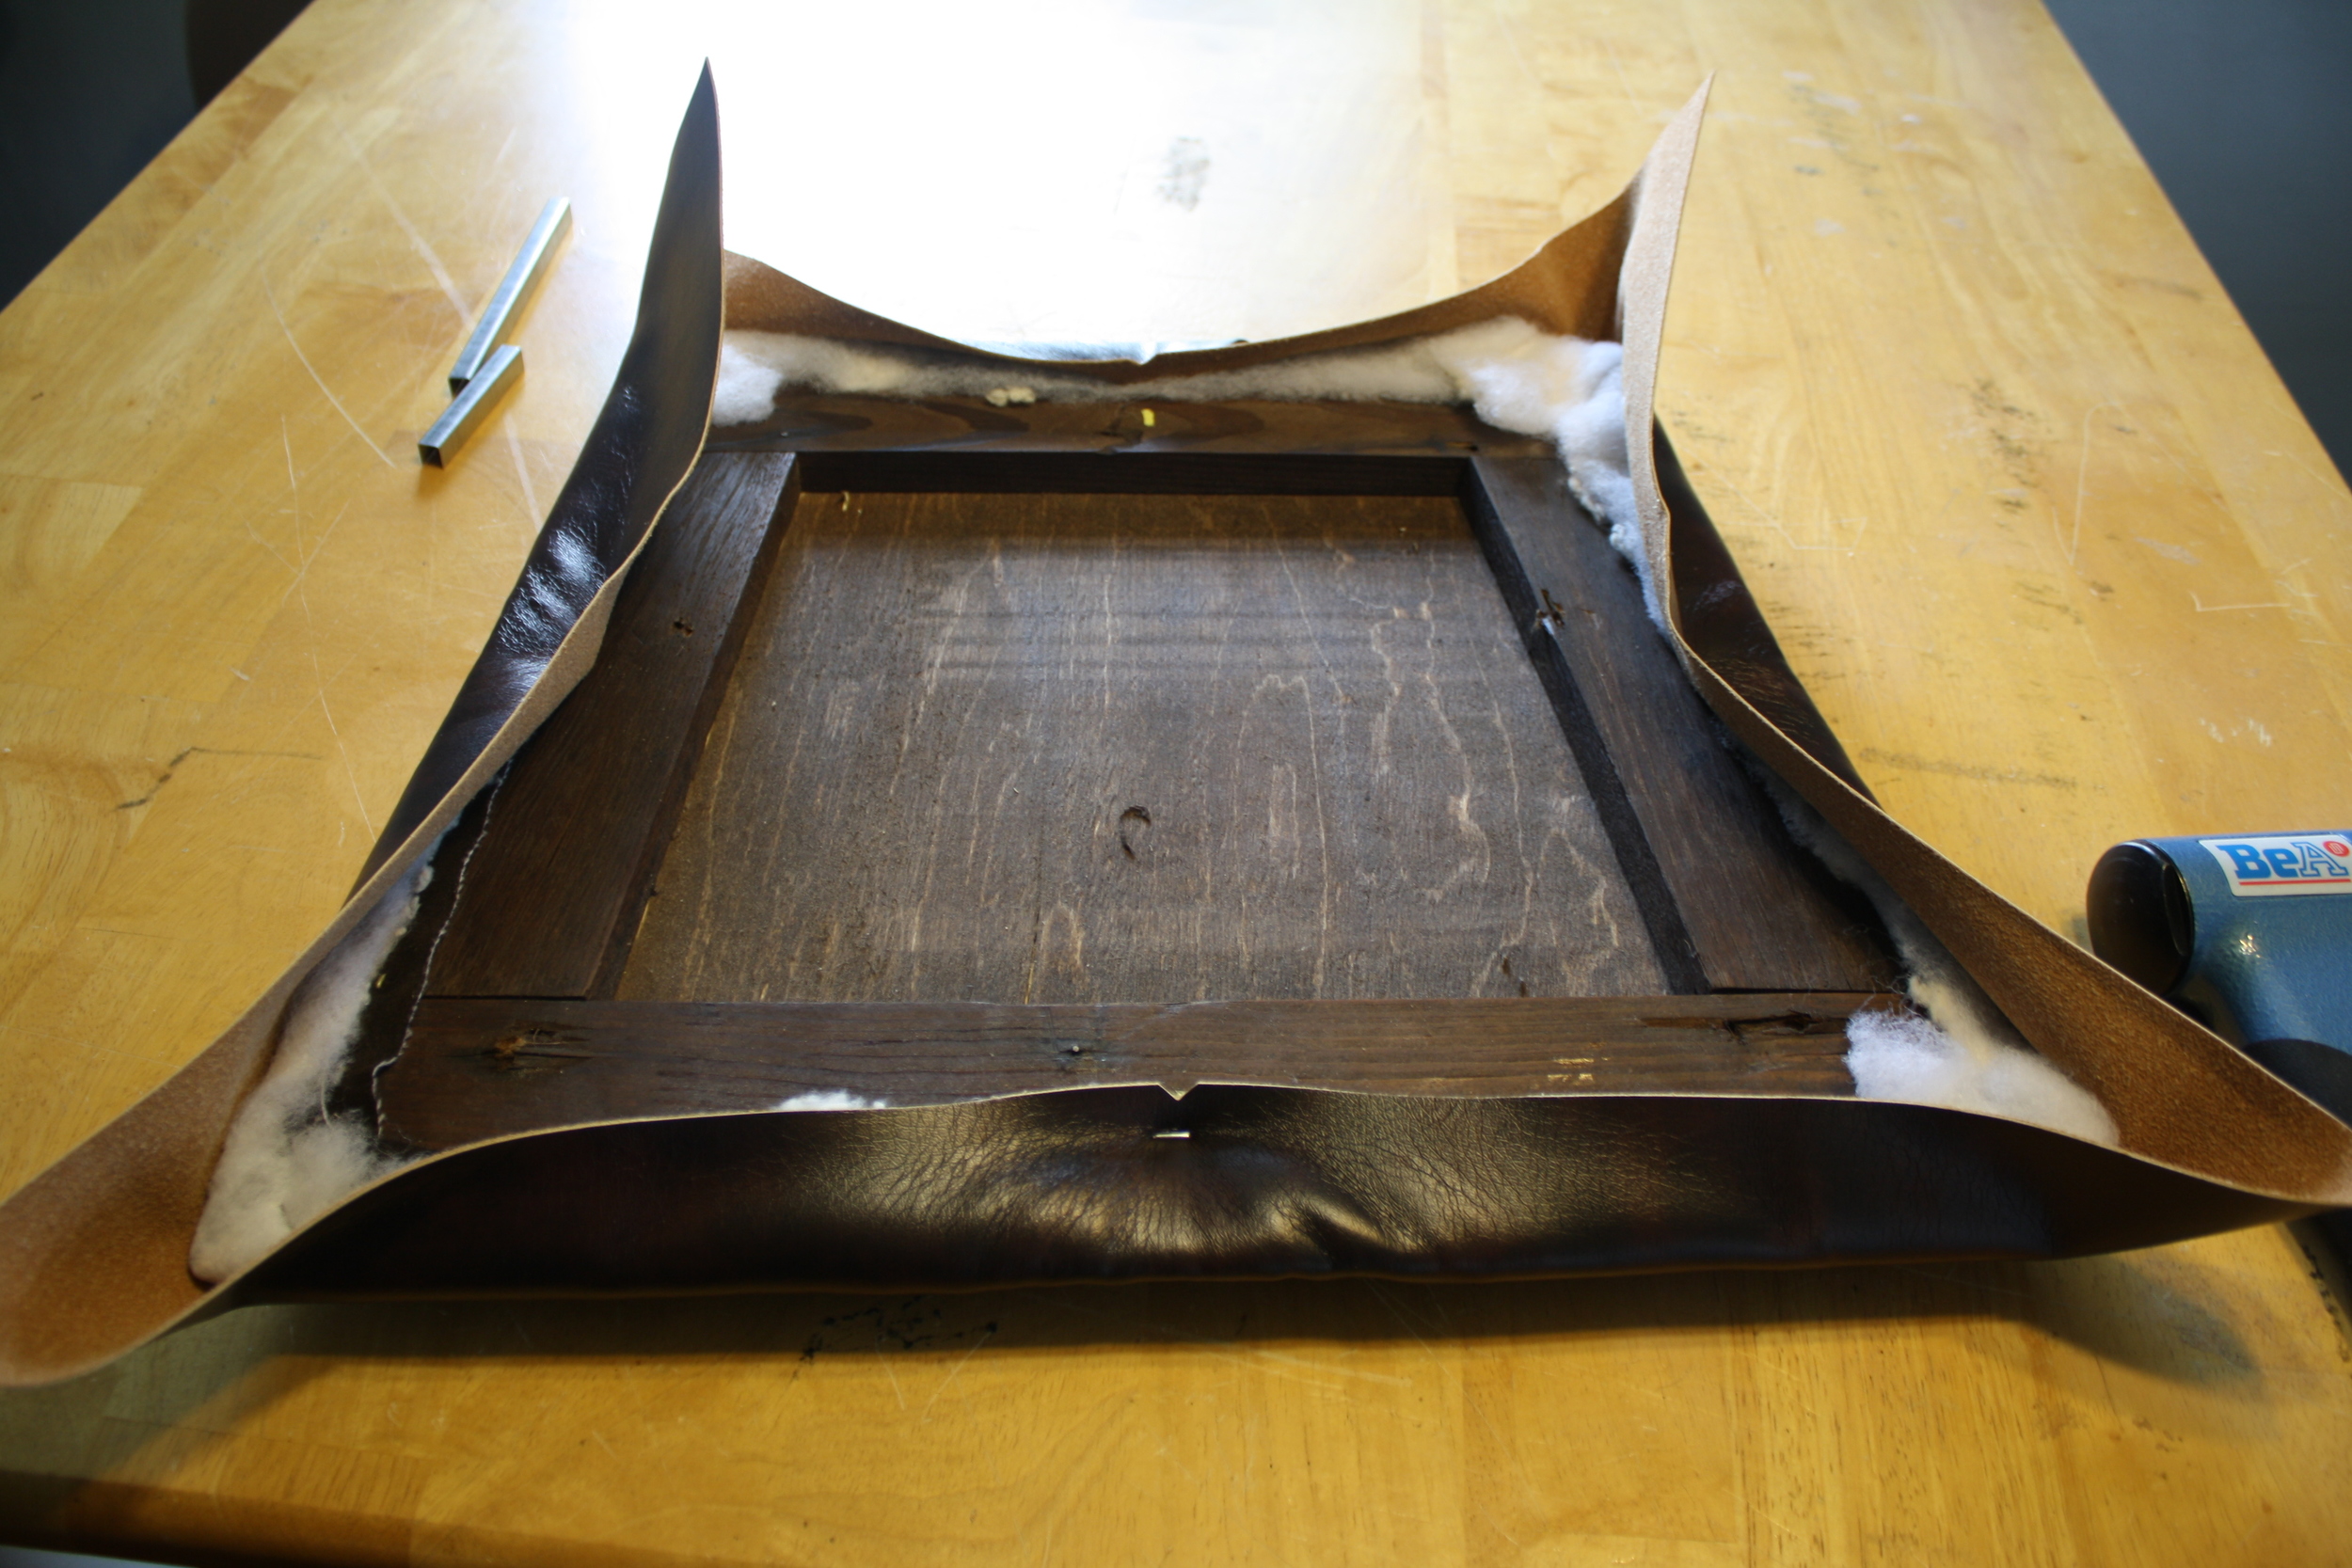
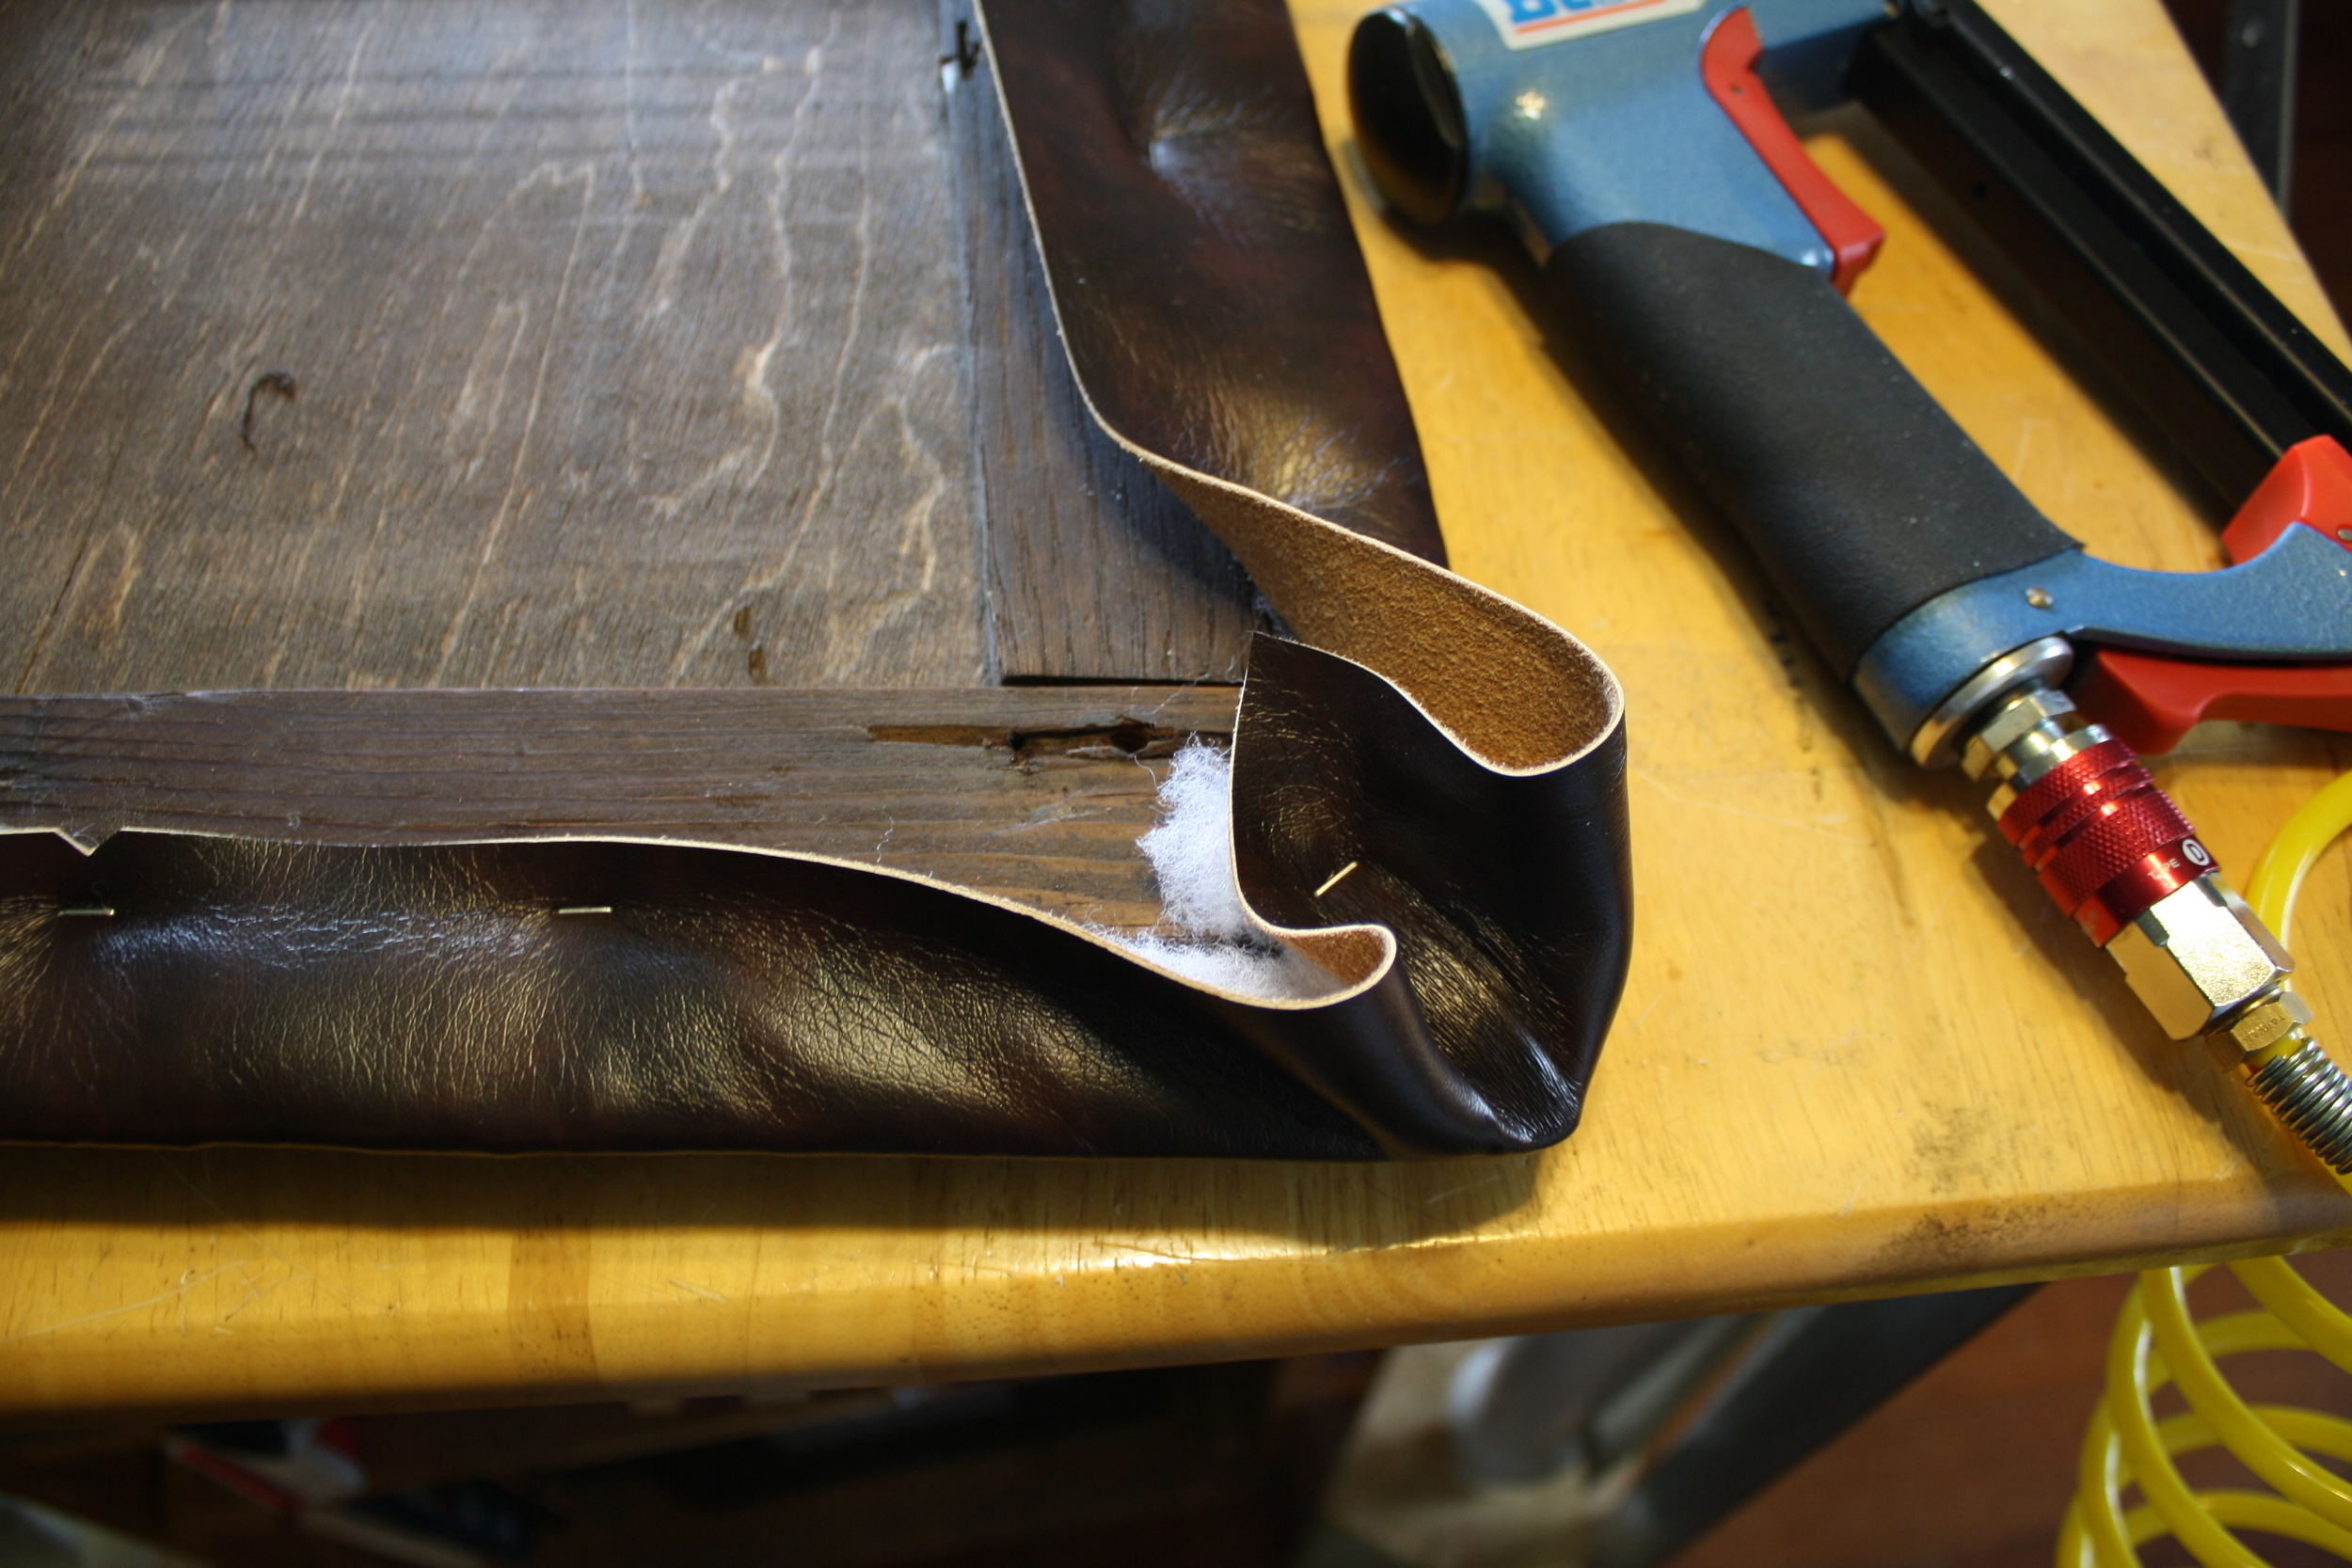
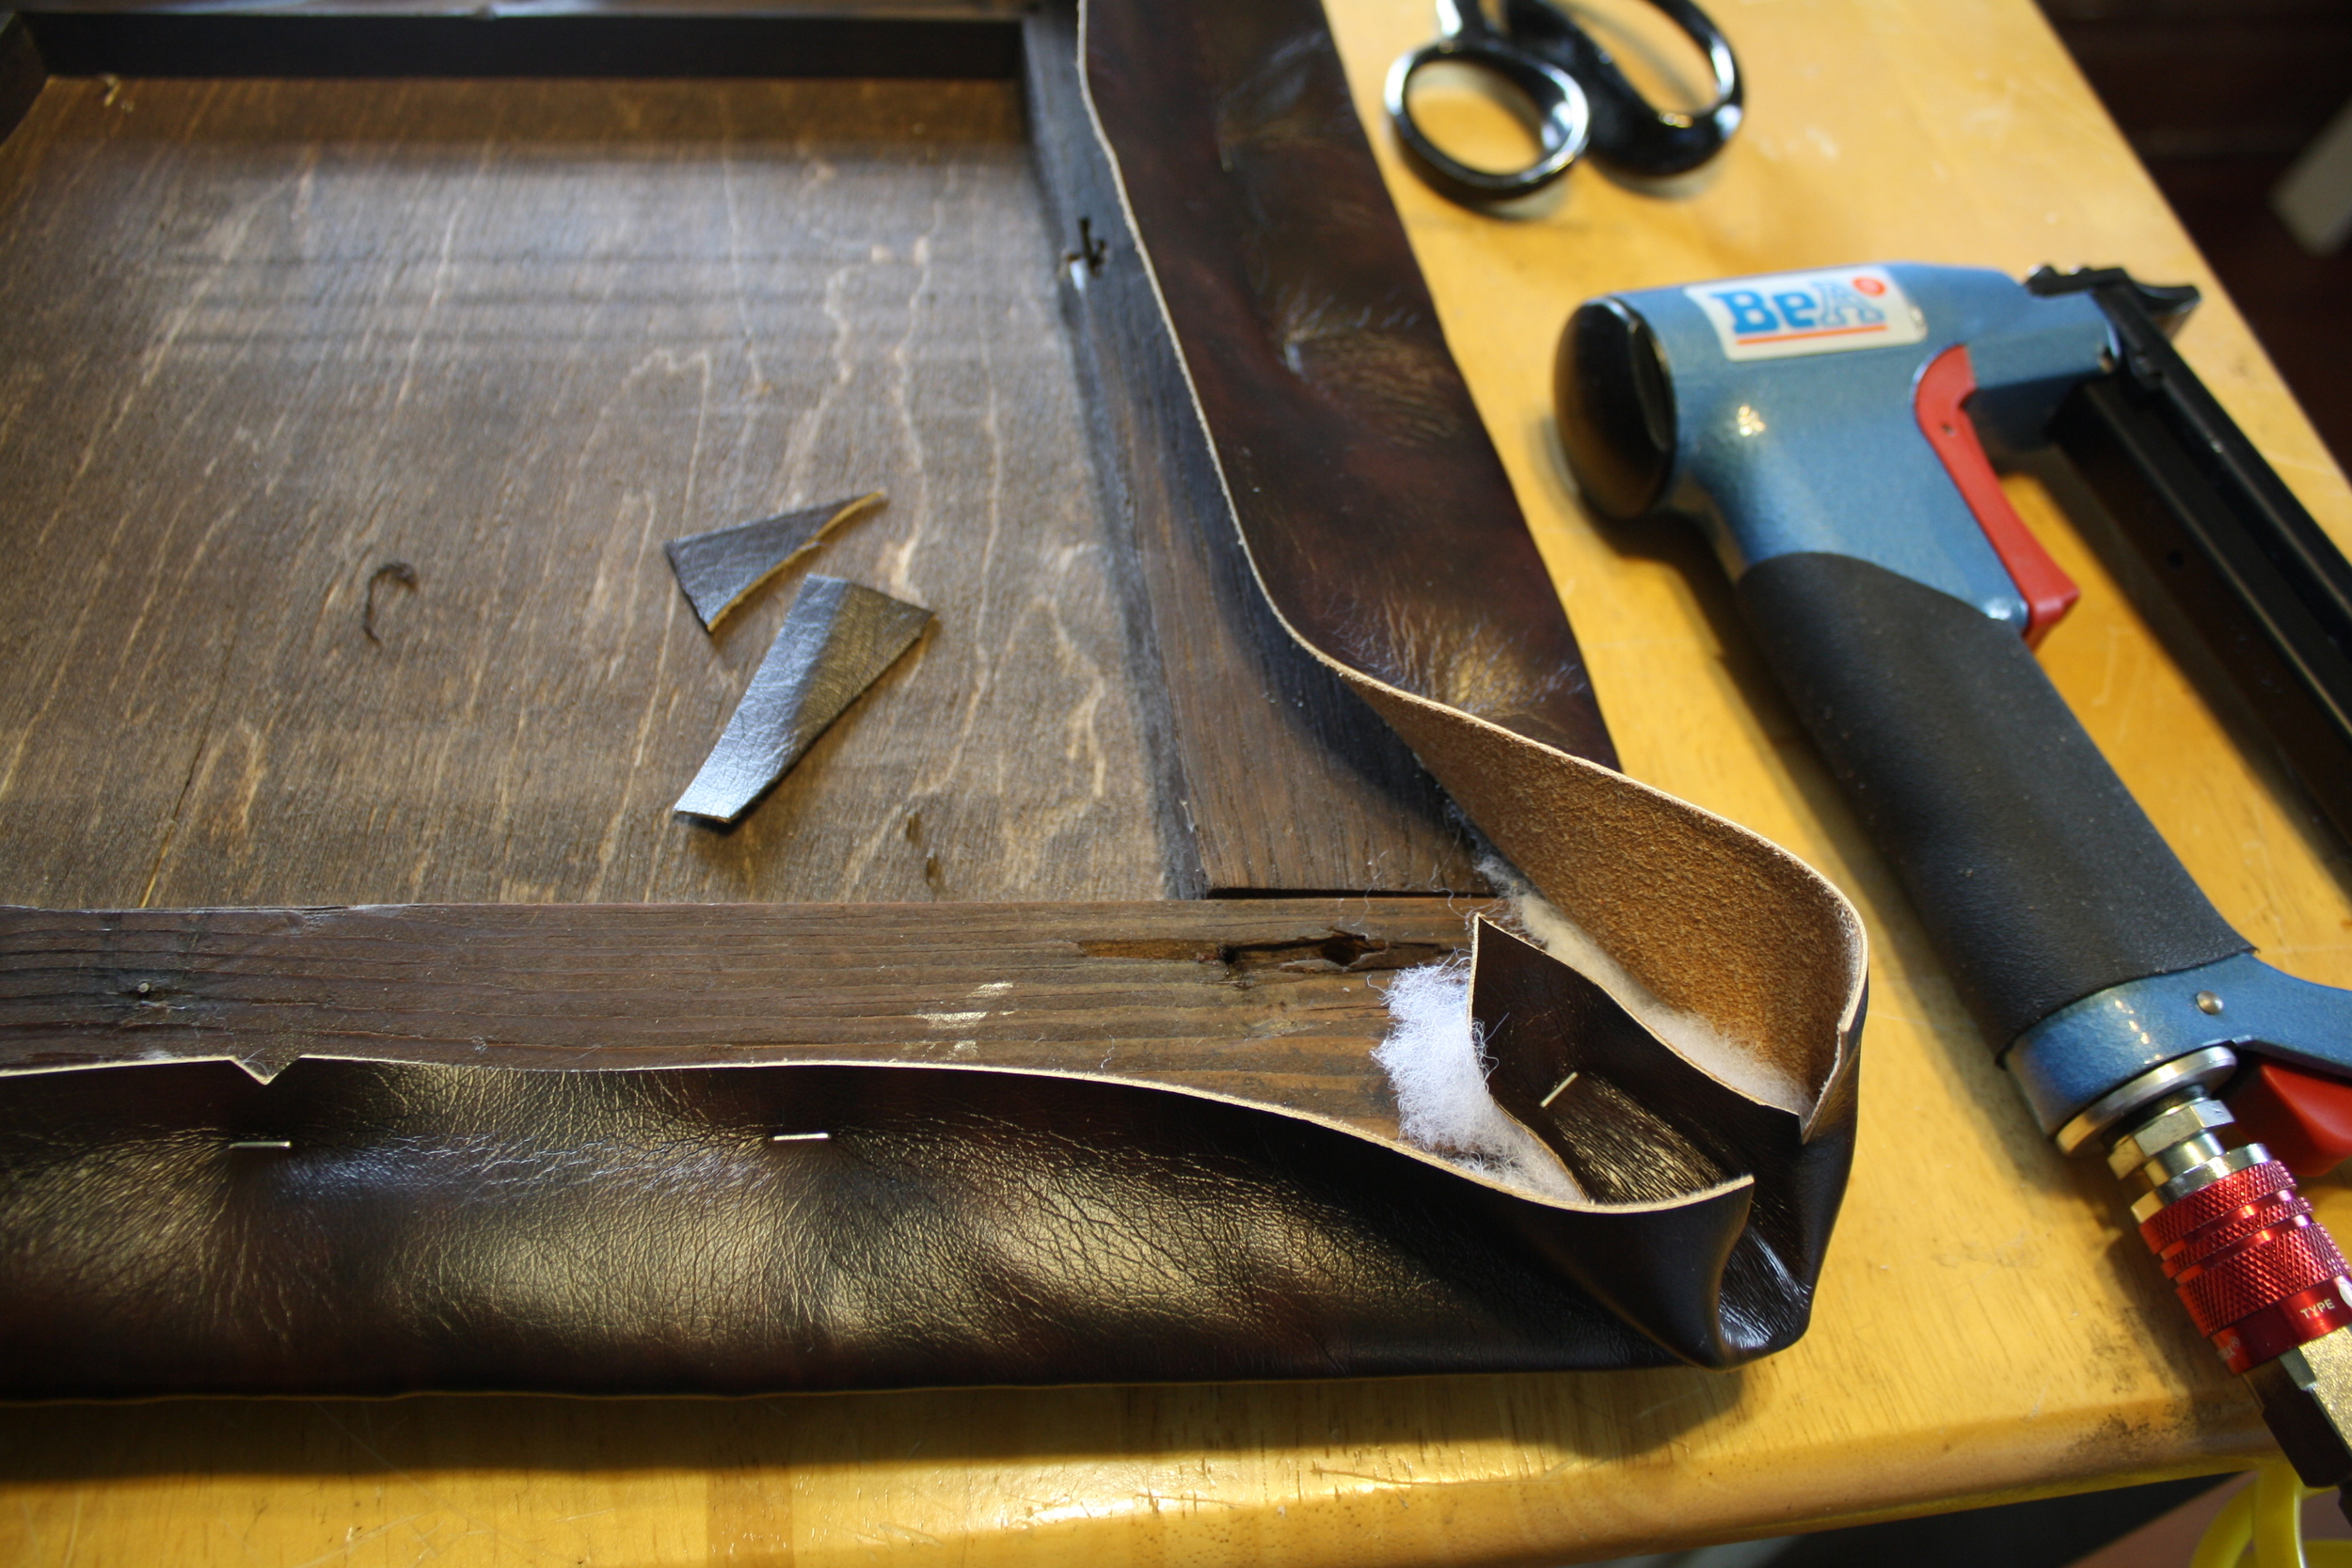
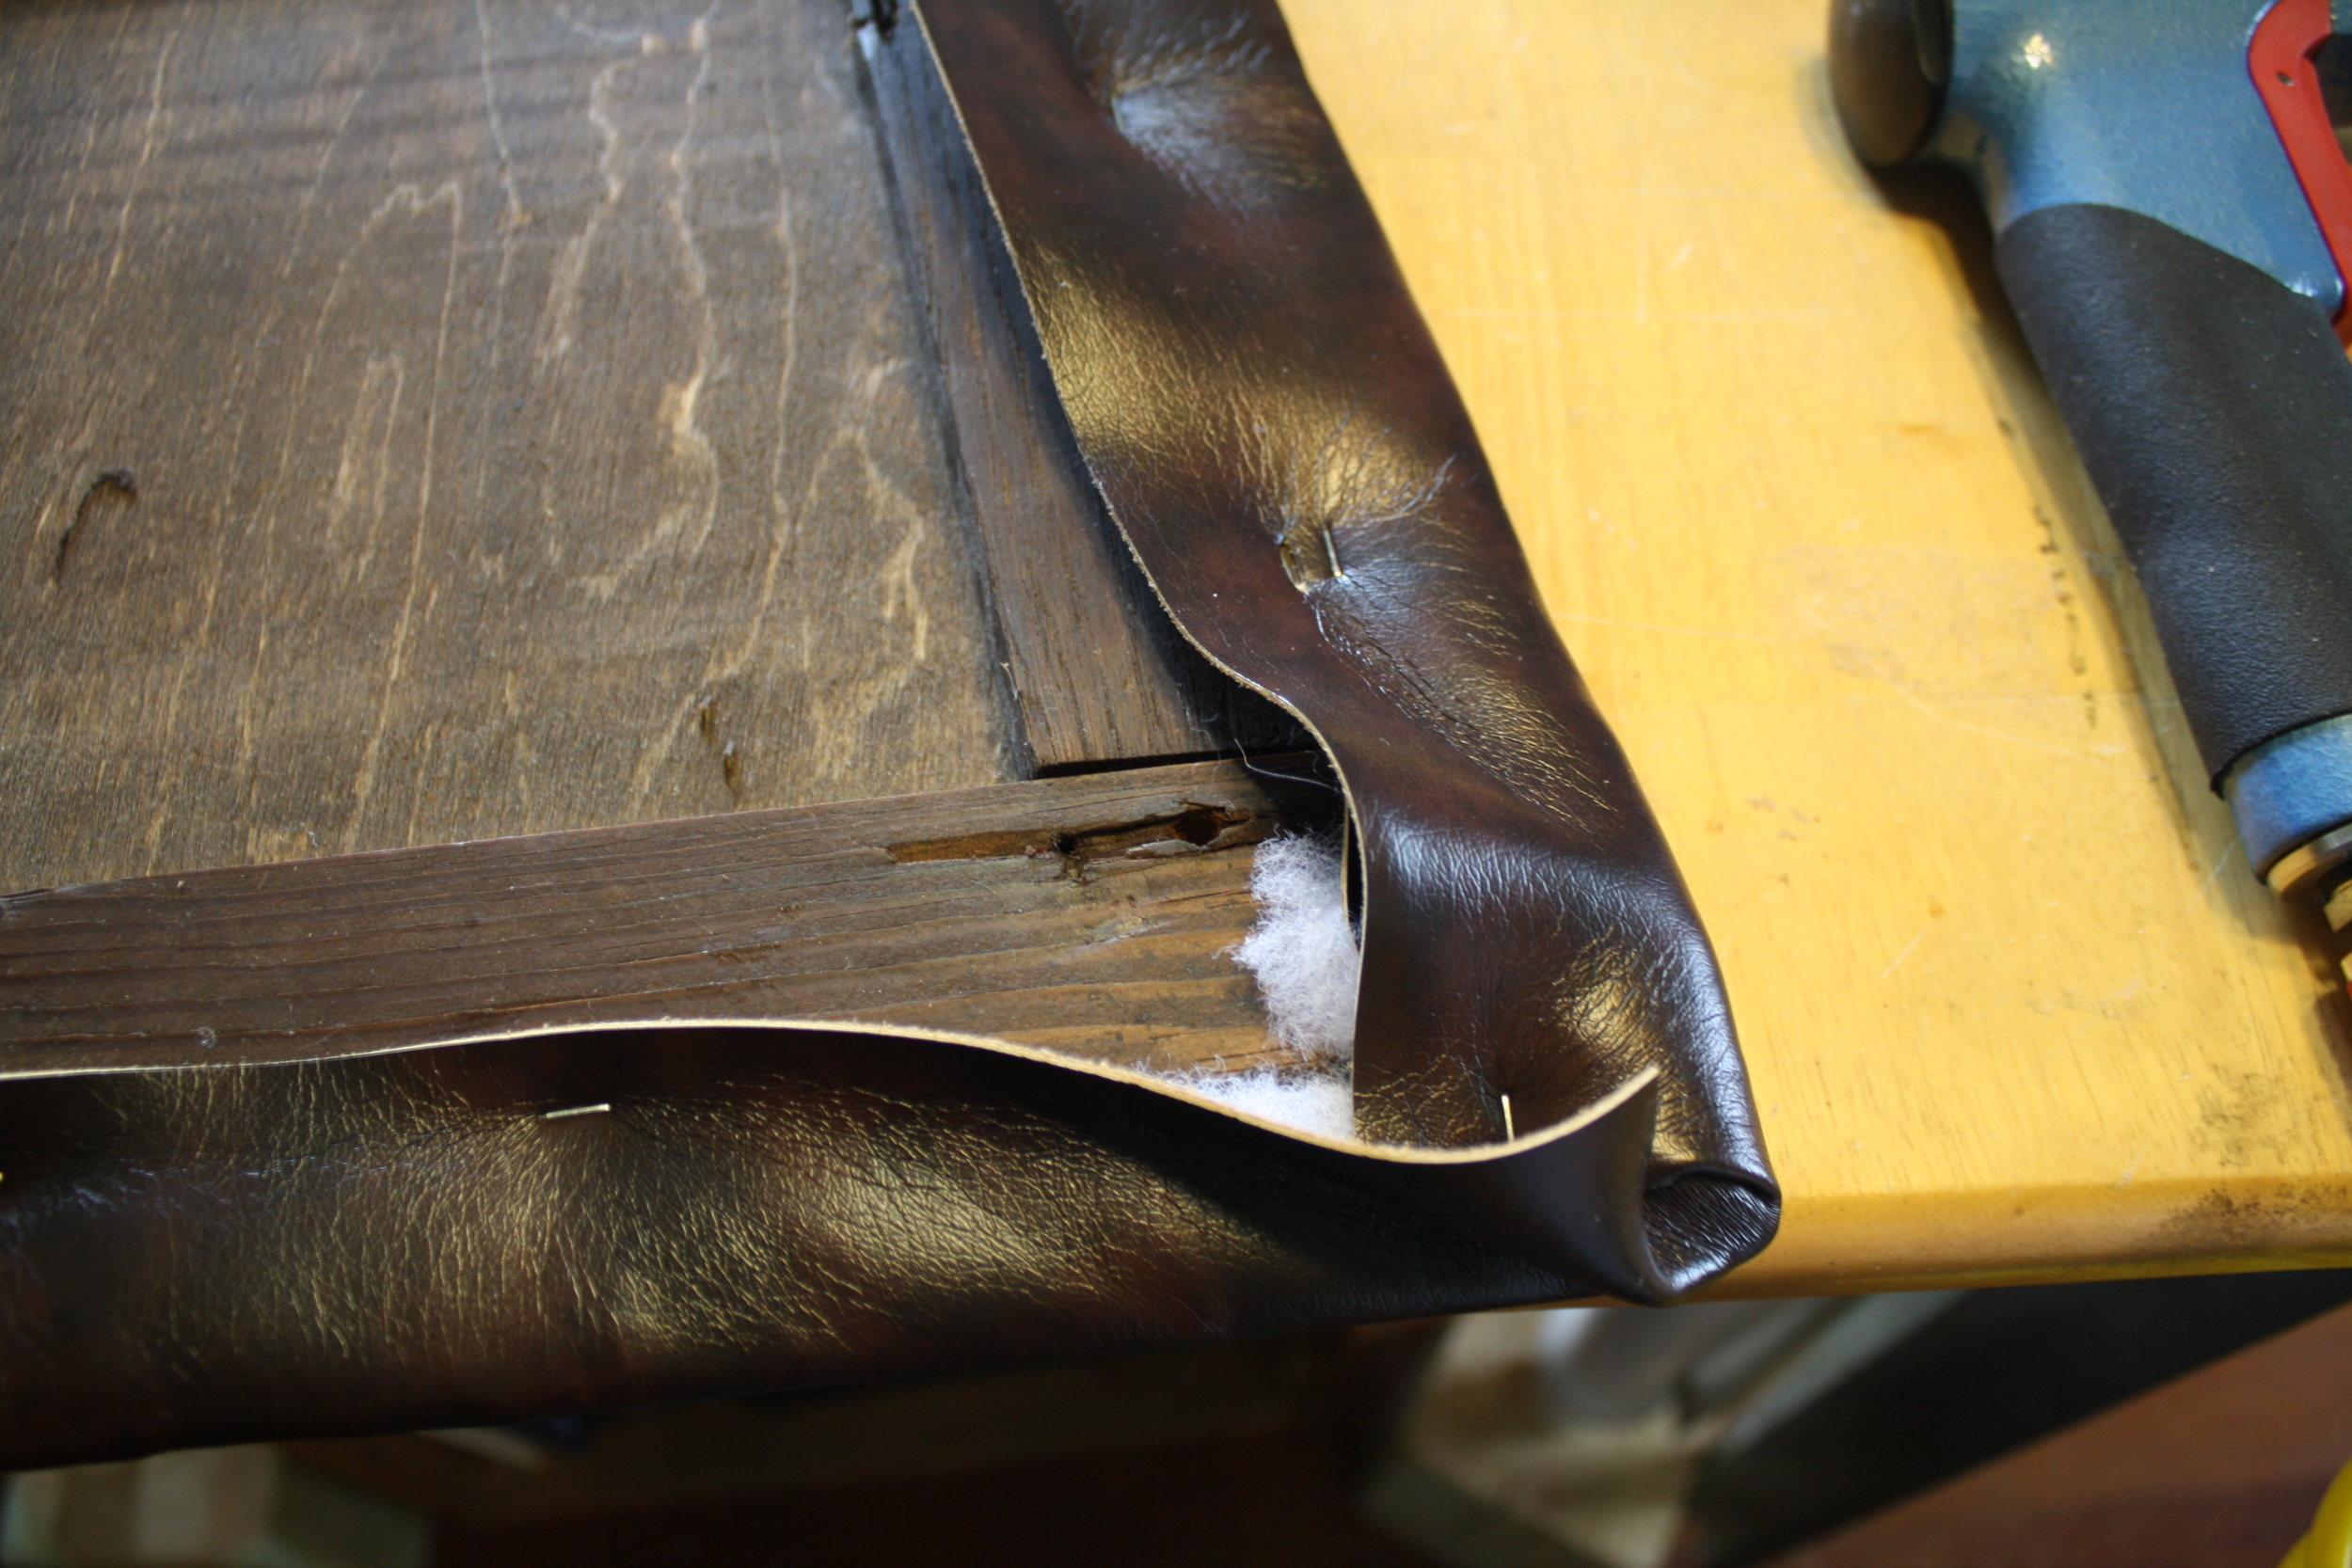
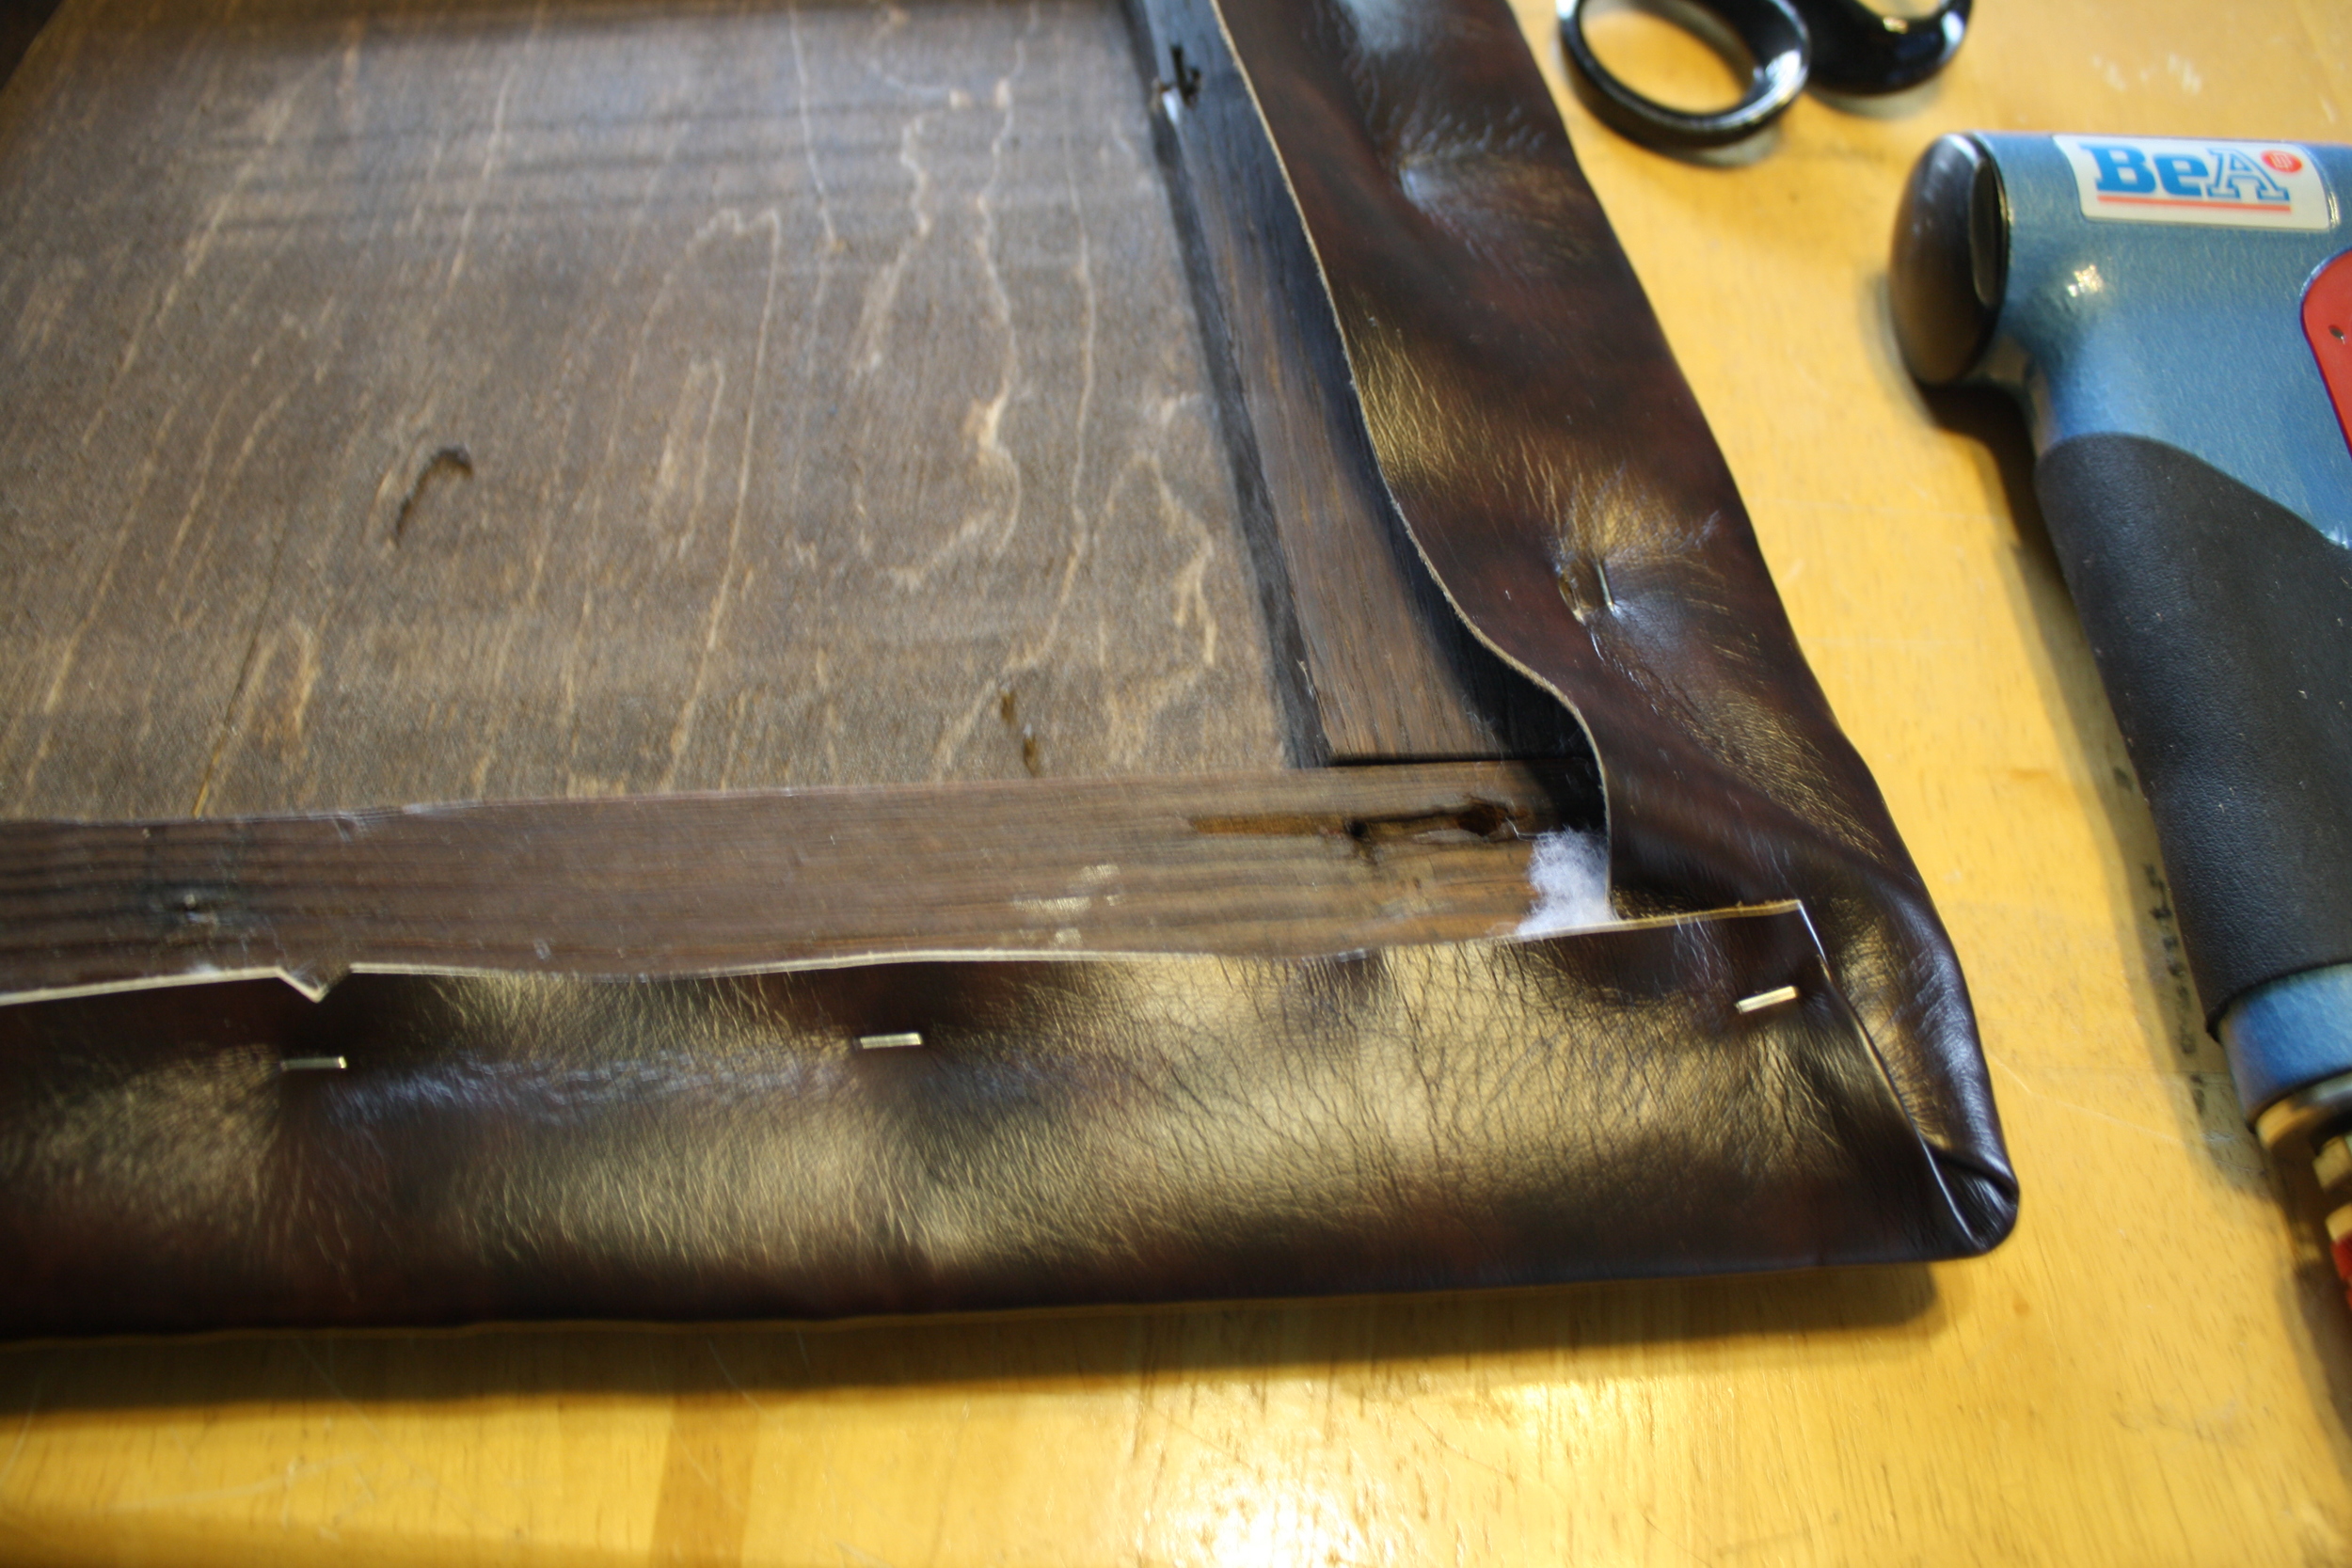
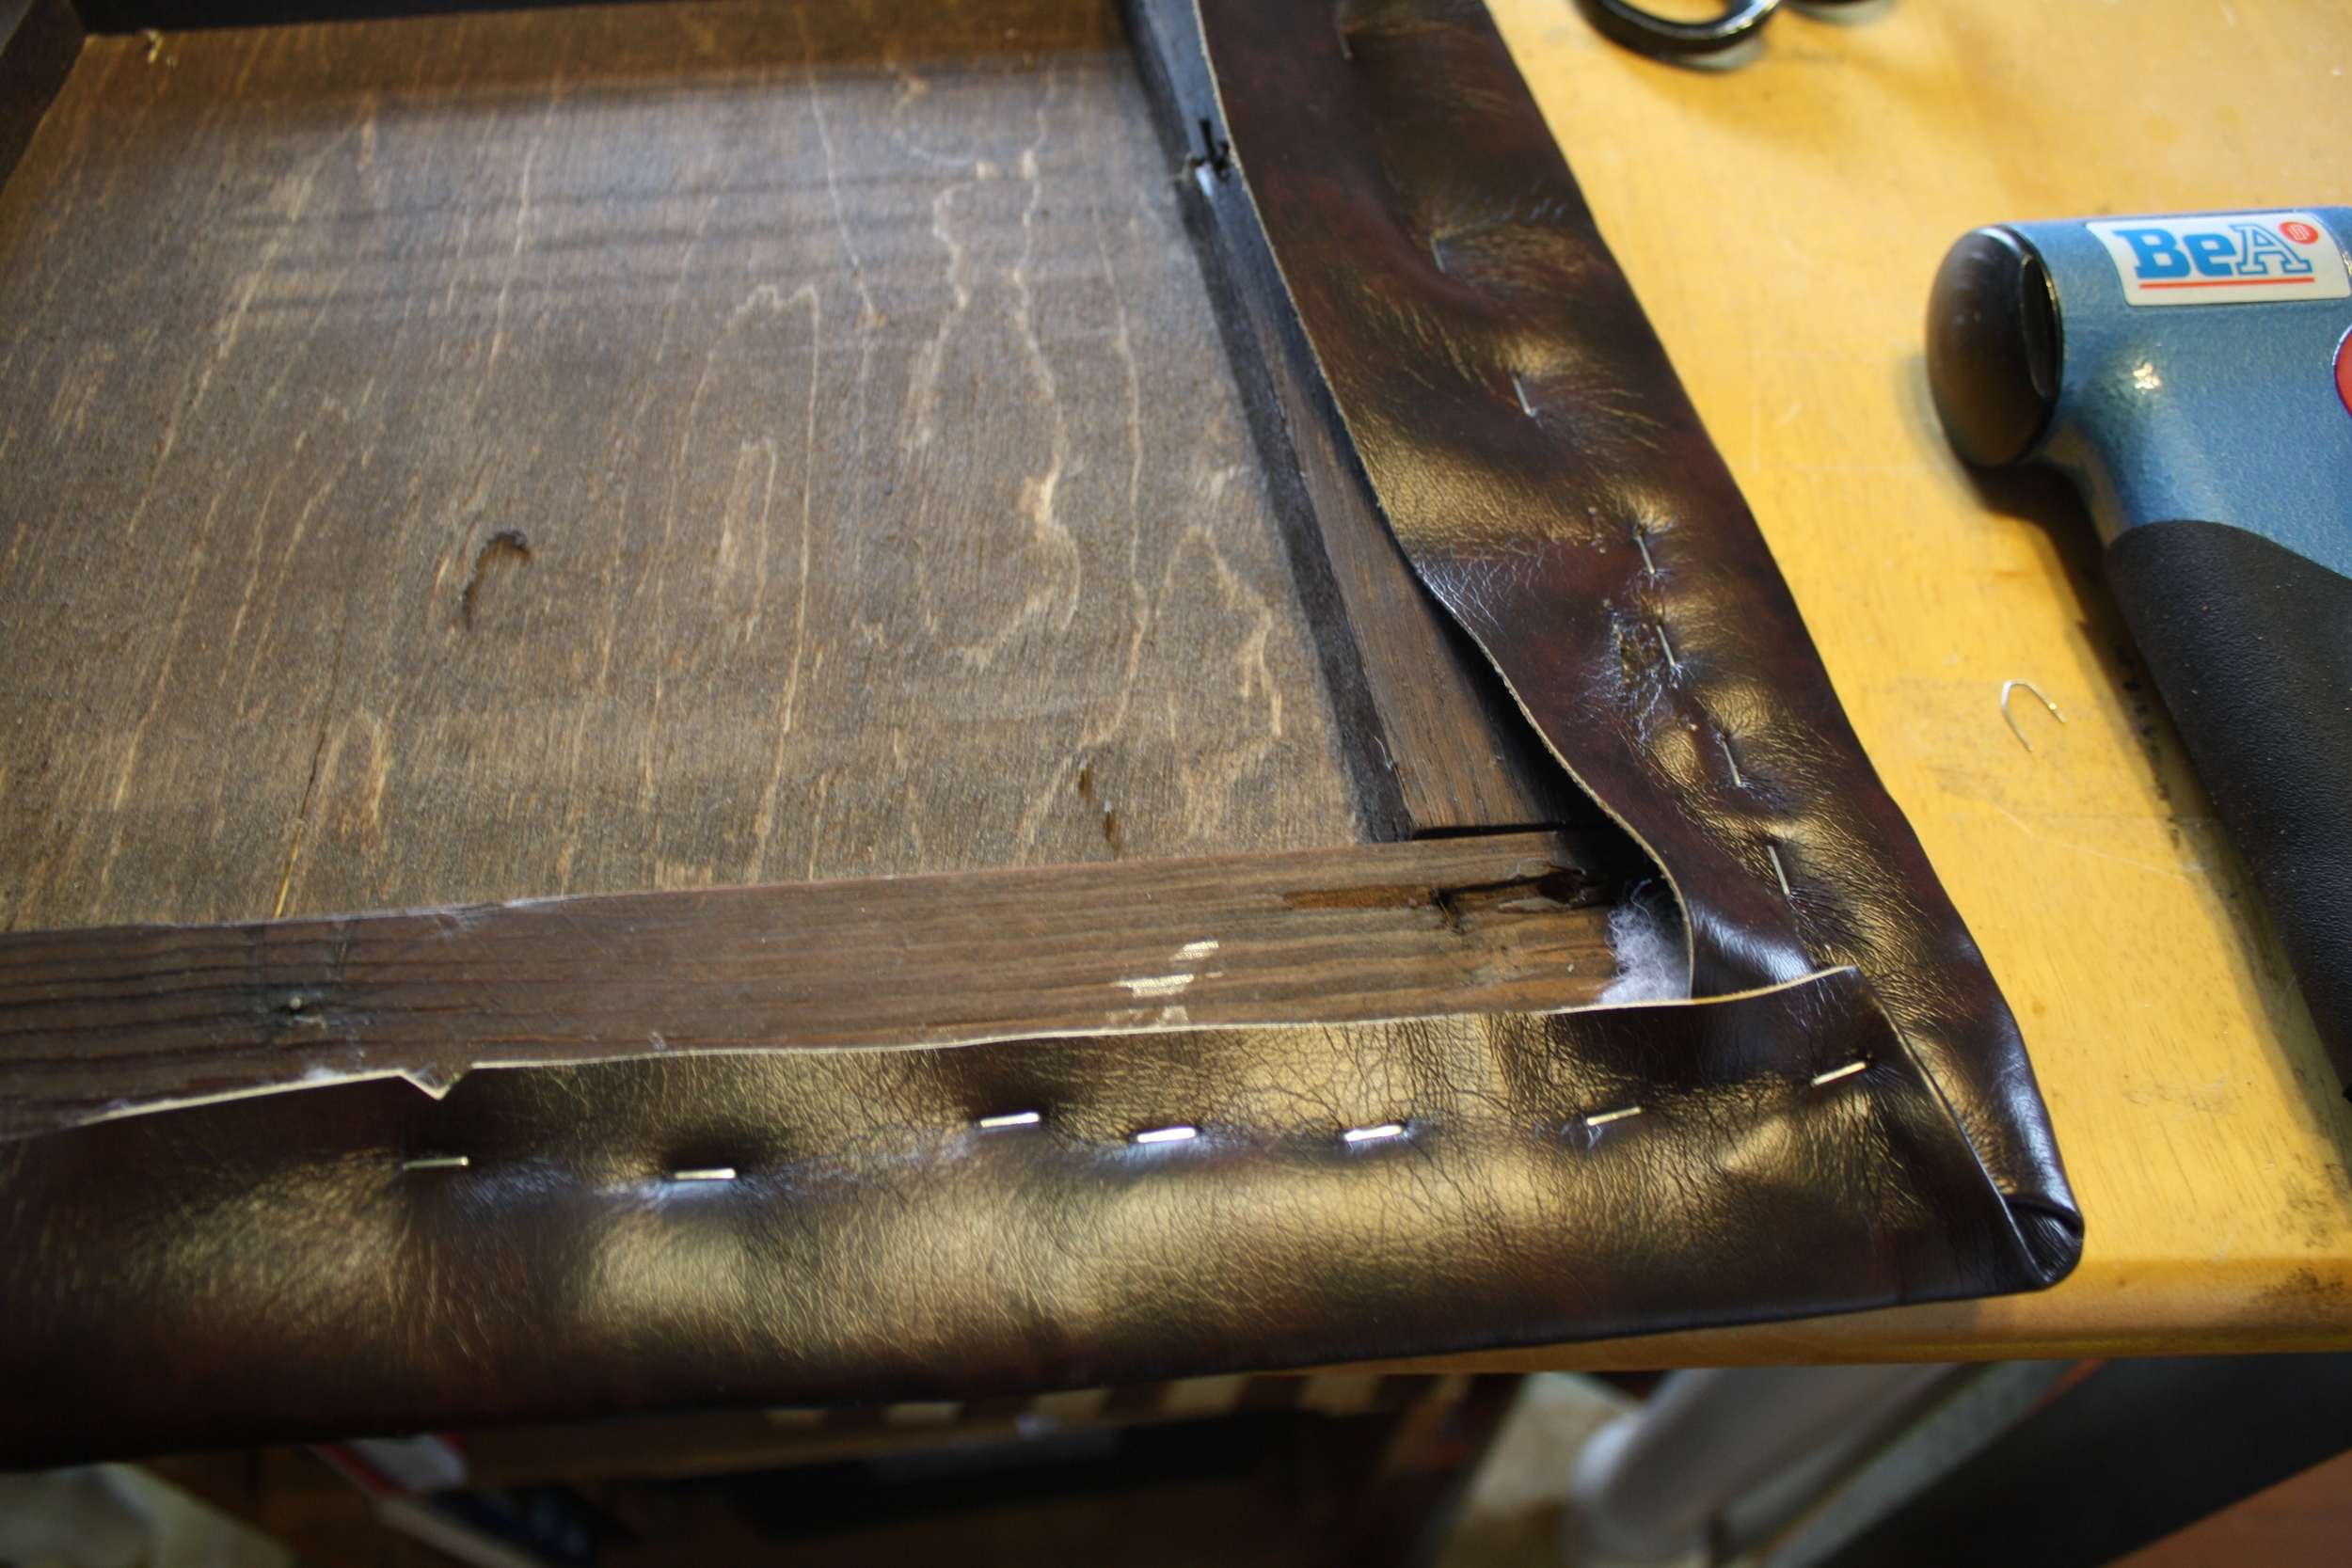
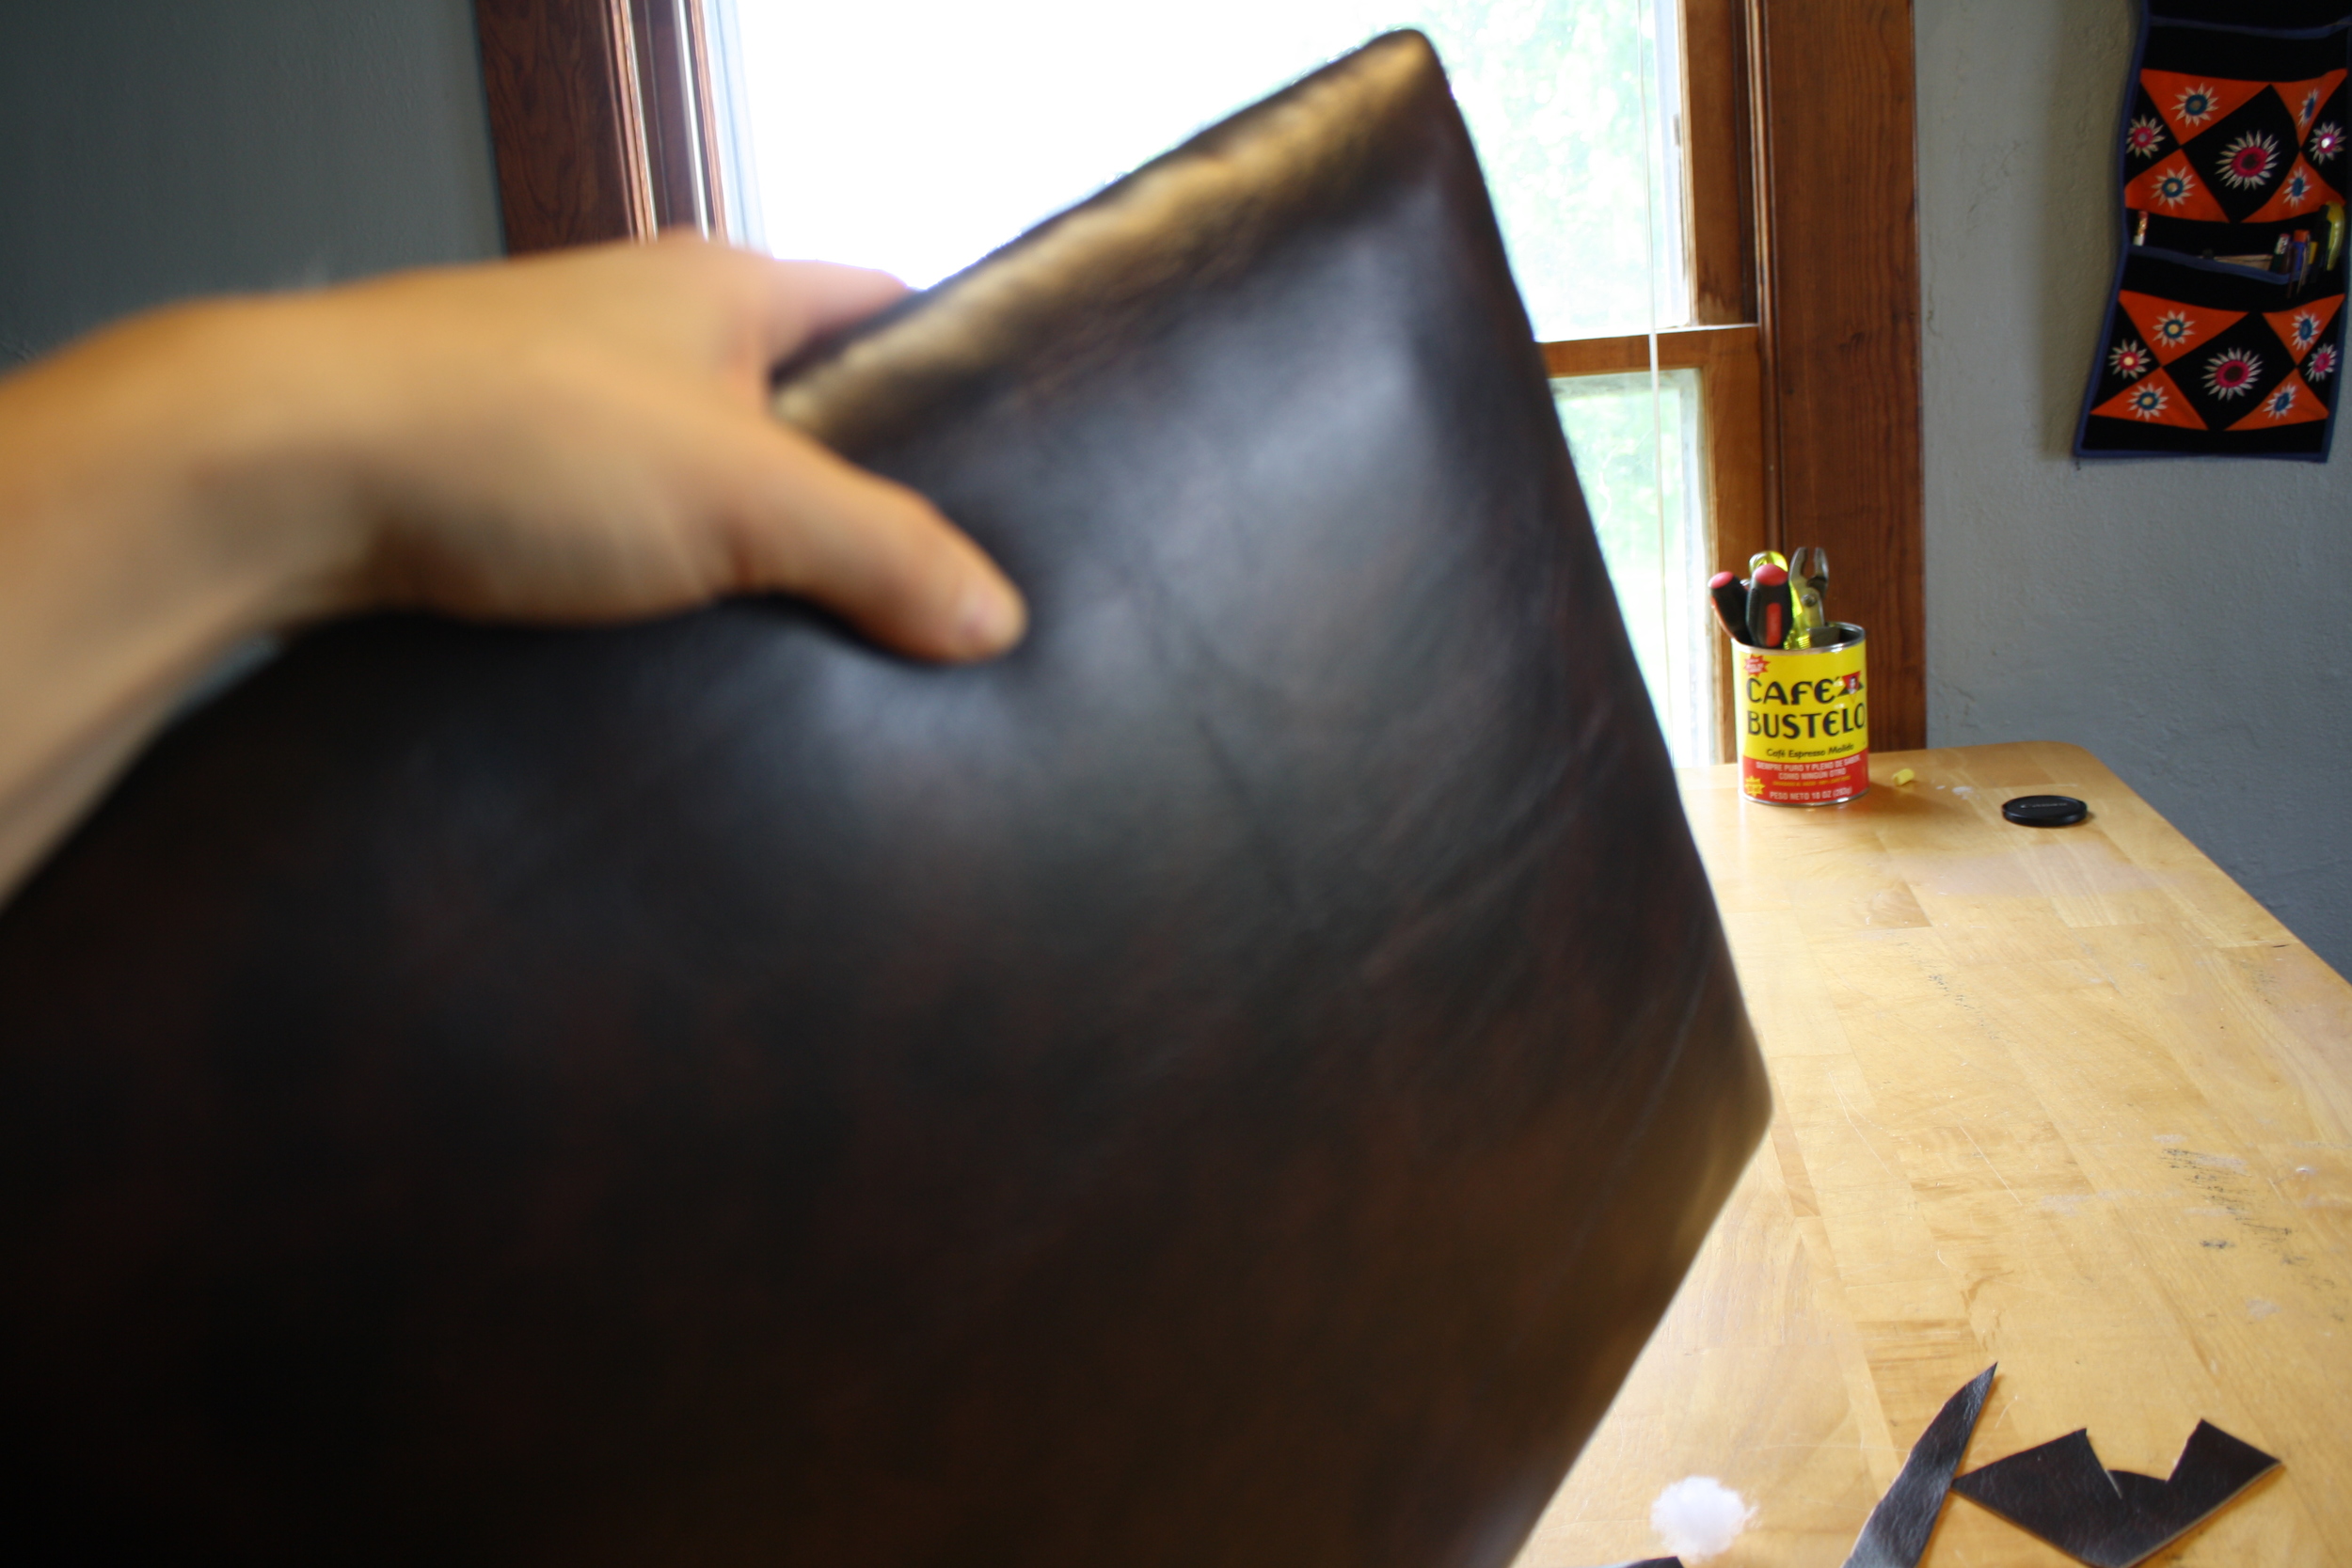
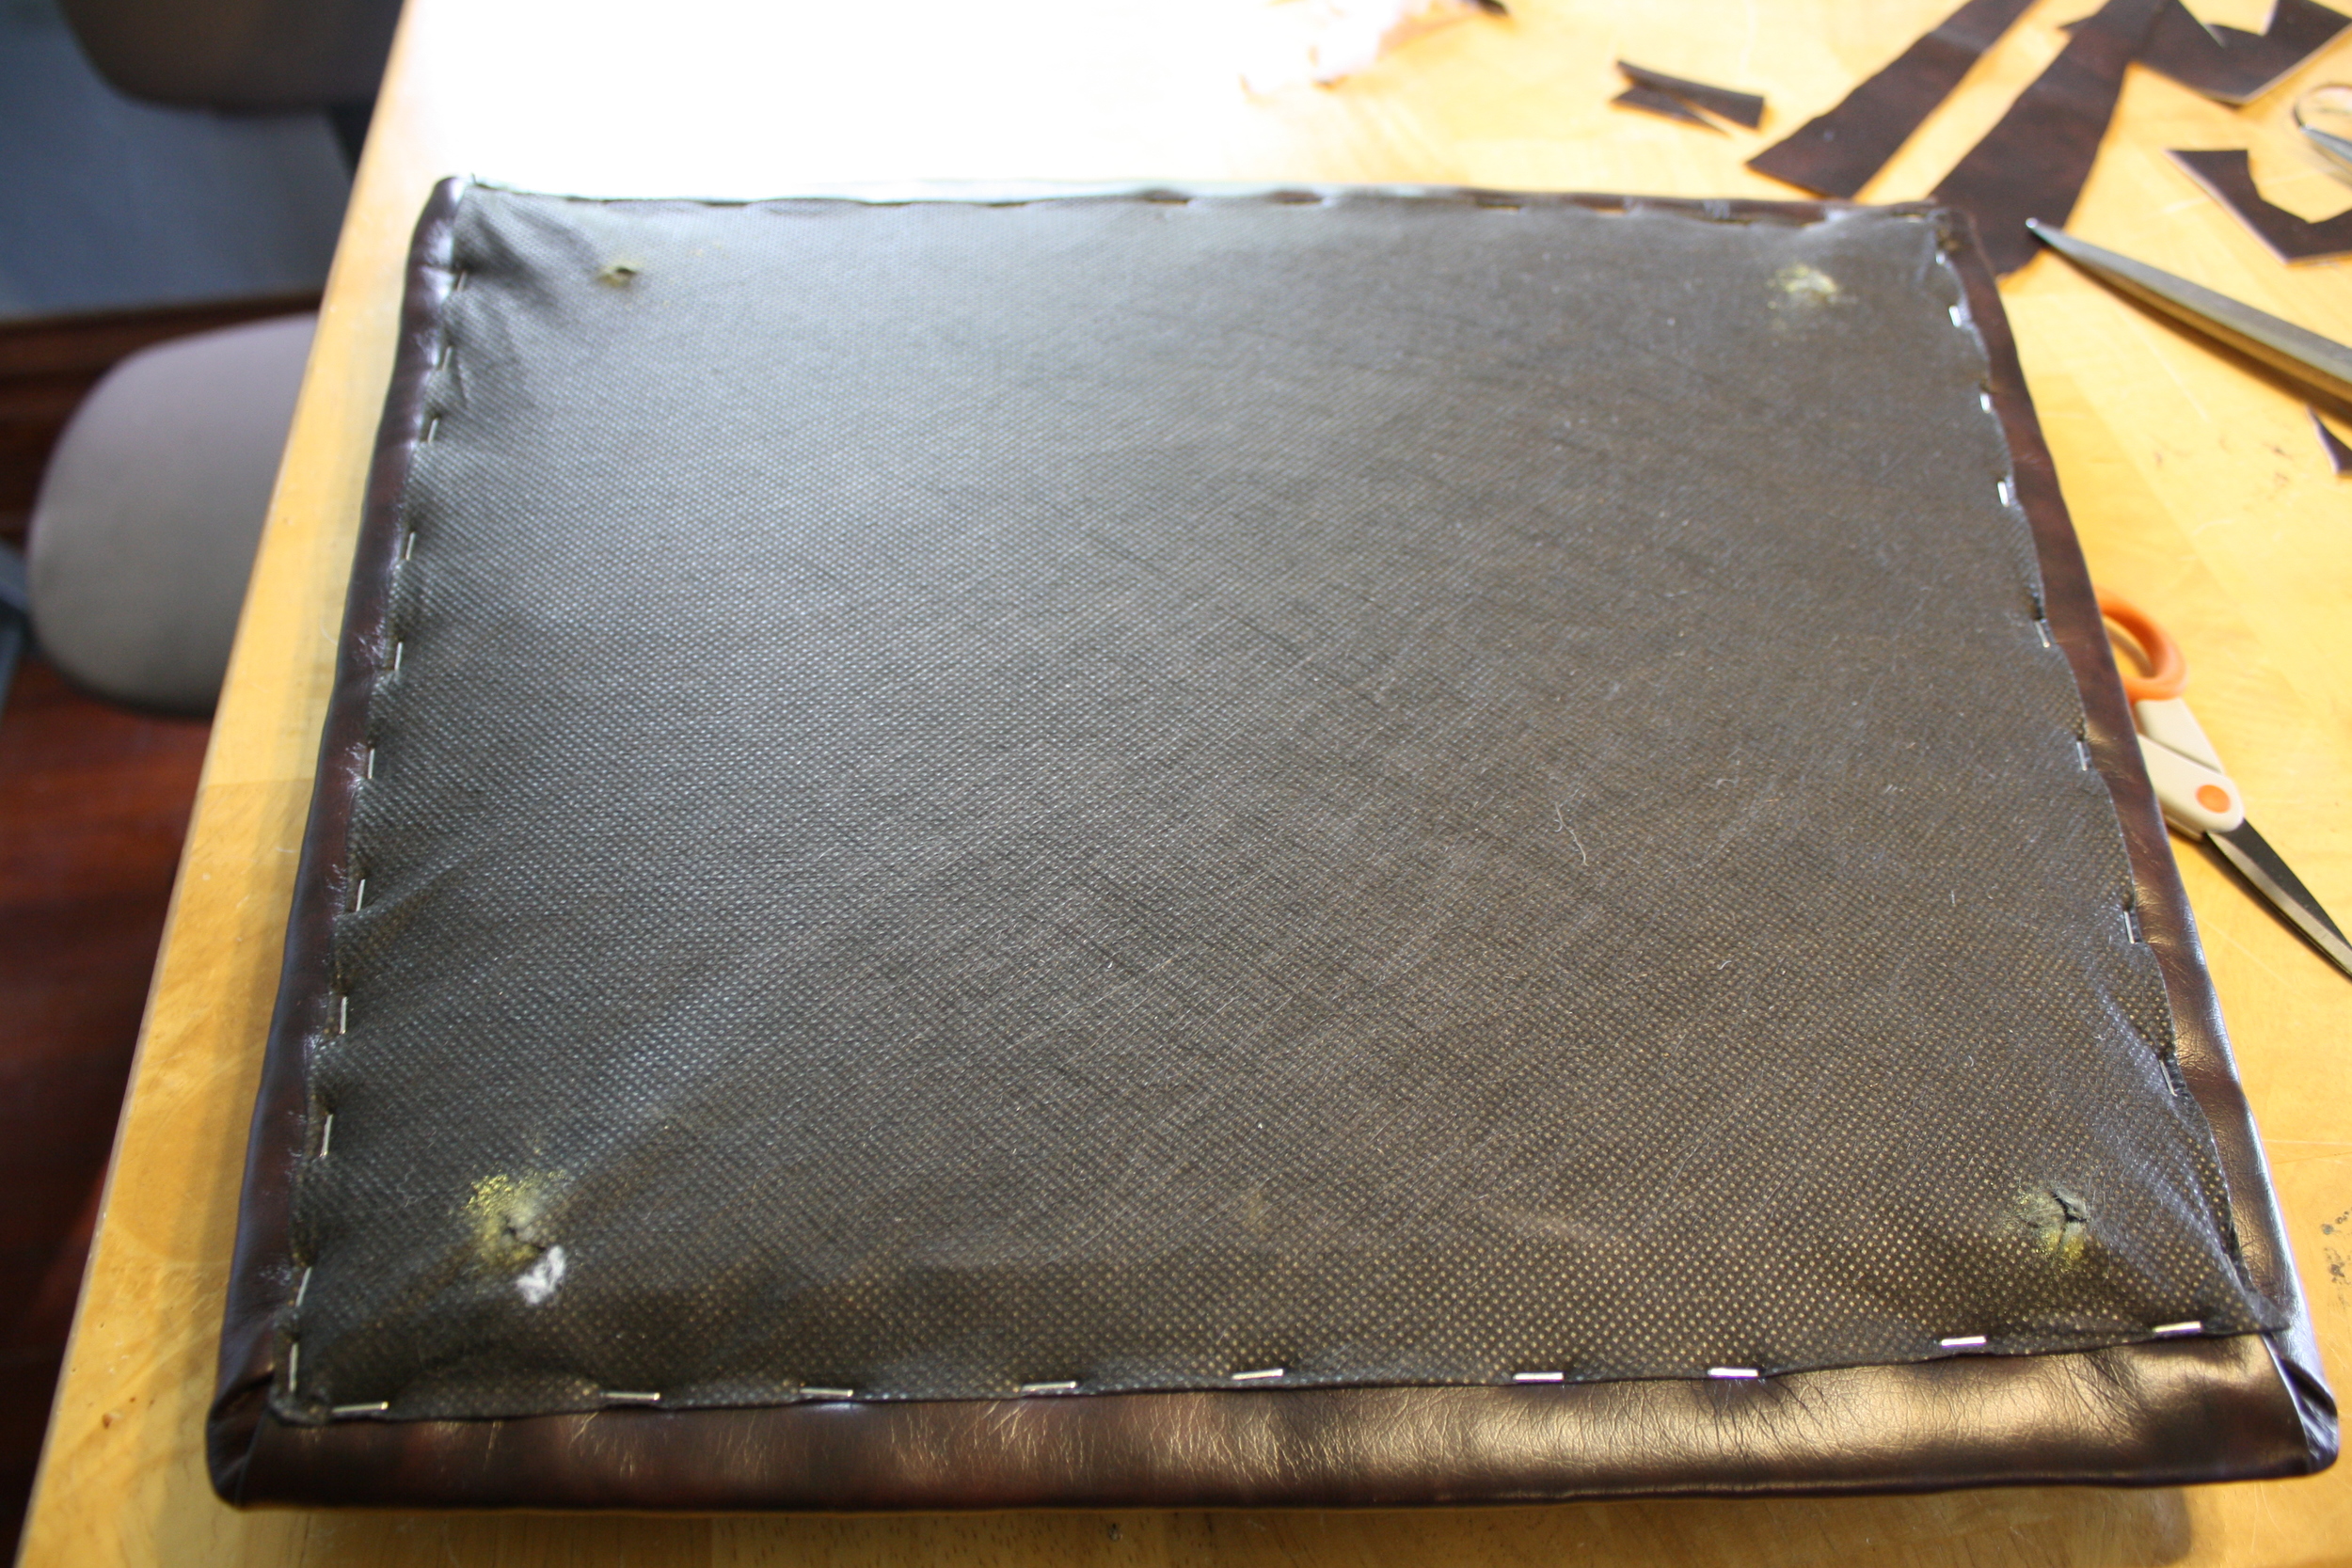
Now that the inner workings of the seat are in place, cover it with the upholstery material of your choice.  I used a scrap piece of faux leather.  For an in-depth explanation of how to properly attach fabric or vinyl, see my June post on how to recover a dining chair seat.

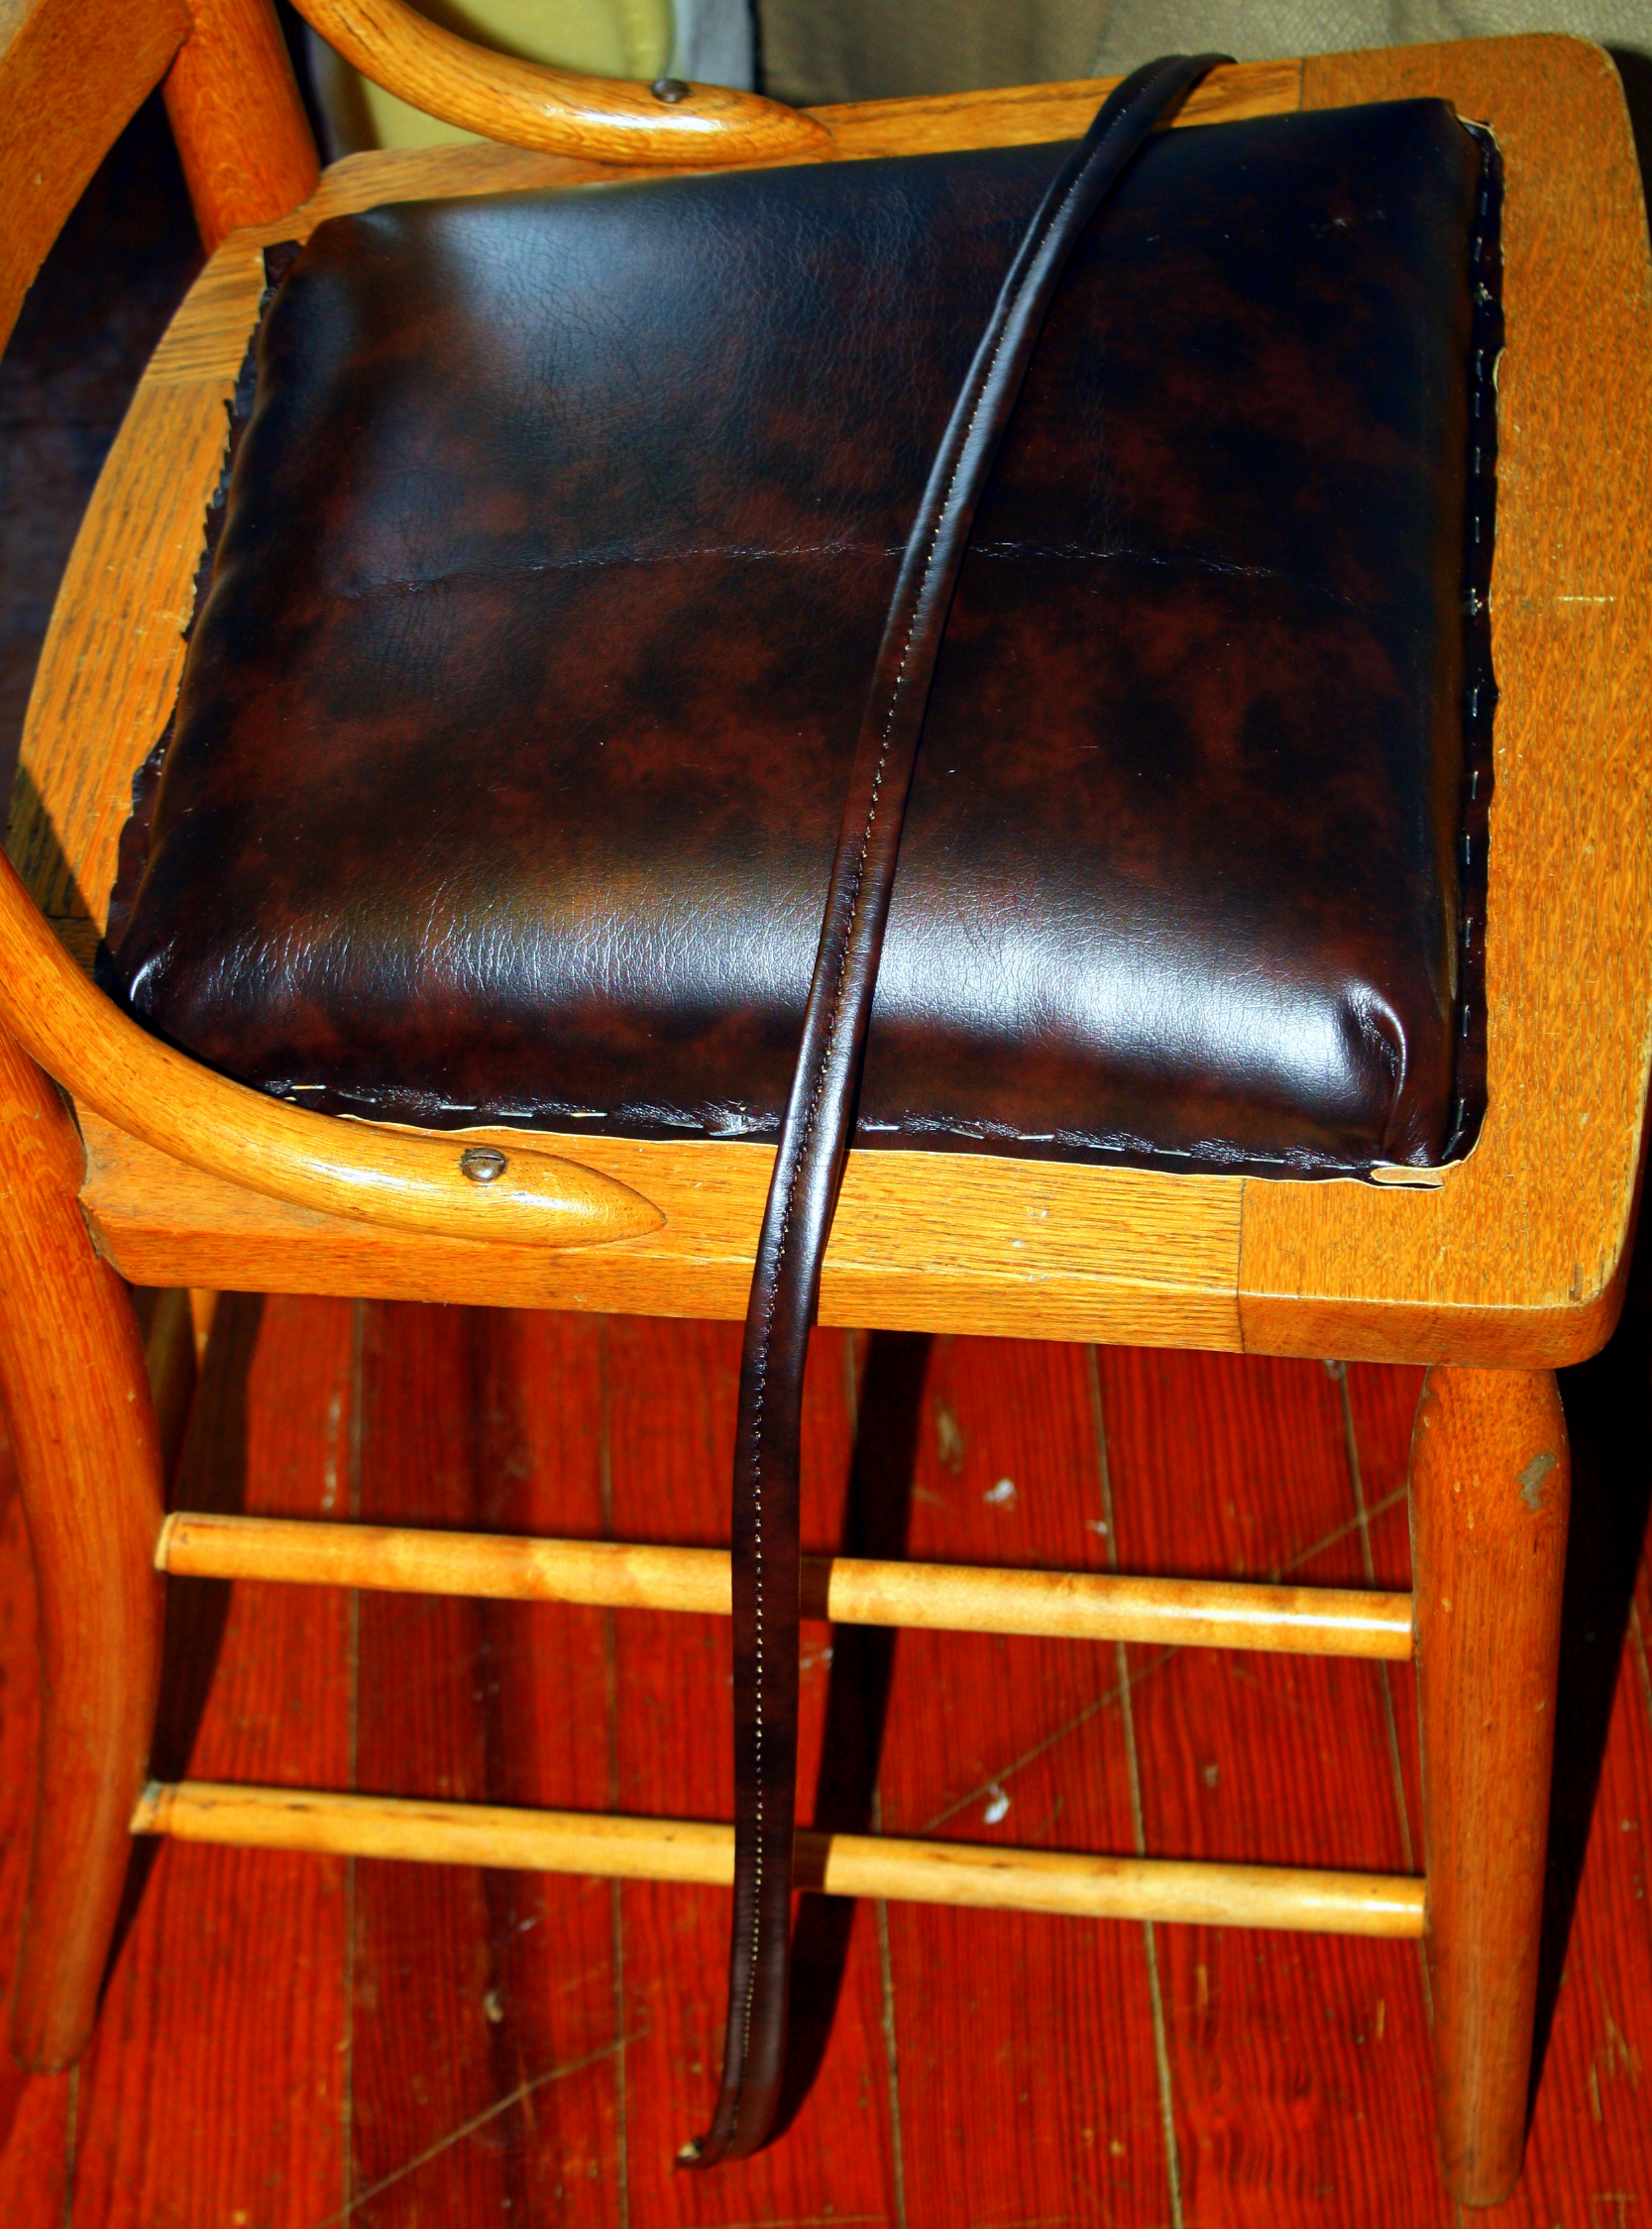
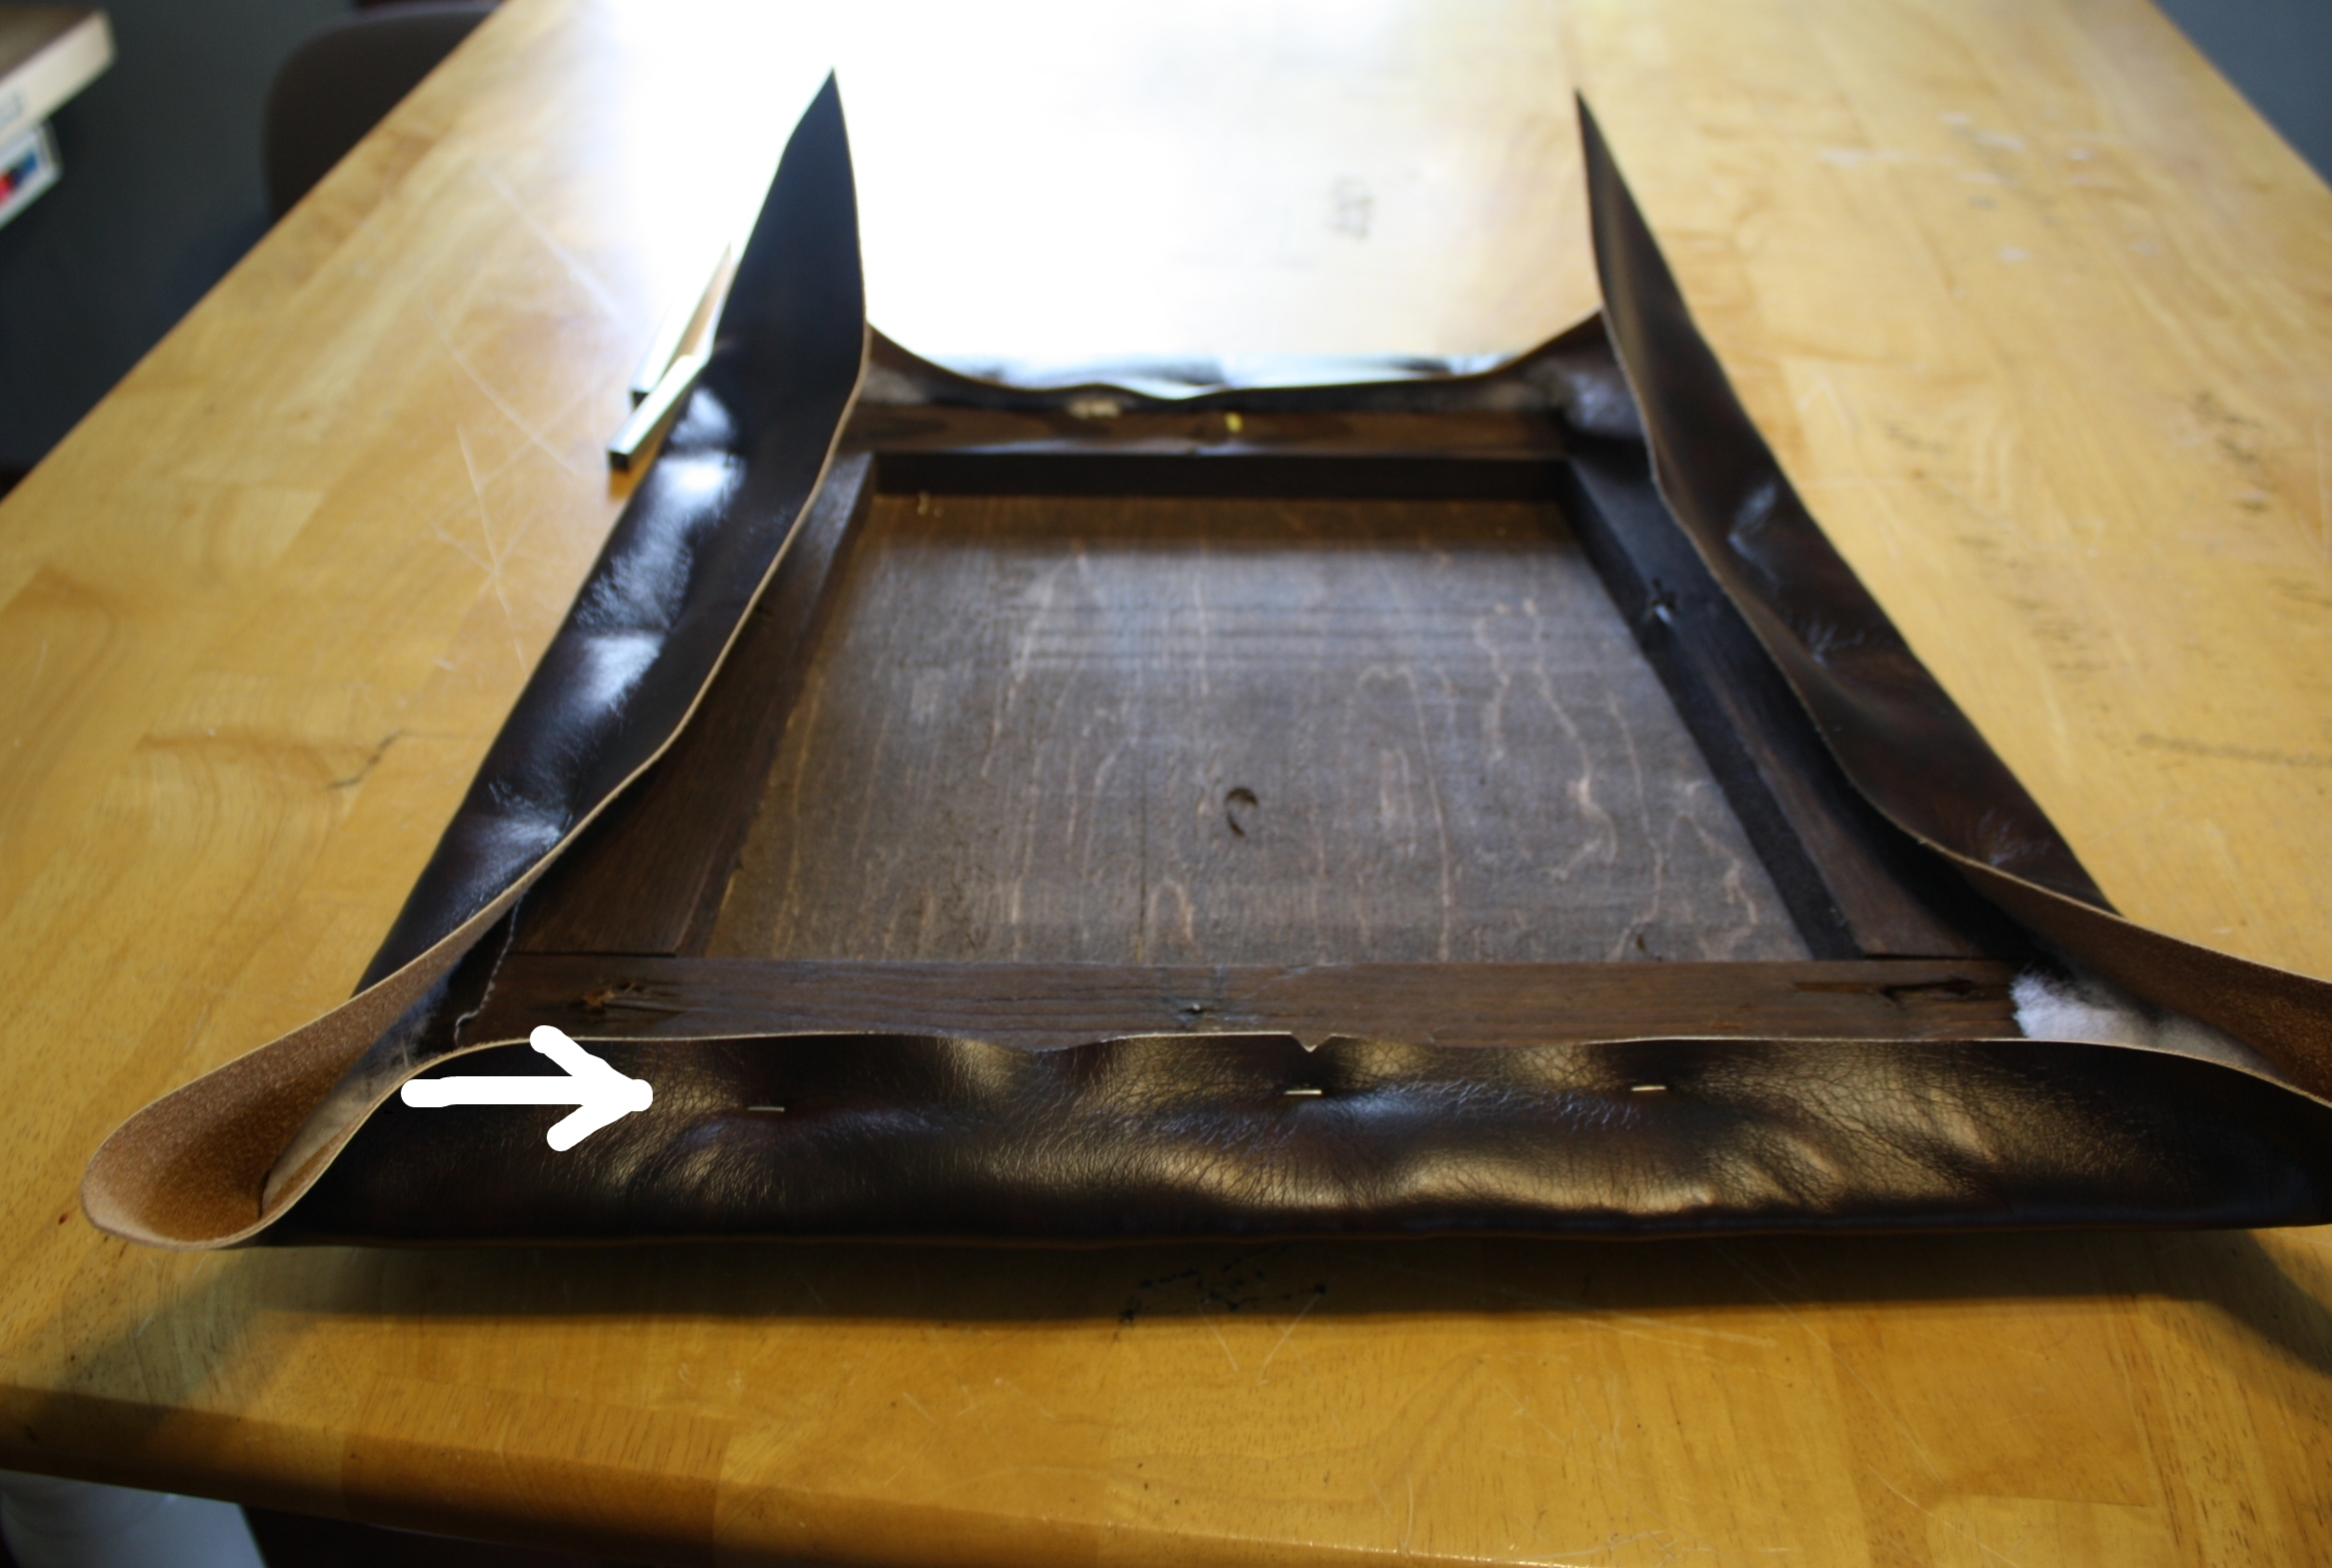
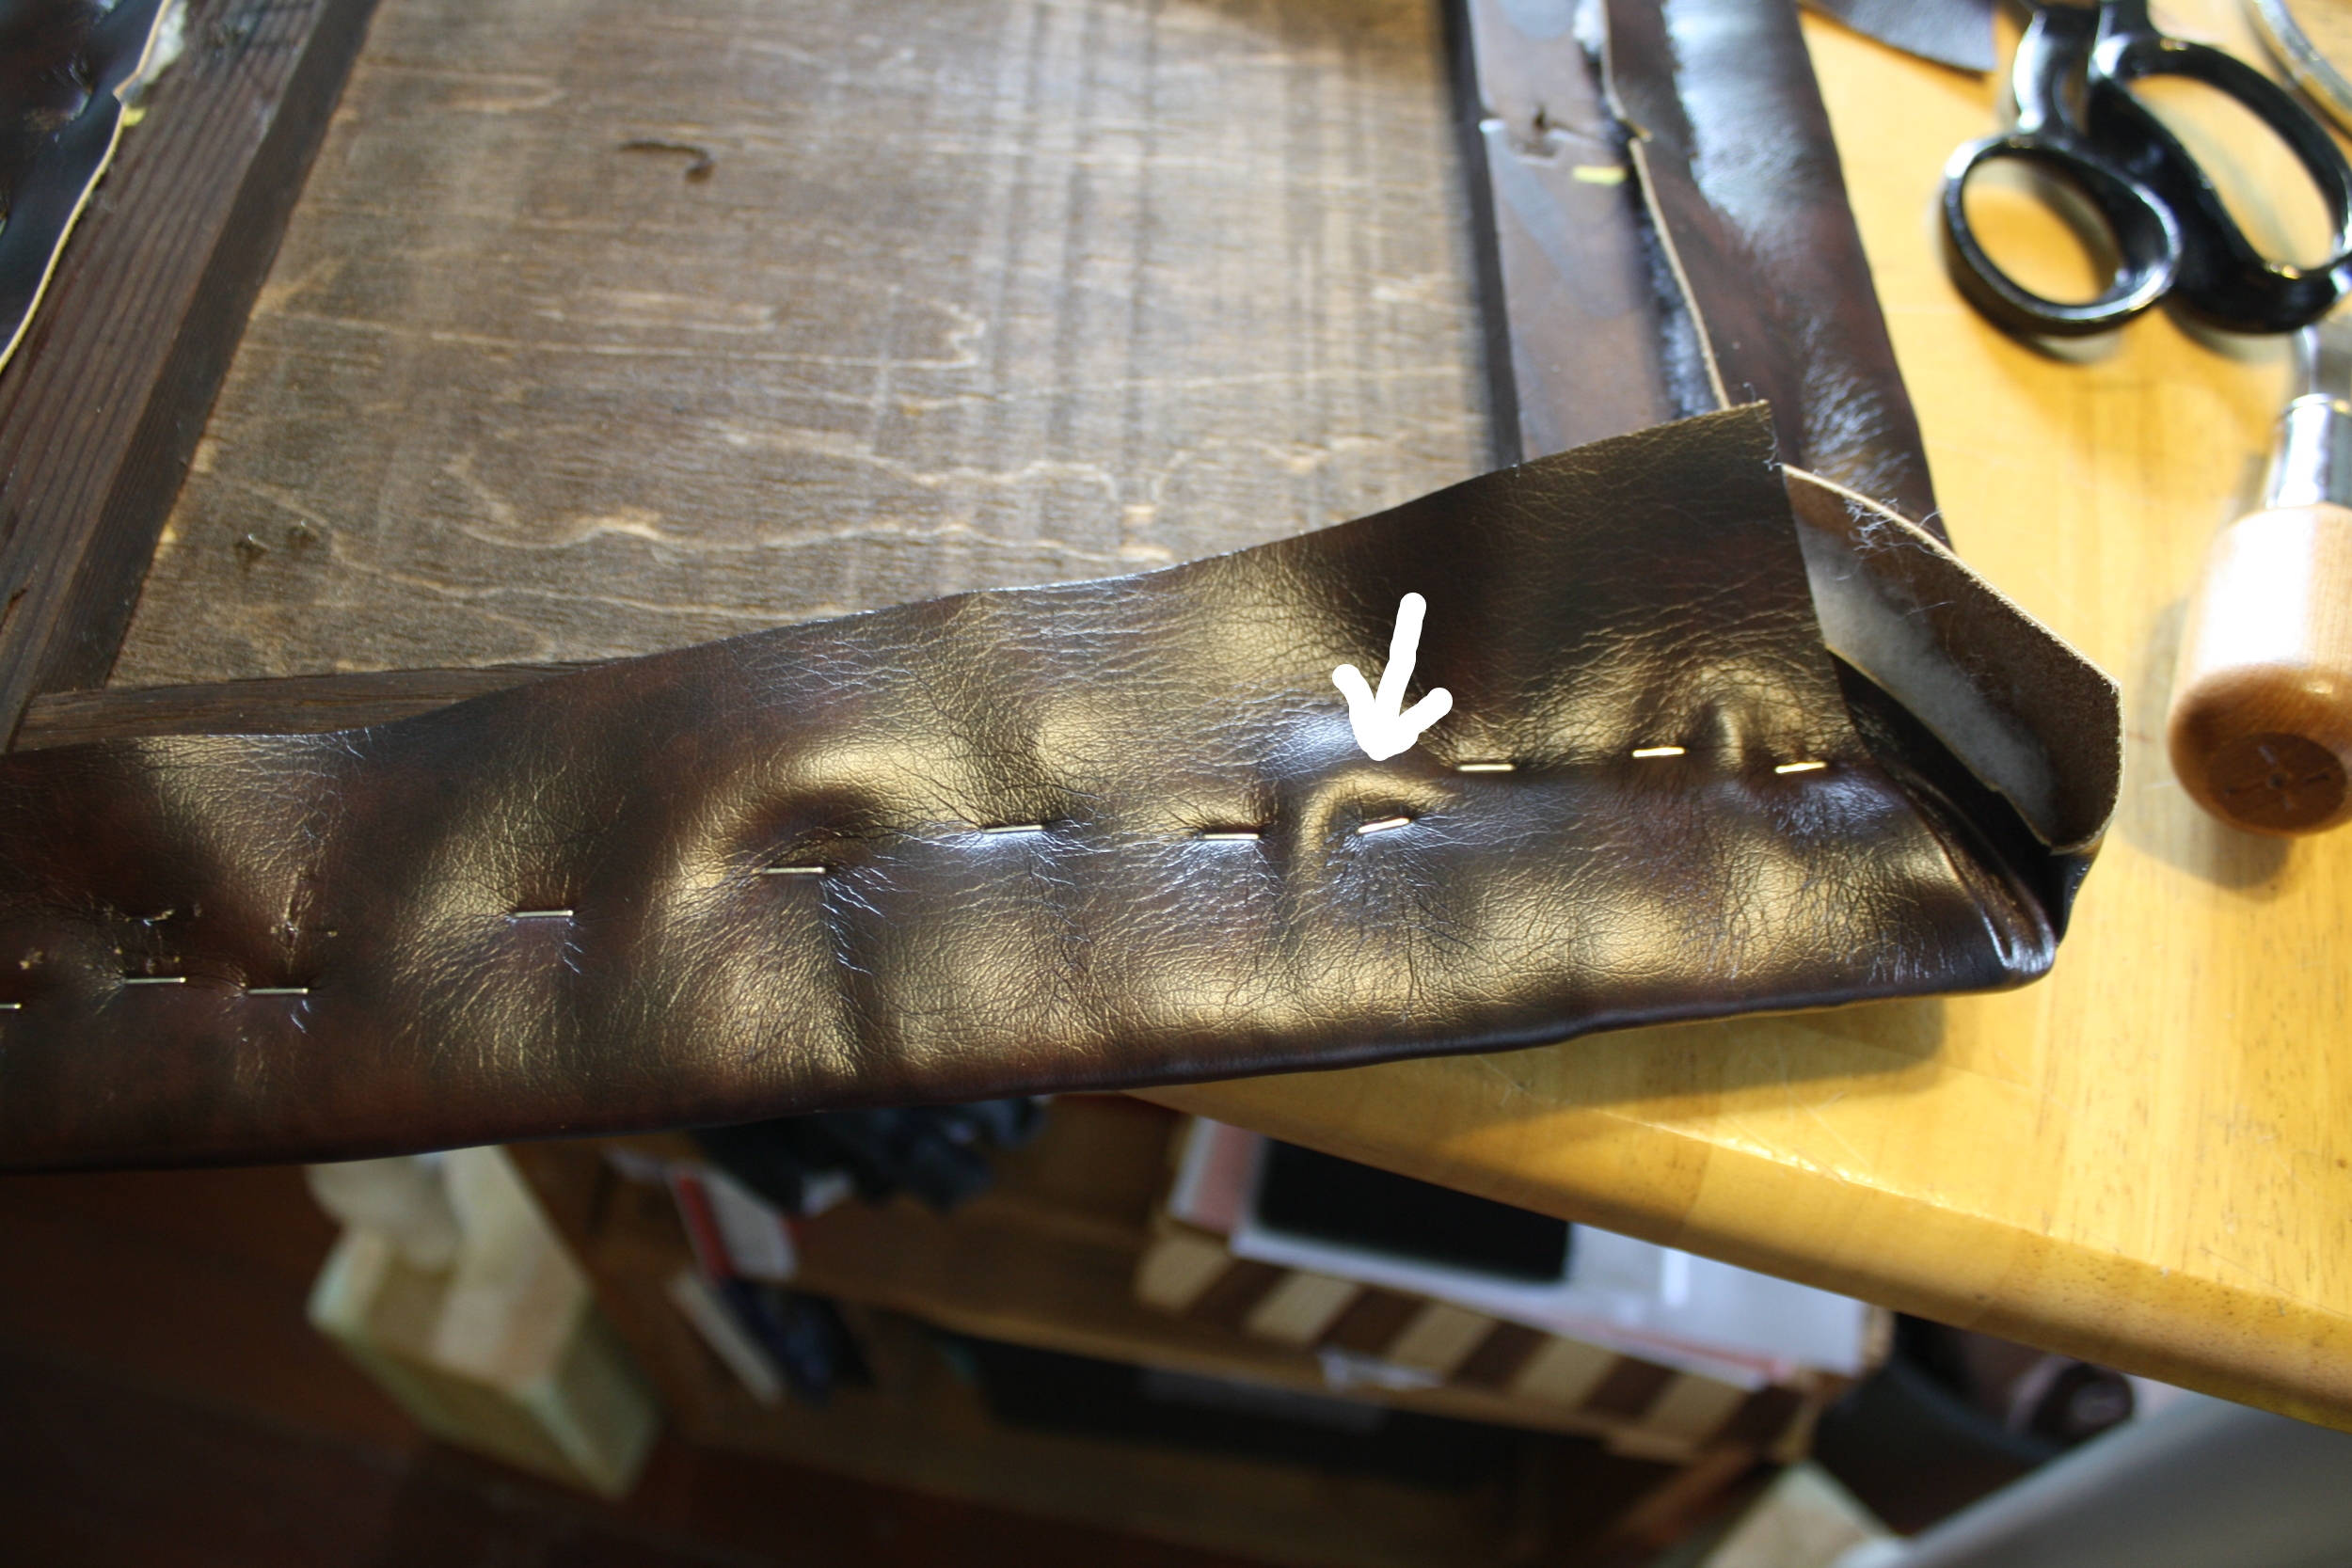
Once the fabric or vinyl is attached to  your liking, trim away the excess as best you can.  I'll eventually be putting decorative nails around the periphery of the seat, but first I need to cover up the ragged edge of the trimmed fabric and the staples.  A plain ribbon, or a more decorative, lacy type of ribbon called gimp, could be used; I've chosen to sew up a ribbon made out of the same material that is covering the seat.  To do this, I've cut a strip about 1.5" in width, folded that into thirds and top sewn down the middle of the strip.  

Next, position the ribbon so that it will cover the raw edges and add the decorative nails. You can space the nails out as I've done, or drive them in in a continuous line.  In addition to being evenly spaced, nail heads should be in as straight a line as possible. 

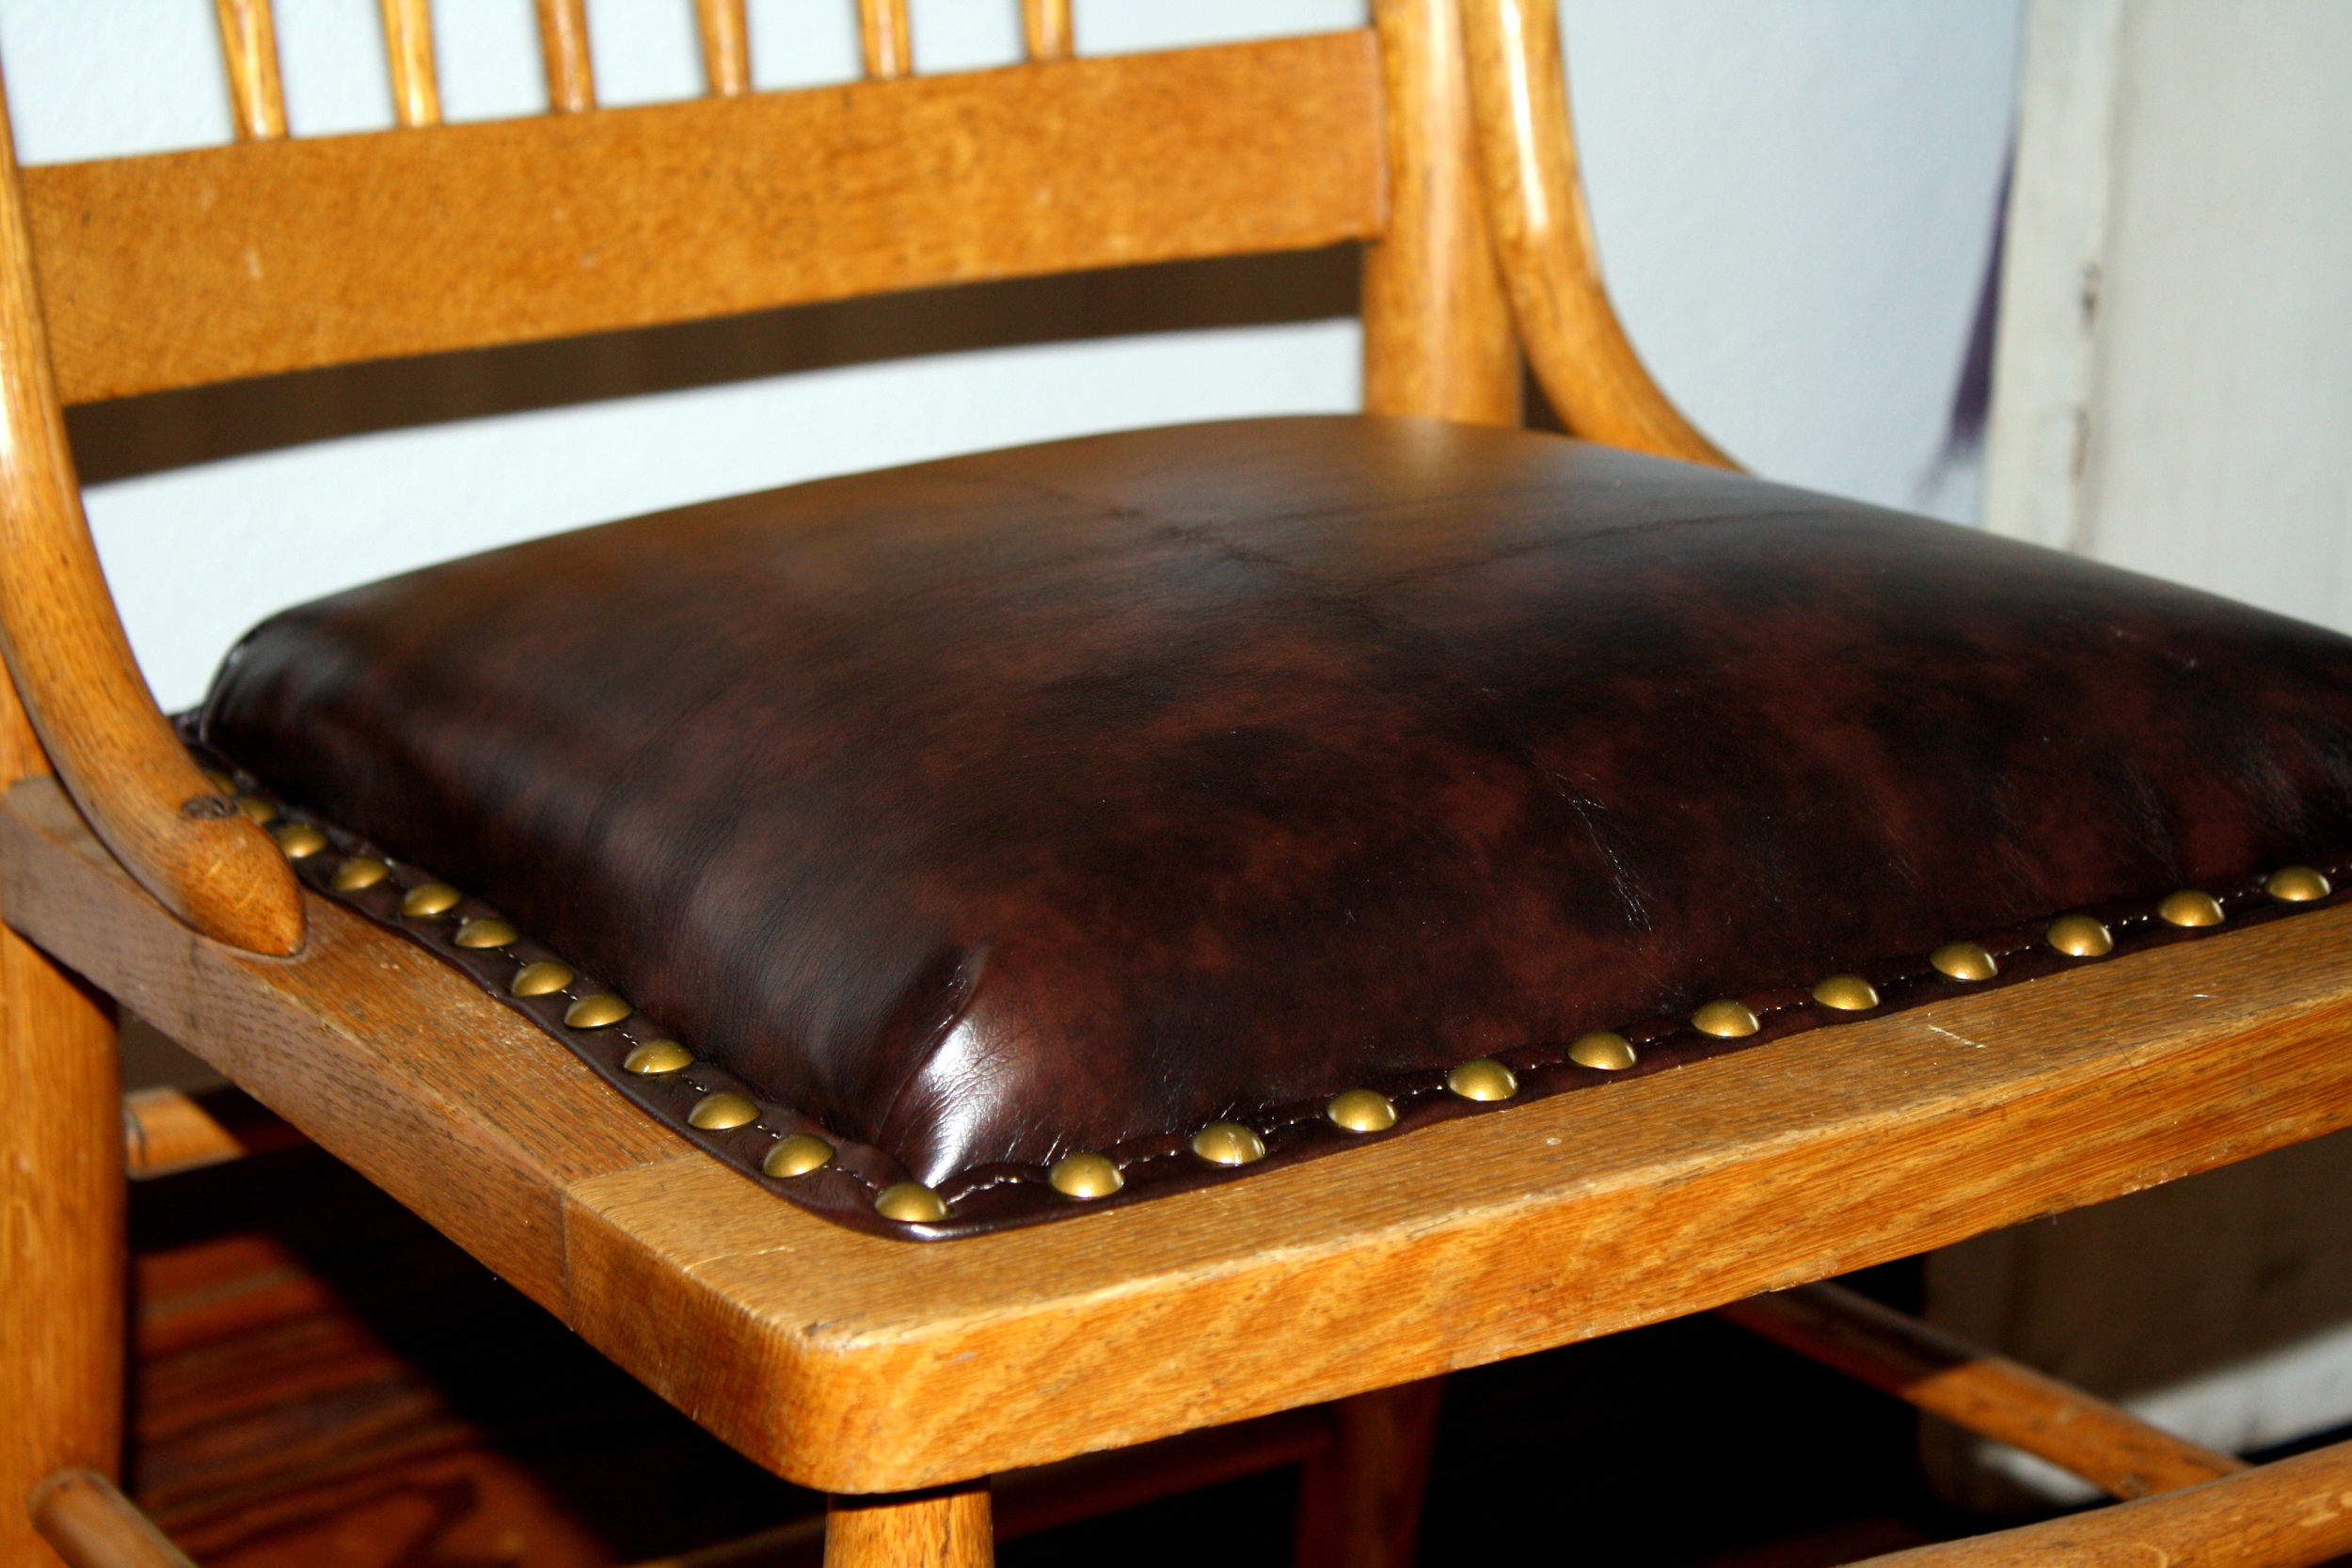
Once the ribbon is down and the nail heads are all in, there should be nary a raw edge or staple in sight.  

The finished product is a suave looking side chair.  Not only is it made over to look more decorative than a simple caned chair, but with the webbing and padding, its also much more comfortable.  Instead of sending a "broken" chair to the landfill, you've transformed it into a new piece of furniture that you can feel proud of.  

Upholstery 101: Recover a Dining Chair Seat

When given the choice between spending time or spending money, I'm the type who will usually opt for spending the time. When it comes to upholstering furniture, there are a few projects that a person who is unskilled in the trade can do relatively easily if they have the time to spend. Recovering a dining room chair seat is one such project. For the do-it-yourselfers out there, an illustrated how-to:

How To Recover a Dining Chair Seat

Tool and Supply List

  • good scissors
  • carpenter's square and soft measuring tape
  • fabric
  • staple gun and staples (or if you don't have these, you can pretend you're an old-timey upholsterer and use small nails and a hammer)
  • staple remover (I have specific tools for this, but you just need something that can pry up staples; a flat head screwdriver would likely do the trick)

Step 1: Remove the old fabric

First, you'll need to detach the seat from the chair frame. Turn the chair upside down and you'll likely find that there is a screw at each corner holding the seat to the frame. Unscrew these to remove the seat and be sure to save the screws.  Once you have the seat out, turn it upside down and pull out the staples or tacks holding on the old fabric.  Your seat may be padded with foam that is glued to the frame of the seat, or with cotton or fiber padding that is stapled down.  In either case, leave the padding attached.

Step 2: Measure and cut the new fabric

At the widest part of the chair seat, use your soft tape measure to measure from the bottom of the seat, around the top, and to the other side leaving a one inch allowance on each side so that you have some excess fabric to pull and staple. Do the same to measure the height. Now that you have your dimensions, lay out your fabric and use a carpenters square to cut a rectangle of fabric in the appropriate size. Though most seats are trapezoids rather than rectangles, it saves time to cut the fabric in a rectangle, and then trim off the excess once its attached. Mark the center points of each side of your fabric so that you can line it up on the seat correctly.  If your fabric is directional, i.e. it has a design with a top and a bottom or has a nap, be sure to mark which end of your fabric piece will be at the front of the seat. 

Step 3: Loose tack the fabric

Loose tacking the fabric means that you get it correctly positioned and attached to the frame; it also implies the likelihood that these initial staples or tacks may need to be pulled out as you progress. Mark the mid-point of each side of your seat frame and align your fabric to these points. Start by attaching the fabric at the mid-point of each side, making sure you are pulling the fabric tight; remember that when you put a staple on one side, your next should go in the same place on the opposite side (i.e., attach the bottom, then the top; next the right, then the left).  Once you are satisfied that the fabric is on your frame straight and in the correct direction, and is pulled tightly, continue the same process until you have about three staples on each side. Keep your staples at least a few inches in from each corner. 

Step 4: Attach the corners and sides

Pick a corner and start by pulling the very corner of the fabric up and over the very corner of the seat and attach with one staple. Trim away the excess fabric created by the fold.  Tightly pull and attach first one side and then the other.  Next, go ahead and finish attaching the fabric from the corners you just finished to the mid-point of the respective sides.  You may need to pull out staples you put in previously if they are too tight, or too loose, or if the fabric has become bunched. When attaching the fabric, use your palm to help smooth and stretch the fabric on the top side of the seat and to pull it around to be attached.  This will help to ensure that the amount of pull on the fabric stays uniform around the entire seat.  Repeat the process for each corner. 

Step 5: Quality control

Once you've got all of the corners and sides stapled down, take a moment to check for any issues, especially making sure that the fabric is pulled uniformly on all sides and that you have no bumps or lumps. You can spot problem areas by looking along the edges of the seat to check for hills and valleys or by looking at your staples.  If you've stapled an area too tightly, often you'll notice that the fabric is gathered into a small hill above the staple.  This means that it is exerting more pull on the fabric than the other staples around it. Older wooden seats may have edges that have been nicked or worn by time and are no longer uniform and so even if your fabric is pulled tightly and uniformly, you may still not get a smooth edge. 

Step 6: Attach cambric and put back on the frame

Now that your fabric is attached nicely to the seat, trim away any excess.  Cambric is the thin black or white fabric that usually covers the bottom of any piece of upholstered furniture. Cut out a piece that will be large enough to cover the staples on the bottom of the seat while leaving a thin border around the edges.  Attach the cambric by starting at the mid-points and then working your way towards the corners.  Before attaching the cambric the whole way to the corners, be sure to mark the screw holes.  Once the cambric is attached, cut a small hole in the cambric where the screws will go in. Finally, attach the seat to the frame and enjoy your "new" chair. 

Lessons from the Masters: Dave Kreiter of In-Out Upholstery

As a newcomer to the upholstery trade, I have had the great luxury of getting to know folks who’ve been in the business for about as long as I’ve been alive. As many of these upholsterers are starting to slow down their business and ease into retirement, I wanted to learn more about their experiences, thoughts on the trade, and their advice for a new upholsterer such as myself before they decide to lay down the staple gun for good.

For my third installment in this series, I sat down with Dave Kreiter of In-Out Upholstery.  Contact Dave at (319) 338-3092 or find out more at davekreiter.com

Dave in front of his tool wall.

Dave in front of his tool wall.

Dave is semi-retired and if his is any indication of what the life of a semi-retired upholsterer looks like, then I’m in the right business.  I visited Dave in the shop behind his house where he does his upholstery work and where one sees evidence of his many other interests and hobbies: there is a drum set at the entrance, his paintings adorn the walls, and he has at least one of the books he has written on hand. Dave works on furniture for a few hours a day, enough to be a pleasure to work at and to bring in some extra income.

Dave got into the upholstery business in 1972 and like many of the other upholsterers I’ve talked to, he fell into the business through coincidence.  The father of the woman Dave was dating at the time was an upholsterer and asked Dave to help him run the shop.  This arrangement lasted for about 5-6 months and Dave was able to pick up some of the basics during this time, though he still “didn’t even know how to sew”.  Later, a friend approached him about starting an upholstery business together.  Though he didn’t feel very experienced, he went for it and together they taught themselves how to recover furniture. After about three years when his friend lost interest, Dave bought him out and continued the business.  

For Dave, the draw of furniture upholstery isn’t necessarily a passion for fabric or furniture, but that it allows him to work for himself and make a living and has “always allowed [him] to pursue other hobbies.”  Dave strikes me as someone who is a life-long learner and enjoys trying new things; this is evident in his hobbies as well as his upholstery work.  Dave has mostly been self-taught and even after more than four decades of experience, he is still learning and trying new upholstering methods. He still gets jobs in “that there is something new about it that [he’s] never seen before” and he continues to experiment with how he does the work.

The sign outside Dave's shop reveals that upholstery is just one of his many interests.

The sign outside Dave's shop reveals that upholstery is just one of his many interests.

On the topic of the past and future of the business, Dave said that when he started out, he knew an upholsterer who was still “spitting tacks” (referring to a method used before staple guns when an upholsterer would hold tacks in his or her mouth, then ‘spit’ them out one by one onto a magnetic tack hammer and drive the tack into the frame), but other than that move from tacks to staples, little has changed in furniture upholstery. There are of course newer, synthetic materials out there which often make the work easier, but generally the techniques are the same.  Looking ahead for the trade, Dave acknowledges that there are some threats in the present and the future.  The profession itself has died out to some degree -- where there used to be many upholsterers in this area a few decades ago, now there are just a handful.  Additionally, with the prevalence of more cheaply made furniture, its usually more expensive to recover a piece of furniture than to buy new.  On the upside, he thinks that many folks are becoming more environmentally-minded and choose to refurbish furniture rather than send it to the dump, saying that “people are thinking twice now about the idea of just throwing something away.”

I often despair about my upholstery skills and how long it takes me to do a seemingly simple job, but Dave’s advice for a new upholsterer has helped me buck up in times of self-doubt.  Though “you can learn the techniques really quickly,” building skills is a long game -- it took Dave about five years until he felt that he was experienced enough that the work he was putting out was consistently high quality. For him it just took practice to reach that point -- practice, and not being afraid to reach out: “if you don’t know how to do something, just get help . . .there is nothing wrong with that.”

Working on some chair seats.

Working on some chair seats.

When I told Dave about my theory of upholstery as an incubator for essential life lessons, he was right there with me and had some poignant observations and lessons of his own to contribute.  Among them, the recognition that  “no matter how long you do it, you’re going to make mistakes . . .  one life lesson its really taught me is that there is nothing wrong with failure because mistakes are just part of it.” Fortunately, in upholstery mistakes can be taken out and corrected; I often repeat to myself the adage “if at first you don’t succeed, try, try again” (and sometimes it does take a few tries). Thats why focus and patience are also big lessons I take from upholstery, as does Dave saying that “you can’t do this job if you’re not patient.”  Dave also helped me see that, like most things in life,  learning this business is a process.  One has to view even the shaky early stages as part of the road to a larger goal and as opportunities to learn more and to experiment. Ultimately, if you are generous to yourself and give yourself the space and time to develop, all while being present in the process, you will not only reach your goal, but exceed it.